
What is the best way to measure a chainsaw chain? The best way to measure a chainsaw chain is by identifying its pitch, gauge, and the number of drive links. This information is crucial for ensuring a correct chainsaw chain replacement and proper function.
If you’re a chainsaw owner, you’ve likely faced the moment when your trusty saw’s chain needs replacing. Whether it’s dullness, damage, or simply wear and tear, getting the correct chainsaw chain is vital. A chain that doesn’t fit your saw can cause poor performance, damage your saw’s components, and even create dangerous situations. But how do you ensure you’re buying the right one? The key lies in knowing how to measure your existing chainsaw chain accurately.
This guide will walk you through the process of identifying chainsaw chain size, focusing on the three critical measurements: pitch, gauge, and drive links. We’ll also touch on how these measurements relate to your measuring chainsaw bar and provide tips for ensuring your new chain works perfectly.
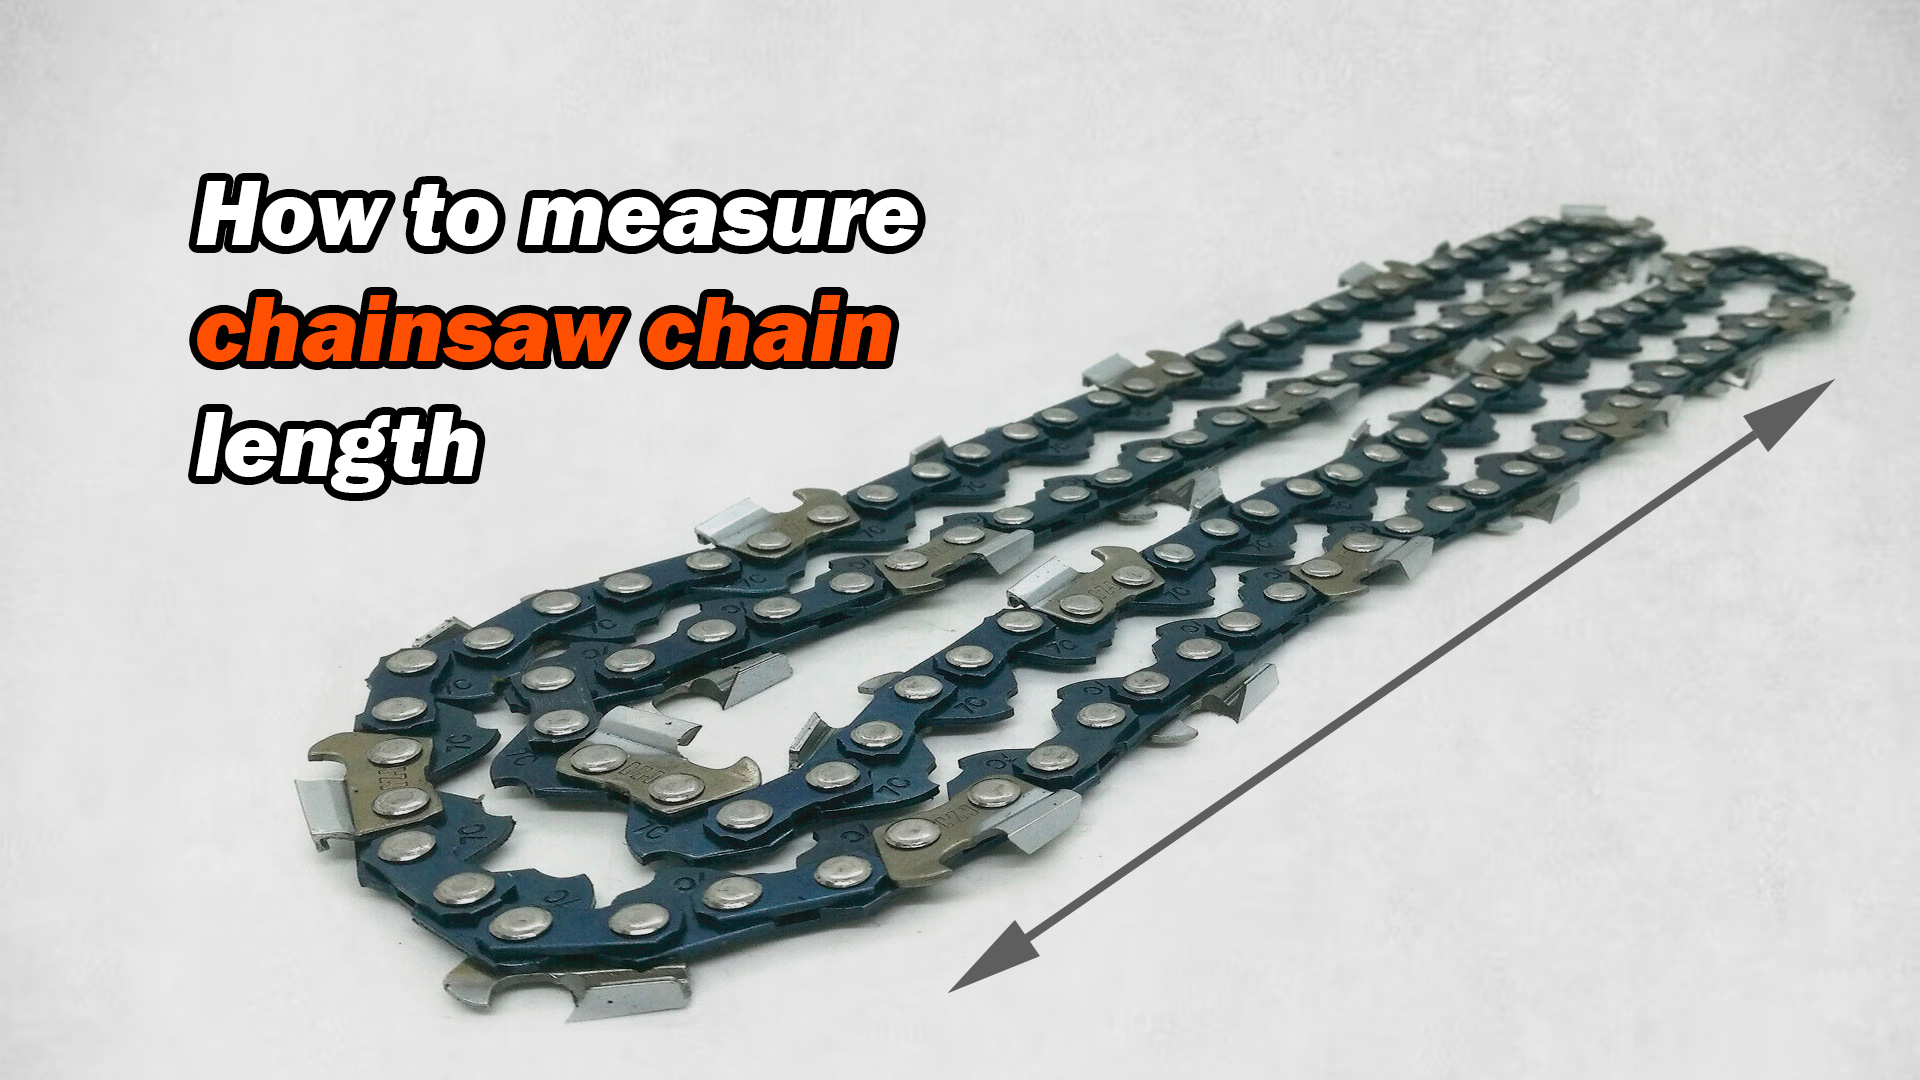
Image Source: www.chainsaw.parts
Deciphering Chainsaw Chain Measurements
Chainsaw chains aren’t one-size-fits-all. They are manufactured with specific dimensions that dictate their compatibility with different chainsaws and guide bars. The three primary measurements you need to know are:
1. Chainsaw Chain Pitch: The Tooth Spacing
The chainsaw chain pitch refers to the distance between the rivets on the chain, measured from the center of one rivet to the center of the next. It’s the most fundamental measurement for compatibility. Chains are typically offered in pitches such as 3/8 inch, .325 inch, and 1/4 inch.
How to Measure Pitch:
- The Rivet Method: The most accurate way to determine pitch is to count the number of rivets on your chain and divide by two. Then, measure the distance between any two consecutive rivets from center to center. For example, if you count 36 rivets, you have 18 sections. Measuring one section from center to center should give you the pitch.
- Manufacturer’s Markings: Often, the pitch is stamped directly onto the chain itself, usually on the drive links or on the guide bar. Look for numbers like “3/8” or “.325” stamped near the base of the teeth or on the tie straps.
- Guide Bar Markings: Your guide bar will almost always indicate the correct chain pitch. This is usually stamped on the bar itself, often near the mounting point where the bar attaches to the chainsaw. It might look something like “3/8 .050” or “.325 .063.” The first number is the pitch, and the second is the gauge.
Why Pitch Matters:
The pitch dictates how the chain engages with the sprocket on your chainsaw. If the pitch is incorrect, the chain won’t mesh properly with the drive sprocket, leading to skipping, premature wear, and potentially catastrophic failure of the drive mechanism.
2. Chainsaw Chain Gauge: The Drive Link Thickness
The chainsaw chain gauge refers to the thickness of the drive link. Drive links are the narrower parts of the chain that sit in the groove of the guide bar. Common gauges include .050 inch, .058 inch, and .063 inch.
How to Measure Gauge:
- The Drive Link Method: The drive link is the part of the chain that protrudes down and engages with the guide bar’s groove. Measure the thickness of this drive link. You can use a ruler with fine markings, or better yet, a caliper for precision.
- Manufacturer’s Markings: Similar to pitch, the gauge is often stamped on the chain or, more commonly, on the guide bar. It’s usually the second number mentioned alongside the pitch, like “.050” or “.063.”
- Guide Bar Markings: Again, your guide bar is your best friend here. The gauge is almost always stamped on the bar, typically next to the pitch designation.
Why Gauge Matters:
The gauge determines how snugly the chain fits into the guide bar groove. A chain that is too thick for the bar groove will bind and create excessive friction, overheating the chain and bar. Conversely, a chain that is too thin will be loose, leading to poor cutting performance, excessive vibration, and potential derailment.
3. Chainsaw Chain Length: The Number of Drive Links
While you can measure the physical length of the chain, the standard way to determine chainsaw chain length is by counting the number of drive links. Drive links are the parts of the chain that extend down from the cutters and fit into the guide bar’s groove.
How to Measure Length (Count Drive Links):
- The Direct Count: Lay your chain out flat. Start at the very first drive link (the one that engages the sprocket) and count every drive link all the way around the chain until you reach the starting point again.
- Guide Bar Correlation: The number of drive links is directly related to the length of your guide bar. Manufacturers design specific chain lengths for specific guide bar lengths. While you can count drive links, often knowing your guide bar length is enough to determine the correct chain length, as it’s usually stated in the saw’s manual or on the bar itself.
- Reference Charts: Chainsaw manufacturers and parts suppliers provide charts that correlate guide bar length with the required number of drive links for specific chain types.
Why Chain Length Matters:
The chain length must be precise to create the correct chainsaw chain tension. Too short a chain will be impossible to fit onto the bar and drive sprocket, while too long a chain will not have enough overlap to connect, or will result in a chain that is too loose, even when tightened to its maximum.
Putting It All Together: Identifying Your Chainsaw Chain Size
Once you know how to measure each component, you can confidently identify your chainsaw chain size. The common format you’ll see when purchasing a chain is Pitch – Gauge – Number of Drive Links.
For example: 3/8″ – .050″ – 72DL (where DL stands for Drive Links).
Example Scenario:
Let’s say you have an old chain and you need a chainsaw chain replacement.
- Pitch: You examine the guide bar and find “3/8” stamped near the base. You also count the rivets on the chain (e.g., 72) and divide by two (36 sections). Measuring one section from rivet center to rivet center confirms it’s 3/8 inch.
- Gauge: On the guide bar, you see “.050” next to the pitch. You also take a caliper to a drive link and measure its thickness, confirming it’s approximately 0.050 inches.
- Length: You lay the chain out and count the drive links, arriving at 72.
Therefore, your correct chainsaw chain is a 3/8″ pitch, .050″ gauge, 72 drive link chain.
Measuring Your Guide Bar: A Crucial Step
Your guide bar is a critical component when identifying chainsaw chain size. The chain is designed to work in conjunction with the specific groove width and length of the guide bar.
Key Guide Bar Features to Note:
- Length: This is usually measured from the tip of the bar to the point where it mounts to the chainsaw. It’s often stamped on the bar itself (e.g., 18″, 20″, 24″).
- Pitch: As mentioned, this is usually stamped on the bar.
- Gauge: Also stamped on the bar, next to the pitch.
- Mounting Type: Chainsaws have different mounting systems for guide bars. While not directly for chain measurement, it’s important to ensure your new guide bar (if replacing) has the same mounting type as your saw.
When to Replace Your Chainsaw Chain
Knowing how to measure for a new chain is important, but so is recognizing when your current chain needs replacement. Signs include:
- Dullness: The saw starts to struggle, requiring excessive force to cut, or it “screams” instead of cutting smoothly. This also affects sharpening chainsaw chain efficiency.
- Uneven Cutting: The saw pulls to one side or cuts at an angle.
- Bent or Damaged Cutters: You might notice missing teeth, bent cutters, or chipped teeth.
- Chain Stretching: A chain that is excessively stretched will not hold proper tension, even after adjustment. This can be a sign of wear.
- Broken Drive Links or Rivets: This is a clear indication of replacement needed.
How to Measure Chainsaw Chain: Step-by-Step for Accuracy
Let’s consolidate the process into actionable steps:
Step 1: Gather Your Tools
- Gloves: For safety. Chains are sharp!
- Tape Measure or Ruler: With clear inch markings.
- Caliper (Optional but Recommended): For precise gauge measurement.
- Pen and Paper: To record your findings.
- Magnifying Glass (Optional): If manufacturer markings are faint.
Step 2: Safety First!
- Ensure the chainsaw is off and the chain brake is engaged.
- Wear thick work gloves to protect your hands from sharp teeth and burrs.
Step 3: Locate Manufacturer Markings
- Guide Bar: Inspect the guide bar for stamped information regarding pitch and gauge. This is the easiest and most reliable source. Common markings look like “3/8” or “.325” for pitch, and “.050” or “.058” or “.063” for gauge.
- Chain: Examine the drive links and tie straps. Sometimes, the pitch and gauge are also stamped on the chain itself.
Step 4: Measure Pitch (If Markings are Unclear)
- If markings are absent or illegible, you’ll need to measure the chain.
- Lay the chain out flat, ensuring it’s not twisted.
- Count Rivets: Count all the rivets on the chain. Divide this number by two. This gives you the number of drive links.
- Measure Between Rivets: Pick any three consecutive rivets. Measure the distance from the center of the first rivet to the center of the third rivet. Then, divide this measurement by two. This will give you the pitch.
- Example: If the distance from rivet 1 to rivet 3 is 1 inch, then the pitch is 1 inch / 2 = 0.5 inches, which is 1/2 inch or .500 inch. Common pitches are 3/8 inch (0.375 inch) or .325 inch (0.325 inch).
Step 5: Measure Gauge (If Markings are Unclear)
- If the gauge is not stamped on the bar or chain, you need to measure the thickness of a drive link.
- Using a Caliper: Place the jaws of a caliper on either side of a drive link, ensuring you’re measuring the widest part. Record the measurement. Common gauges are .050 inch, .058 inch, and .063 inch.
- Using a Ruler: While less precise, you can try to measure the thickness with a ruler that has fine millimeter or 1/64-inch markings.
Step 6: Count Drive Links (To Confirm Chain Length)
- If you’re unsure about the chain length or guide bar length correspondence, count the drive links.
- Carefully lay the chain flat without any slack or tension.
- Start with a drive link that extends below the cutters and count each one sequentially until you return to your starting point. This count represents the chain length.
- Common drive link counts might be 56, 64, 72, 78, 84, etc., corresponding to specific guide bar lengths.
Step 7: Cross-Reference and Purchase
- Once you have your pitch, gauge, and drive link count, you can confidently purchase a chainsaw chain replacement.
- Always refer to your chainsaw’s owner’s manual for the manufacturer’s recommended chain specifications.
- If you’re unsure, contact the chainsaw manufacturer or a reputable dealer with your measurements.
Common Chainsaw Chain Sizes and Their Applications
| Pitch | Gauge | Typical Use |
|---|---|---|
| 3/8″ | .050″ | Professional logging, medium to large saws, good balance of cutting power and speed. |
| .325″ | .050″ | Homeowner saws, small to medium saws, good for general yard work and light logging. |
| .325″ | .058″ | Slightly more robust than .050″ gauge at .325″ pitch, common in mid-sized saws. |
| 1/4″ | .050″ | Small carving saws, topping saws, very light-duty applications. |
| 3/8″ Rapid | .063″ | High-performance saws, professional use, requires more power to drive. |
Factors Affecting Chainsaw Chain Performance
Beyond the correct measurements, other factors influence how well your chain performs:
- Chain Type: Different chains are designed for different tasks.
- Full Chisel: Aggressive cutters for fast, clean cuts in most wood types.
- Semi-Chisel: More durable and resistant to dulling than full chisel, good for dirtier conditions or less experienced users.
- Skip Tooth: Wider spacing between cutters, ideal for faster cutting in softwoods and less clogging in debris.
- Lubrication: Proper bar and chain lubrication is essential to reduce friction, prevent overheating, and extend the life of both the chain and the guide bar. This is crucial for maintaining chainsaw chain tension correctly.
- Sharpening: Regular and accurate sharpening chainsaw chain is paramount. A sharp chain cuts efficiently, requires less effort, and puts less strain on the saw. Using the correct file size for your chain’s pitch is critical for effective sharpening.
Maintaining Your Chainsaw Chain
Proper maintenance will extend the life of your chain and ensure optimal performance:
- Clean Regularly: Remove sawdust and debris from the chain and guide bar after each use.
- Check Tension: Ensure the chain has the correct chainsaw chain tension. It should be snug but still be able to be pulled around the bar by hand (with gloves!). Too loose, and it can jump off; too tight, and it can bind and damage components.
- Lubricate: Always use proper bar and chain oil.
- Sharpen: Keep your chain sharp. A dull chain is inefficient and dangerous.
Frequently Asked Questions (FAQ)
Q1: Can I use a different pitch chain than what my saw is designed for?
A1: No, you cannot. Using a chain with an incorrect pitch will not allow it to engage properly with the drive sprocket and can cause severe damage to the saw.
Q2: My guide bar says “3/8 .050”, but my old chain is stamped “.375 .050”. Are they the same?
A2: Yes, “3/8” is the same as “.375”. This is a common way to represent the pitch.
Q3: How often should I replace my chainsaw chain?
A3: The lifespan of a chain depends on usage, maintenance, and the type of wood you’re cutting. You should replace a chain when it can no longer be effectively sharpened, if it’s significantly stretched, or if the cutters are damaged.
Q4: What if I can’t find any markings on my guide bar or chain?
A4: In this case, you’ll need to carefully measure the pitch, gauge, and count the drive links as described in this guide. Using a caliper for the gauge and measuring between rivets for the pitch are the most reliable methods.
Q5: Does the number of drive links affect my chainsaw’s cutting power?
A5: The number of drive links determines the chainsaw chain length and ensures proper fit on the guide bar and sprocket. While it doesn’t directly affect cutting power, an incorrectly sized chain will result in poor performance and potential damage, indirectly impacting cutting efficiency.
By accurately measuring your chainsaw chain’s pitch, gauge, and length, you ensure a correct fit, optimal performance, and the longevity of your equipment. Always prioritize safety and consult your chainsaw’s manual for specific recommendations.