
To measure chainsaw chain length correctly, you need to count the number of drive links (the teeth that fit into the groove of the guide bar). However, the most reliable method for ensuring you have the right chain size is to know your chain pitch, chain gauge, and the bar length of your chainsaw.
When your chainsaw needs a new chain, getting the correct one is crucial for its performance and your safety. A chain that’s too long or too short won’t fit properly, leading to inefficient cutting, potential damage to your saw, and even dangerous kickback. So, how do you accurately measure chainsaw chain length? It’s not as simple as grabbing a tape measure. The real key lies in understanding the critical specifications of the chain and the bar.
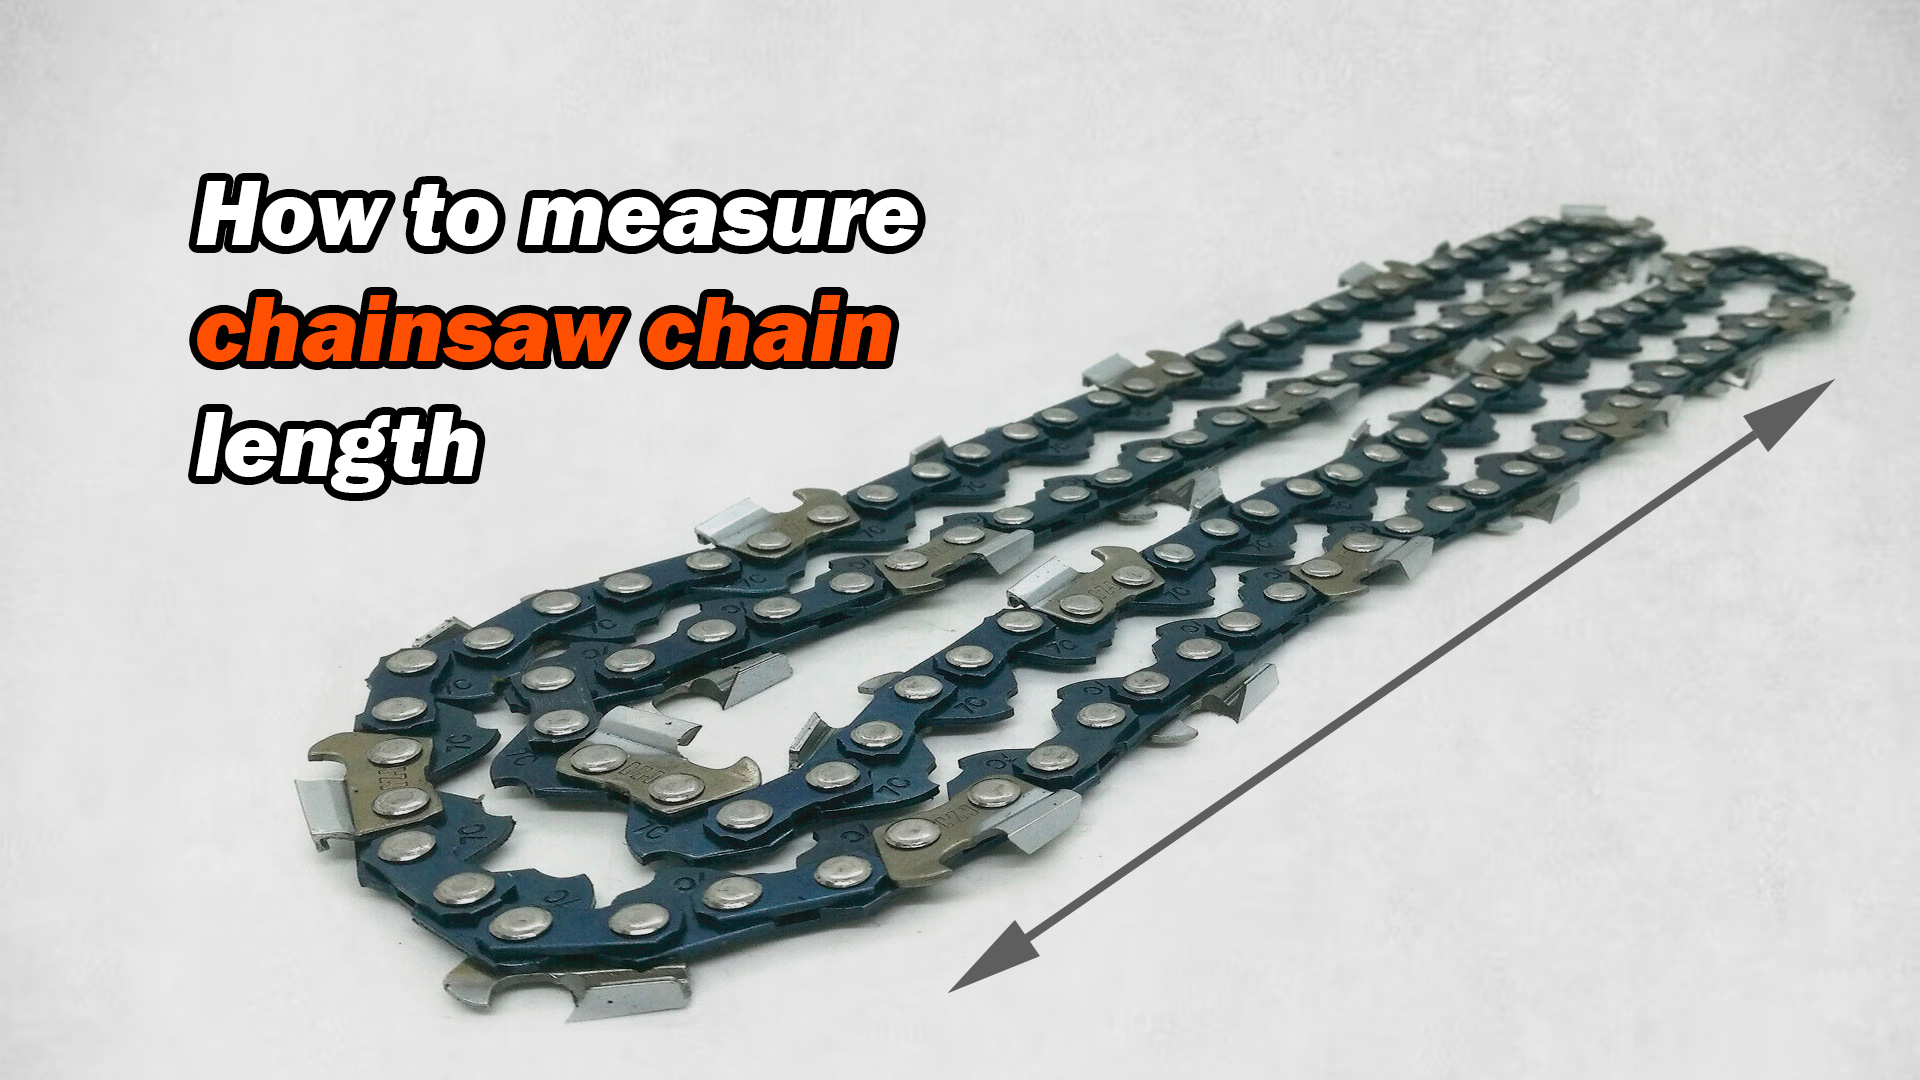
Image Source: www.chainsaw.parts
Deciphering Chain Specifications: The Core Elements
Chainsaw chains are not one-size-fits-all. They are manufactured to precise standards to ensure they mate perfectly with the guide bar and the drive sprocket of your chainsaw. Three primary specifications determine the correct chain for your saw: chain pitch, chain gauge, and the number of drive links.
Chain Pitch: The Distance Between Drive Links
Chain pitch is perhaps the most fundamental measurement. It refers to the distance between the rivets on the chain, measured from the center of one rivet to the center of the next, multiplied by two. This measurement dictates the size of the sprocket and the bar groove your chain needs to fit. Common pitches include 3/8″ (.375″), .325″, and .404″.
- Why Pitch Matters: The pitch is standardized by the manufacturer. Using a chain with the wrong pitch will cause it to either not engage with the drive sprocket at all or to wear down the sprocket and the chain very quickly. It’s like trying to fit a square peg into a round hole – it just won’t work.
Chain Gauge: The Thickness of the Drive Link
The chain gauge measures the thickness of the drive link, which is the part of the chain that rides in the groove of the guide bar. Common gauges are .050″ and .063″. This measurement ensures the chain fits snugly into the bar groove without being too loose or too tight.
- Gauge Importance: A chain with the wrong gauge will not sit correctly in the guide bar. Too thin a gauge might wobble, leading to increased wear and poor cutting. Too thick a gauge might not fit into the groove at all, or it could bind, causing excessive friction and heat.
Drive Links: The Number That Defines Length
While pitch and gauge define the type of chain, the number of drive links determines its actual length. The drive links are the segments of the chain that have a small tang on the bottom. These tangs fit into the groove of the guide bar and are driven by the sprocket.
- Counting Drive Links: To measure chain length by counting, you need to remove the old chain and lay it out. Count only the drive links – the ones with the tangs that enter the bar groove. Do not count the cutters (the sharp teeth) or the tie straps (the pieces connecting the cutters).
Practical Methods for Measuring Chainsaw Chain Length
Knowing the specifications is one thing; practically measuring or identifying the correct chain is another. Here are the most reliable methods:
Method 1: Referencing Your Chainsaw’s Manual or Specifications
The easiest and most accurate way to determine the correct chain length is to consult your chainsaw’s user manual. The manual will explicitly state the required chain size, including the pitch, gauge, and the number of drive links or the compatible bar length.
- Manual Check: Always start with your manual. It’s the definitive source of information for your specific saw model. If you don’t have the physical manual, search online for your chainsaw’s make and model followed by “user manual” or “specifications.”
Method 2: Inspecting the Existing Chain
If your manual is lost, you can often find the necessary information printed directly on the existing chain or the guide bar.
- On the Guide Bar: Most guide bars have the pitch and gauge stamped on them, usually near the base where the chain mounts. Look for numbers like “3/8 .050” or “.325 .063”. The bar length is also usually indicated here.
- On the Old Chain: Sometimes, the pitch and gauge are also stamped on the tie straps or near the drive links of the old chain. This information can be faint due to wear and tear, so a good light and possibly a magnifying glass might be needed.
Method 3: Counting Drive Links (The “On-Saw” Method)
This is a direct measurement method if you have the old chain off the saw and are confident in identifying drive links.
- Remove the Old Chain: Safely remove the old chain from your chainsaw. Ensure the saw is off and the spark plug is disconnected for safety.
- Lay the Chain Flat: Lay the chain out in a straight line.
- Count the Drive Links: Carefully count only the drive links. These are the links with the small projection (tang) on the bottom that fits into the guide bar groove.
- Record the Count: Write down the number of drive links. This number, along with the pitch and gauge you’ve identified, is what you’ll need to purchase a new chain.
Example: If you count 72 drive links, and you know your chain’s pitch is 3/8″ and gauge is .050″, you would look for a replacement chain with these specifications and 72 drive links.
Method 4: Measuring Against the Guide Bar (Less Precise)
While not the primary method for determining chain specifications, you can get a general idea of chain length by measuring the guide bar. Chainsaw manufacturers typically design chains to match specific bar lengths.
- Bar Length Correlation: A 16-inch bar will require a chain of a specific drive link count for a given pitch and gauge. Similarly, an 18-inch or 20-inch bar will need a proportionally longer chain.
- Caveat: This method relies on knowing the correct pitch and gauge for your saw. Simply measuring the guide bar with a tape measure will give you the bar’s length in inches, but it doesn’t tell you the chain’s pitch, gauge, or the exact number of drive links needed. It’s more of a cross-reference than a primary measurement.
Table 1: Common Chainsaw Bar Lengths and Typical Drive Link Counts (for 3/8″ pitch, .050″ gauge)
| Bar Length (inches) | Approximate Drive Links |
|---|---|
| 10 | 40-44 |
| 12 | 45-49 |
| 14 | 52-56 |
| 16 | 56-60 |
| 18 | 60-64 |
| 20 | 64-68 |
| 24 | 72-76 |
| 28 | 80-84 |
Note: These are approximate values and can vary between manufacturers and specific saw models.
Why Accurate Measurement is Critical
Getting the chain size correct isn’t just about fitting; it’s about optimal performance, longevity, and safety.
Performance and Efficiency
A correctly sized chain will engage smoothly with the drive sprocket and guide bar. This ensures consistent power transfer from the engine to the cutting teeth.
- Smooth Cutting: A properly fitted chain cuts cleanly and efficiently.
- Reduced Strain: The engine won’t be overworked trying to pull a chain that’s too tight or constantly slipping.
Preventing Damage
Using the wrong chain can cause significant damage to your chainsaw.
- Sprocket Wear: An incorrect pitch or gauge can quickly wear out the drive sprocket.
- Bar Groove Damage: A chain that’s too loose or too tight in the bar groove will cause premature wear on the bar itself.
- Engine Damage: An overloaded engine due to a poorly fitting chain can overheat and suffer internal damage.
Safety First
Chainsaw safety cannot be overstated. The correct chain is a vital component of this.
- Kickback: A chain that’s too loose can jump off the bar, causing violent and dangerous kickback.
- Chain Breakage: A chain that’s too tight can bind and break under tension, sending pieces of metal flying.
- Control: A properly tensioned and correctly sized chain contributes to the overall control of the chainsaw.
When to Consider Chain Replacement
Chains don’t last forever. Regular inspection and timely chain replacement are essential for safe and effective operation.
Signs of a Worn Chain
- Dullness: The cutters become dull, requiring more force to cut and producing sawdust instead of wood chips.
- Stretching: The chain appears to be lengthening, requiring constant tightening. This is usually due to wear on the rivets and tie straps.
- Uneven Cutting: The saw starts to pull to one side.
- Cracked or Damaged Cutters: Teeth may be chipped, broken, or excessively worn.
- Stiff Links: The chain doesn’t flex smoothly, often due to dirt or lack of proper chain oiling.
Maintaining Your Chainsaw Chain
Proper maintenance extends the life of your chain and ensures it performs at its best.
Sharpening
Regularly sharpen the cutters with a file and guide. The correct sharpening angle is crucial for efficient cutting.
Oiling
Proper chain oiling is absolutely critical. The chain oil lubricates the chain and bar, reducing friction and heat, which prevents premature wear. Ensure the oil reservoir is full and the oiler is functioning correctly.
Tensioning
Maintaining the correct chain tension is vital. A chain that is too loose can derail, while one that is too tight can cause excessive wear and binding. Most chainsaws have an adjustment mechanism for this. A good rule of thumb is that the chain should be snug but still movable by hand around the bar; it should not sag away from the top of the bar.
Common Mistakes to Avoid When Measuring Chains
- Confusing Drive Links with Cutters: Always count only the drive links.
- Not Checking Pitch and Gauge: Measuring only the number of drive links is insufficient. You must also know the pitch and gauge.
- Assuming All Saws of Similar Bar Length Use the Same Chain: While there are commonalities, variations exist between manufacturers and models.
- Ignoring Manufacturer Recommendations: Your chainsaw manual is the best guide.
- Forgetting to Consider Cutter Type: While not directly related to length, the cutter type (e.g., full chisel, semi-chisel) affects cutting performance and is a specification to match when buying a new chain.
Frequently Asked Questions (FAQ)
Q1: Can I use a chain from a different saw if it has the same number of drive links?
A1: Not necessarily. While the number of drive links is crucial, you must also match the chain pitch and chain gauge to ensure compatibility with your saw’s drive sprocket and guide bar. Using a chain with the wrong pitch or gauge, even if it has the correct number of drive links, can cause significant damage and be dangerous.
Q2: How do I know if my chainsaw chain is stretched?
A2: A stretched chain will appear loose on the guide bar even after you’ve tightened it. You might also notice that the drive links are no longer sitting snugly against the drive sprocket teeth. Another sign is if you have to adjust the chain tension more frequently than usual.
Q3: What happens if I use a chain with the wrong pitch?
A3: If the pitch is too large, the chain will not engage properly with the drive sprocket, and you won’t be able to fit it onto the saw. If the pitch is too small, the chain might engage but will cause excessive wear on the drive sprocket and the chain itself, leading to premature failure and poor cutting performance.
Q4: How often should I check my chainsaw chain for wear?
A4: It’s best to inspect your chain before each use. Check for dullness, damage to the cutters, and proper tension. Periodically (e.g., after every few hours of use), check the drive links for stretching and ensure your chain oiling system is working correctly.
Q5: Is it better to buy a chain by bar length or by drive link count?
A5: It’s always best to know the precise specifications: chain pitch, chain gauge, and the number of drive links. While bar length can be a helpful indicator, it’s not a substitute for the exact chain measurements. Always verify the pitch and gauge from your manual or by inspecting your old chain and bar. Knowing the drive link count is the direct way to confirm the length.
Q6: Does the cutter type affect the chain length?
A6: No, the cutter type (e.g., full chisel, semi-chisel, skip tooth) refers to the shape and configuration of the cutting teeth. It affects how aggressively the chain cuts and how well it clears sawdust, but it does not alter the fundamental length measurements (pitch, gauge, drive links) required for the chain to fit your saw. However, when purchasing a replacement chain, you should ideally match the cutter type to your original chain for consistent cutting performance.
By carefully deciphering these specifications and employing the correct measurement techniques, you can ensure you always select the right chain for your chainsaw, leading to safer, more efficient, and more productive work.