
Can you preserve a jigsaw puzzle? Yes, you absolutely can! Preserving a finished jigsaw puzzle allows you to enjoy your hard work and the beautiful image for years to come. Whether it’s a cherished family photo, a stunning landscape, or a challenging intricate design, there are several effective puzzle preservation techniques that will keep your creation intact and looking its best. This guide will walk you through the best methods, from how to glue a jigsaw puzzle to how to store a jigsaw puzzle and even puzzle mounting and puzzle framing.
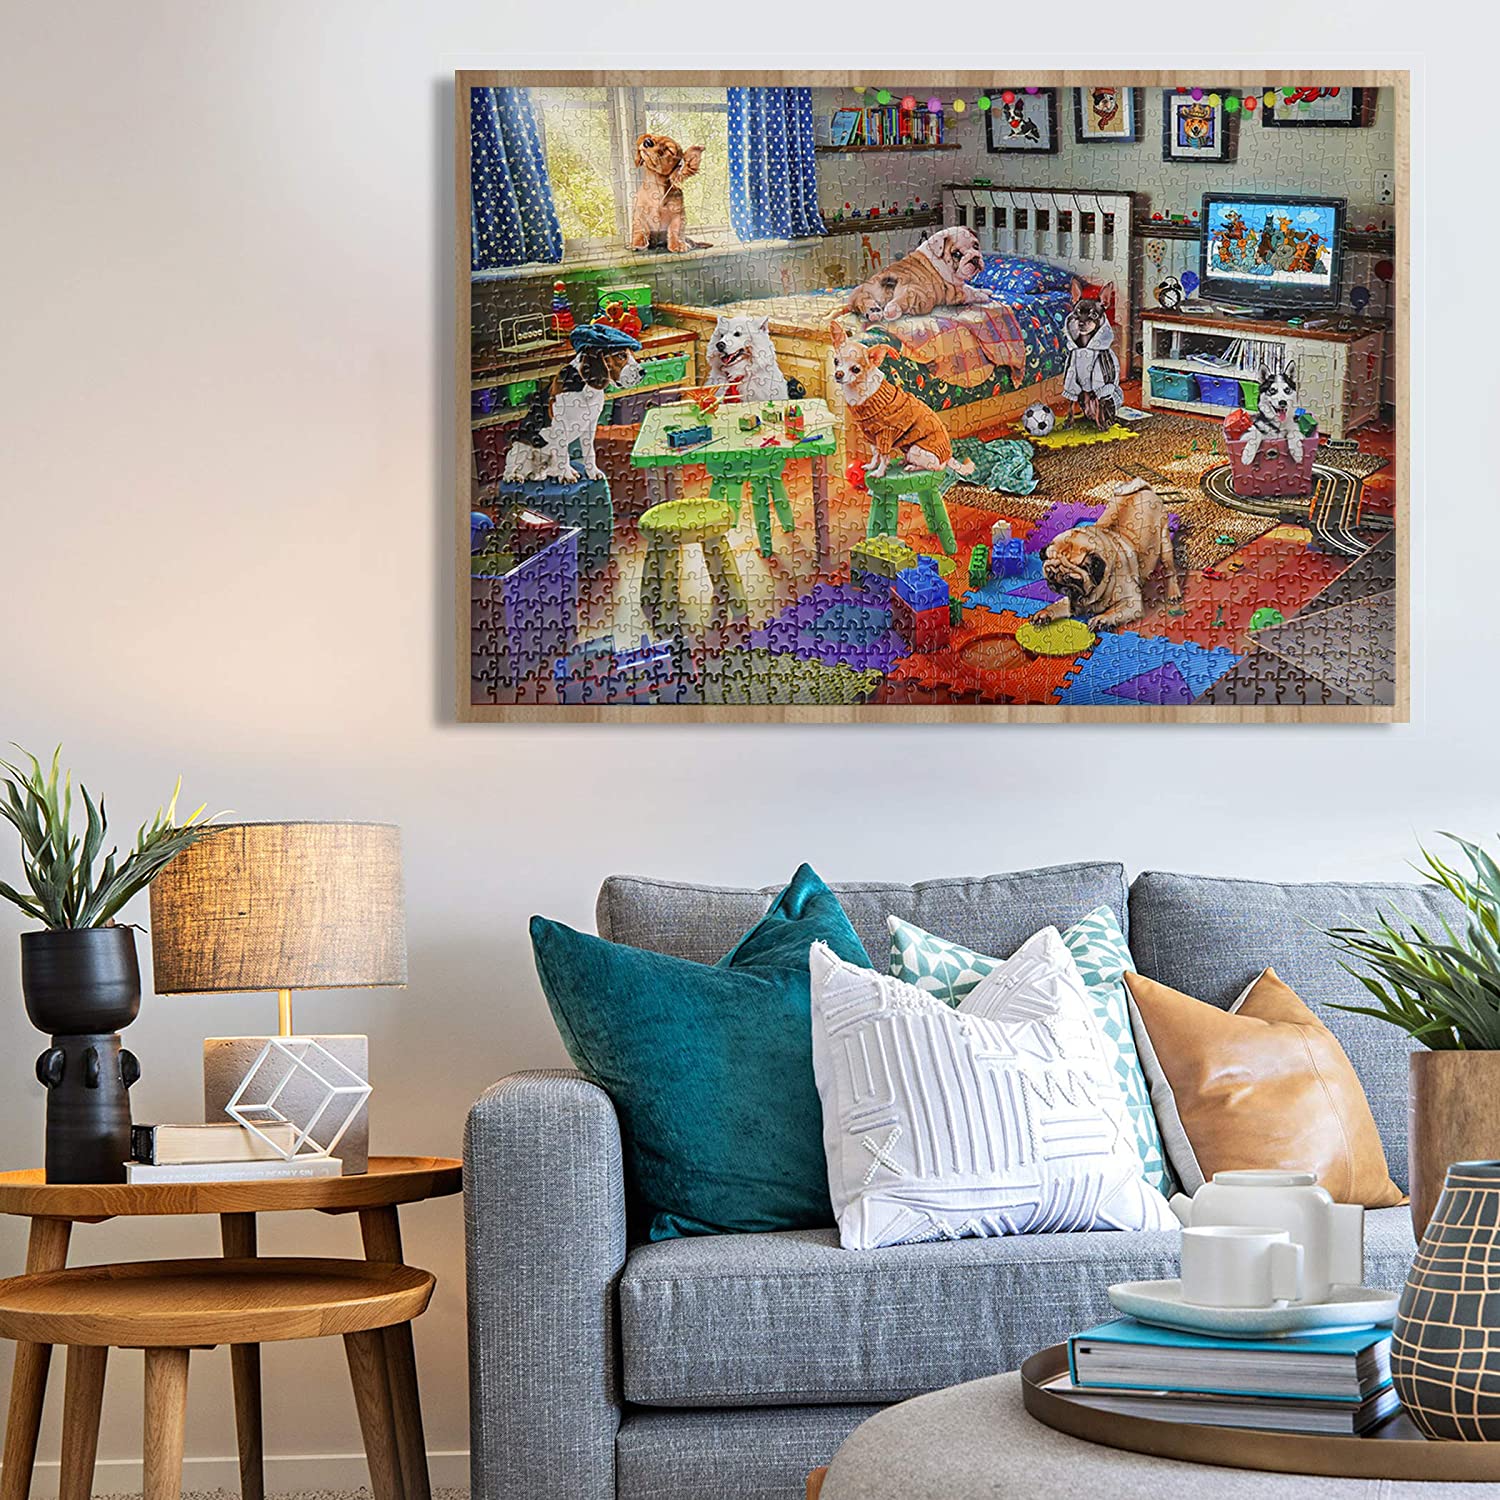
Image Source: jigsawdepot.com
Why Preserve Your Jigsaw Puzzle?
Finished jigsaw puzzles are more than just a collection of interlocking pieces; they represent time, effort, focus, and often, a shared experience. Preserving them offers a unique way to display your accomplishments and the art you’ve brought to life.
- Display Your Accomplishments: A preserved puzzle can be a beautiful piece of wall art.
- Keep Memories Alive: Puzzles often depict special places, people, or events.
- Prevent Disassembly: Avoid the heartache of a puzzle falling apart.
- Create Heirlooms: Preserve a puzzle for future generations.
Preparing Your Puzzle for Preservation
Before you apply any glue or adhesive, proper preparation is key to a successful and lasting preservation. This ensures a smooth surface and prevents any unwanted residue from marring your masterpiece.
Choosing the Right Surface
The surface you work on can significantly impact the ease of gluing and preventing damage.
- Cardboard or Foam Board: A flat, sturdy piece of cardboard or foam board slightly larger than your puzzle is ideal. This provides a stable base.
- Protective Layer: Cover your work surface with wax paper, parchment paper, or a plastic drop cloth. This prevents the puzzle from sticking to your table and makes cleanup easier.
Cleaning Your Puzzle
A clean puzzle will ensure the best adhesion for glue and a pristine final look.
- Gentle Dusting: Use a soft brush (like a makeup brush or a paintbrush) to gently sweep away any loose dust or debris from the surface of the puzzle.
- Wiping (Optional): If there are any smudges or fingerprints, you can very lightly dampen a clean, lint-free cloth with water. Wring it out thoroughly so it’s barely damp. Gently wipe the puzzle surface. Ensure the puzzle is completely dry before proceeding.
Gluing Your Jigsaw Puzzle: The Foundation of Preservation
How to glue a jigsaw puzzle is a crucial step. There are several types of adhesives you can use, each with its own advantages. The most common and effective method involves using a dedicated puzzle glue or puzzle saver.
Types of Puzzle Adhesives
- Puzzle Glue (Liquid Adhesive): This is the most popular choice. It’s specifically designed for puzzles and usually dries clear. It creates a strong bond between the pieces.
- Puzzle Saver Sheets: These are adhesive sheets that you apply to the back of the puzzle. They are a mess-free option and are great for keeping a puzzle intact without necessarily wanting to permanently glue the front.
- Mod Podge: While not specifically designed for puzzles, Mod Podge (especially the Matte or Gloss finish) can be used effectively. It acts as both a glue and a sealant.
The Gluing Process: Step-by-Step
This section details the most common method using liquid puzzle glue.
Applying Liquid Puzzle Glue
- Ensure the Puzzle is Complete and Clean: Make sure all pieces are firmly in place and the puzzle surface is free of dust.
- Protect Your Work Surface: Lay down your protective sheet (wax paper, parchment paper, etc.) on a flat surface. Carefully slide your completed puzzle onto this protective layer. If your puzzle is very large, you might need to do this in sections or with the help of another person.
- Apply the Glue Generously: Open your puzzle glue. Using the applicator that comes with the glue (often a brush or sponge tip), start applying a generous, even layer of glue over the entire surface of the puzzle. Work from one corner to another, ensuring all pieces are covered. Don’t be shy with the glue; you want it to seep slightly into the cracks between the pieces.
- Spread Evenly: Use the applicator or a foam brush to spread the glue smoothly across the entire puzzle. Pay attention to the edges and corners. You want a consistent layer.
- Let it Dry: Allow the first layer of glue to dry completely. This can take anywhere from 1 to 4 hours, depending on the type of glue, humidity, and thickness of application. The glue will likely appear milky when wet but will dry clear.
- Apply a Second Layer (Optional but Recommended): For added strength and a more uniform finish, apply a second layer of puzzle glue once the first layer is completely dry. This second coat helps seal the surface and can enhance the colors of the puzzle image.
- Drying Time: Let the second layer dry completely. Again, this can take several hours.
Using Puzzle Saver Sheets
- Complete and Clean: Ensure your puzzle is fully assembled and clean.
- Flip the Puzzle: This is the trickiest part. Carefully slide a piece of sturdy cardboard or foam board (larger than the puzzle) underneath the assembled puzzle. With a helper if possible, carefully flip the puzzle over so the back is facing up.
- Apply the Saver Sheets: Peel the backing off one puzzle saver sheet at a time. Carefully align the sheet with one edge of the puzzle and press it down, smoothing out any air bubbles as you go. Continue applying sheets until the entire back of the puzzle is covered.
- Press Firmly: Once all sheets are applied, press down firmly on them to ensure good adhesion.
Tips for Successful Gluing
- Work in a Well-Ventilated Area: Some glues have fumes.
- Avoid Over-Wetting: Too much moisture can warp the puzzle pieces.
- Clean Up Spills Immediately: Wipe away any excess glue that seeps over the edges with a damp cloth before it dries.
- Patience is Key: Allow adequate drying time between coats.
Securing Your Puzzle: Beyond Glue
While liquid glue is popular, other methods are excellent for keeping a jigsaw puzzle intact and preparing it for display or storage.
Puzzle Backing for Stability
Applying a puzzle backing adds rigidity to your glued puzzle, making it much easier to handle and preventing any future warping.
- Cardboard or Foam Board: A piece of thin, sturdy cardboard or foam board cut to the exact size of your puzzle is perfect.
- Adhesive Spray or Glue Stick: Apply a light, even coat of adhesive spray or a glue stick to the back of your glued puzzle.
- Attach the Backing: Carefully align and press the backing material onto the glued puzzle. Ensure there are no air bubbles. You can place a heavy book on top (with a protective layer) while it dries to ensure good adhesion.
The Role of a Puzzle Saver
A puzzle saver typically refers to the adhesive sheets mentioned earlier. They are a fantastic option for those who want to keep their puzzle together for storage or transport without the commitment of liquid glue on the front. They effectively prevent pieces from shifting.
Storing Your Preserved Puzzle
Once your puzzle is glued and dried, you need to know how to store a jigsaw puzzle to keep it in pristine condition.
Flat Storage
The best way to preserve a finished puzzle for long-term storage is to keep it flat.
- Protective Sleeves: Place your glued and backed puzzle into a large, clear plastic sleeve or a specially designed puzzle storage bag. This protects it from dust, moisture, and light.
- Avoid Stacking: Do not stack heavy items on top of your preserved puzzle, as this can still cause damage over time.
- Climate Control: Store puzzles in a cool, dry place away from direct sunlight and extreme temperature fluctuations. Basements or attics can be problematic due to humidity and temperature changes.
Vertical Storage (with Caution)
If space is limited, vertical storage is an option, but it requires extra care.
- Sturdy Backing is Essential: Ensure your puzzle has a very strong puzzle backing (like thick foam board or Masonite) and is well-glued to prevent pieces from shifting downwards due to gravity.
- Use a Puzzle Carrier: Puzzle carriers designed for transporting puzzles can also be used for vertical storage. These often have straps to hold the puzzle securely.
- Protect from Bending: Store them upright with support so they don’t bend.
Displaying Your Masterpiece: Puzzle Mounting and Framing
Puzzle mounting and puzzle framing are the final steps to turning your completed puzzle into a decorative piece.
Puzzle Mounting Options
Mounting refers to attaching the puzzle to a rigid backing for display without a traditional frame.
- Adhesive Mounting: Once your puzzle is glued and dry, you can mount it directly onto a piece of foam board, mat board, or thin plywood using spray adhesive or a strong glue stick. This creates a lightweight, ready-to-hang piece.
- Float Mounting: For a modern look, mount the puzzle onto a backing board, then attach it to a larger backing board with spacers so it appears to “float” off the wall.
The Art of Puzzle Framing
Puzzle framing is the most traditional and often the most visually impactful way to display a preserved puzzle.
Choosing the Right Frame
- Size: The frame should be the correct size for your puzzle, including any border you might have added during mounting.
- Style: Select a frame that complements the artwork of the puzzle and your home décor.
- Matting: You can use a mat board between the puzzle and the frame to enhance the visual appeal and give it a more professional “gallery” look. Choose a mat color that makes the puzzle image pop.
Framing Process
- Secure the Puzzle: Ensure your puzzle is thoroughly dry and has a rigid backing (if you chose to add one).
- Prepare the Frame: Open your picture frame.
- Assemble the Layers: Typically, you will place the following in order inside the frame:
- The glass or acrylic front.
- The mat board (if used).
- Your glued and backed puzzle.
- A protective backing board or dust cover.
- Secure the Layers: Use the frame’s hardware (clips, tabs) to secure all the layers tightly in place.
- Seal the Back: For added protection against dust and moisture, you can seal the edges of the frame’s backing with framing tape.
- Add Hanging Hardware: Attach appropriate picture hanging hardware to the back of the frame.
Special Considerations for Framing
- UV-Protective Glass/Acrylic: For puzzles with vibrant colors or those displayed in direct sunlight, consider using UV-protective glass or acrylic to prevent fading.
- Depth of Frame: Ensure the frame has enough depth to accommodate your puzzle, especially if you’ve used a thick backing board.
Alternative Preservation Methods
While glue is the most common, here are other ways to preserve your puzzle.
Puzzle Glue Sticks
These are similar to glue sticks for paper but are formulated for puzzles. They are less messy than liquid glue but might not provide as strong a bond for very large or intricate puzzles.
Permanent Adhesive Sprays
These can be used for mounting, but care must be taken to apply them evenly and in a well-ventilated area. They are often used to adhere a puzzle to a backing board rather than directly gluing the pieces together.
When to Reapply Glue or Sealant
Over time, especially with puzzles exposed to fluctuating humidity or direct sunlight, the glue might weaken, or the surface may lose its sheen.
- Inspect Periodically: Check your preserved puzzles every few years. Look for any signs of lifting pieces, discoloration, or a dulling surface.
- Light Refresh: If the surface appears dull, a very light, even coat of puzzle saver or Mod Podge can often restore its look.
- Reinforce Weak Spots: If you notice a few pieces are starting to lift, carefully apply a small amount of puzzle glue to that specific area.
Frequently Asked Questions (FAQ)
Q1: Can I glue a puzzle without specialized puzzle glue?
A1: Yes, you can use Mod Podge or a clear-drying craft glue, but specialized puzzle glue is designed for this purpose and often yields the best results.
Q2: Will puzzle glue damage the image on my puzzle?
A2: No, if applied correctly and allowed to dry properly, puzzle glue dries clear and should not damage the image. Some glues can enhance the vibrancy of the colors.
Q3: How do I remove a puzzle from the table if it sticks?
A3: If you’ve used a protective layer like wax paper or parchment paper, it should slide off easily. If it sticks slightly, gently try to pry it up with a thin, flexible spatula or a palette knife, working carefully to avoid bending the pieces.
Q4: Can I use packing tape to preserve my puzzle?
A4: Packing tape is generally not recommended for long-term preservation. It can leave residue, yellow over time, and may not adhere strongly enough to keep all pieces together securely. Dedicated puzzle saver sheets or glue are much better options.
Q5: What is the best way to preserve a finished puzzle if I want to take it apart later?
A5: If you want the option to disassemble the puzzle, the best method is to use puzzle saver sheets on the back. This holds the pieces together without applying glue to the front image, allowing for disassembly if needed, though it’s not as robust as a fully glued puzzle.
Q6: How long does puzzle glue take to dry?
A6: Drying time varies depending on the product, humidity, and application thickness. Typically, one layer takes 1-4 hours to dry, but it’s best to leave it for at least 12-24 hours before attempting to move or frame it.
Q7: Should I glue the front or the back of the puzzle?
A7: Gluing the front is the most common method for display. Gluing the back (or using puzzle saver sheets) is a good option for storage or if you want a more tactile finish without the glossy look of front glue.
By following these detailed steps, you can ensure your jigsaw puzzles remain beautiful and intact for years to come, transforming them from fleeting pastimes into lasting works of art. Whether you’re looking for puzzle mounting solutions, the best way to preserve a finished puzzle, or simply how to glue a jigsaw puzzle, this guide provides the comprehensive knowledge you need.