
What is table saw kickback? Table saw kickback is when a piece of wood is violently thrown back towards the operator by the spinning blade. It’s one of the most dangerous accidents that can happen in a workshop. Can you avoid kickback? Yes, by following safety rules and using the right techniques. Who is at risk? Anyone operating a table saw without proper precautions. This post will guide you through the essential steps for table saw kickback prevention.
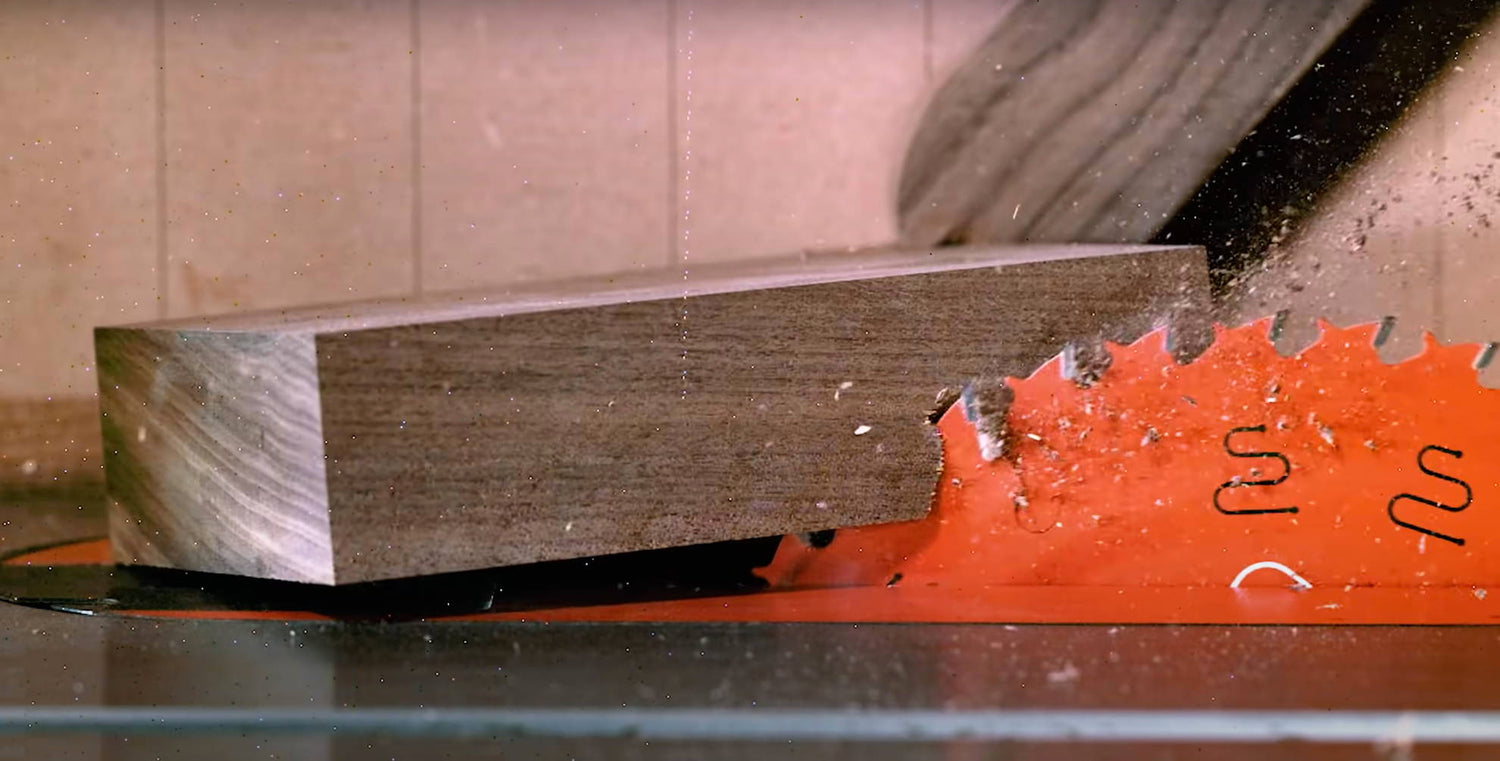
Image Source: kmtools.com
The Dangers of Kickback
A table saw is a powerful tool, and like any power tool, it demands respect and careful handling. Kickback is a sudden, uncontrolled reaction where the wood you’re cutting is forcefully propelled back towards you. This can happen for several reasons, and the consequences can be severe, ranging from serious cuts and amputations to even fatalities. Understanding the forces at play is the first step in protecting yourself.
Why Does Kickback Happen?
Kickback occurs when the wood binds against the blade in a way that redirects its energy back at you. This binding can be caused by:
- Blade not being square to the fence: If the blade is not at a perfect 90-degree angle to the rip fence, the wood can pinch against the teeth.
- Blade pinching: As you cut, the kerf (the slot the blade makes) can close up behind the blade, gripping it tightly. This is common with wood that has internal tension that releases as it’s cut.
- Blade not being perpendicular to the table: If the blade isn’t perfectly vertical, the wood can twist and bind.
- Blade leaving the cut at an angle: If the wood isn’t kept flat against the table and fence, it can twist as it exits the blade.
- The offcut piece: If the offcut piece of wood falls or gets caught, it can push the main piece into the blade, causing it to bind.
- Unstable wood: Warped, bowed, or twisted lumber is more prone to binding.
- Improper feeding: Forcing the wood or not maintaining consistent pressure can lead to the blade grabbing.
Essential Table Saw Kickback Prevention Strategies
Preventing kickback is paramount for safe woodworking. It’s not about a single trick, but a combination of good habits, proper setup, and using the right safety equipment.
1. Proper Table Saw Alignment
A well-aligned table saw is fundamental to safety. If your saw isn’t set up correctly, you’re already inviting trouble.
Blade Squareness
- Blade to Miter Slot: Ensure the blade teeth are parallel to the miter slots when the blade is at 90 degrees. You can check this with a dial indicator or even a precise ruler. Adjust the trunnions as needed.
- Blade to Fence: Verify that the blade is perfectly perpendicular to the rip fence at both 90 and 45 degrees. Again, use a reliable measuring tool.
Fence Alignment
- Parallel to Blade: The rip fence must be perfectly parallel to the blade. A fence that is closer to the blade at the front than at the back, or vice versa, will cause the wood to bind. Use a dial indicator or a simple string-and-block method to check.
- Fence Travel: Ensure the fence slides smoothly and locks securely without shifting.
2. Using the Blade Guard and Other Safety Devices
Modern table saws come with safety features designed to protect you. Don’t remove them!
Blade Guard Use
- The Unsung Hero: The blade guard is your first line of defense. It covers the blade and helps to deflect debris and, importantly, can prevent your hands from coming into contact with the blade.
- Riving Knife/Splitter: Crucially, most blade guards are attached to a riving knife or a splitter. This metal piece sits behind the blade, just a bit thicker than the blade kerf. Its primary job is to keep the kerf open after the wood has passed the blade, preventing the wood from pinching the blade and causing kickback.
- Why they are vital: A riving knife is far more effective than an old-style pawl or anti-kickback device because it stays with the blade as it rises and tilts. It actively prevents the kerf from closing.
- When to use: Always use the riving knife whenever possible. The only exceptions are usually for very thin materials or when using a dado blade (more on that later).
- Blade Guard as a Shield: When the blade guard is properly adjusted, it acts as a shield, deflecting any potential kickback force away from your body.
Kickback Shield
- Beyond the Guard: While the standard blade guard is essential, some advanced safety systems include a kickback shield. These are often more robust, sometimes made of transparent, shatter-resistant material, and can provide an even greater barrier against flying debris. If your saw has one, use it.
3. Push Sticks and Push Blocks: Your Best Friends
Your hands should never get close to the blade. This is where push sticks for table saw operations and push blocks become indispensable.
Push Sticks
- What They Are: Push sticks are simple tools, often made of wood or plastic, with a hook or angled end. They allow you to push the wood through the blade while keeping your hands a safe distance away.
- When to Use: Essential for rips that are too narrow for your hands to safely guide the wood. Always use a push stick when the offcut piece is less than 6 inches wide, or when the remaining piece of wood is less than 6 inches long.
- DIY or Buy: You can easily make your own push sticks from scraps of plywood or hardwood.
Push Blocks
- For Stability: Push blocks provide more control and downward pressure on the wood than push sticks. They have a flat base and often a handle.
- When to Use: Excellent for maintaining consistent contact between the wood and the table surface, especially when crosscutting or making wide rips. They help prevent the wood from lifting or tilting, which can lead to binding.
- Types: Look for push blocks with non-slip pads on the bottom for better grip.
4. Zero Clearance Insert: A Subtle But Important Aid
A zero clearance insert is a flat plate that fits into the table saw insert opening, surrounding the blade. It has a narrow slot that precisely matches the blade’s kerf.
Benefits of a Zero Clearance Insert
- Support for Small Pieces: It provides excellent support for small pieces of wood and veneers, preventing them from falling into the throat opening.
- Reduced Tear-Out: By supporting the wood right up to the blade, it significantly reduces tear-out, leading to cleaner cuts.
- Prevents Binding: In some cases, the extra support can help prevent the kerf from closing as quickly, contributing to kickback safety tips.
- Note for Dado Blades: You cannot use a zero clearance insert with a standard blade if you intend to use a dado blade safety concern arises here, as dado blades have a much wider kerf. You need specific zero clearance inserts designed for dado blades if you choose to use them.
5. Outfeed Support Table Saw: Crucial for Long Materials
When cutting long pieces of lumber, the offcut can droop or fall off the back of the saw, potentially getting caught by the blade. This is a common trigger for kickback.
The Role of Outfeed Support
- Support the Offcut: An outfeed support table saw setup (whether a dedicated table, roller stands, or a sled) provides a surface for the cut-off piece to rest on as it exits the blade.
- Maintain Stability: This support keeps the wood stable, prevents it from dropping, and ensures it continues to move forward smoothly without binding.
- One-Handed Rips: For ripping long boards, an outfeed table is almost essential for safe one-handed operation, where you guide the wood with one hand while the other is on the push stick.
6. Proper Feeding Technique: The Human Element
Even with all the right equipment, your technique is critical.
Feeding the Wood
- Consistent Pressure: Always push the wood through the blade with smooth, consistent pressure. Never force the cut. Let the blade do the work.
- Stay Behind the Blade: Your body should always be positioned so that if kickback occurs, the wood is thrown away from you, not into you. Never stand directly behind the blade. Stand to the side, where you can see the cut clearly.
- Don’t Reach Over the Blade: Never reach over the blade to grab the offcut piece. Use push sticks or wait until the blade has stopped spinning and the wood has cleared the saw.
- Avoid Backing Out: If a cut isn’t going well, don’t try to back the wood out of the blade. Turn off the saw and wait for the blade to stop completely before carefully removing the wood.
- Be Aware of the Offcut: Always pay attention to where the offcut piece is going. Ensure it has adequate support and won’t interfere with the blade.
7. Dado Blade Safety: Special Considerations
Using a dado blade safety protocol is different from using a standard blade.
- Why Dado Blades are Different: Dado blades create a wider channel (a dado) in the wood. This wider kerf means a standard riving knife will not work.
- Safety Measures for Dados:
- No Riving Knife: Most table saws do not accommodate a riving knife with a dado blade. This increases the risk of kickback if the dado set pinches.
- Blade Guard Removal: Often, the standard blade guard must be removed to accommodate the wider dado set. This is a significant reduction in safety.
- Alternative Guards: Some manufacturers offer specific blade guards for dado sets. If available, use it.
- Anti-Kickback Pawls: If your guard has anti-kickback pawls (small metal teeth that dig into the wood if it moves backward), these might still offer some protection.
- Strict Technique: Because of the reduced safety features, proper feeding technique is even more critical when using a dado blade. Use push sticks and blocks religiously.
- Never Cut Freehand: Always use the rip fence or miter gauge when using a dado blade.
- Support is Key: Ensure the wood is fully supported on the table and by outfeed support.
8. Material Choice and Preparation
The wood itself can be a factor in kickback.
Wood Properties
- Warped or Twisted Wood: Avoid cutting warped, twisted, or cupped lumber if possible. If you must cut it, take extra precautions.
- Flattening: Try to flatten the wood on jointer or planer first.
- Stable Feeding: If you have to cut it, ensure it is well-supported and fed with extra care, perhaps using a longer push block for better control.
- Internal Tension: Some species of wood have more internal tension. As the blade cuts, the wood can spring in, pinching the blade. This is where a riving knife is invaluable.
Preparing Your Cuts
- Mark Clearly: Always mark your cut lines clearly.
- Measure Twice, Cut Once: Ensure your measurements are accurate to avoid needing to reposition or force the wood.
9. Additional Safety Equipment
Beyond the basic safety features, consider these:
- Safety Glasses: Absolutely non-negotiable. Flying debris can cause blindness.
- Hearing Protection: Table saws are loud.
- Dust Mask/Respirator: For fine dust.
- No Loose Clothing or Jewelry: These can get caught in the blade.
- Good Lighting: You need to see what you’re doing clearly.
Troubleshooting and Common Kickback Scenarios
Knowing how to react and what to look for can help prevent recurring problems.
Scenario 1: Ripping a Narrow Piece
- Problem: You’re ripping a narrow board, and the offcut is too small to be useful, or your hands get too close to the blade.
- Solution: Use a push stick. If the piece is less than 6 inches from the blade to the fence, use a push stick. If the remaining piece of wood is less than 6 inches long, use a push stick to push it through the end.
Scenario 2: Wood Pinching on the Blade
- Problem: The wood seems to bind or slow down the blade significantly during a rip cut.
- Solution: This is likely the kerf closing. Stop the saw immediately. Do not try to back the wood out. Carefully remove the wood after the blade has stopped. Assess your saw’s alignment (riving knife, blade squareness). Consider using a zero clearance insert or ensuring your riving knife is correctly positioned.
Scenario 3: Offcut Falling and Causing Kickback
- Problem: While ripping a long board, the offcut piece falls off the back of the saw and gets caught by the blade.
- Solution: Use outfeed support. A roller stand or an outfeed table will prevent the offcut from dropping and creating a hazardous situation.
Scenario 4: Crosscutting with a Fence as a Guide
- Problem: You’re crosscutting and using the rip fence as a guide to make sure the cut is square. This is a classic kickback setup.
- Solution: NEVER use the rip fence as a guide for crosscuts. Use the miter gauge or a crosscut sled. The fence will guide the wood into the side of the blade as it exits, leading to kickback.
Frequently Asked Questions (FAQ)
Q: Can I remove the blade guard and riving knife for easier cuts?
A: No! This is one of the most dangerous things you can do. The blade guard and riving knife are critical safety features. Always use them unless a specific, safe alternative is in place.
Q: What if my table saw doesn’t have a riving knife?
A: If your saw is older and lacks a riving knife, it’s strongly recommended to get one. Many aftermarket riving knives are available, or you might consider upgrading your saw. In the meantime, use all other kickback safety tips diligently, especially push sticks and maintaining proper table saw alignment.
Q: How do I know if my table saw alignment is correct?
A: You can check blade squareness to the miter slot and fence using a reliable measuring tool like a dial indicator or a precise ruler. Fence alignment to the blade also requires careful measurement. Many woodworking resources provide detailed guides on how to perform these checks.
Q: Is a handheld router safer than a table saw for some cuts?
A: For certain operations, like edge profiling or freehand cutting, a router can be safer. However, for long rip cuts or precise crosscuts, a well-aligned table saw with proper safety measures is often more efficient and safer than trying to replicate those cuts with a router.
Q: What are the key things to remember about table saw kickback prevention?
A: Always use your blade guard and riving knife, use push sticks and push blocks, ensure proper table saw alignment, use outfeed support for long pieces, never use the rip fence for crosscuts, and maintain a proper feeding technique.
Conclusion
Table saw kickback prevention is not an option; it’s a necessity for anyone who values their safety in the workshop. By adhering to these principles – meticulous table saw alignment, diligent use of safety devices like the blade guard and riving knife, employing push sticks for table saw tasks, utilizing a zero clearance insert where appropriate, ensuring proper outfeed support table saw configurations, mastering proper feeding technique, and being aware of specific dado blade safety rules – you dramatically reduce your risk. Remember that a kickback shield, alongside all these measures, adds another layer of protection. Treat your table saw with respect, stay focused, and make safety your top priority.