
Can you build your own table saw fence? Yes, you absolutely can! Building a DIY table saw fence is a rewarding project that can significantly improve your woodworking accuracy and efficiency. A well-built fence is crucial for making precise cuts, ripping lumber to width, and ensuring consistent results in your projects. Many woodworkers opt for aftermarket table saw fence systems due to the limitations of factory-installed fences, or simply to achieve superior performance. If you’re looking for the best table saw fence plans or want to know how to build a table saw fence that rivals premium options, this guide is for you. We’ll cover everything from selecting materials to the final table saw fence installation.
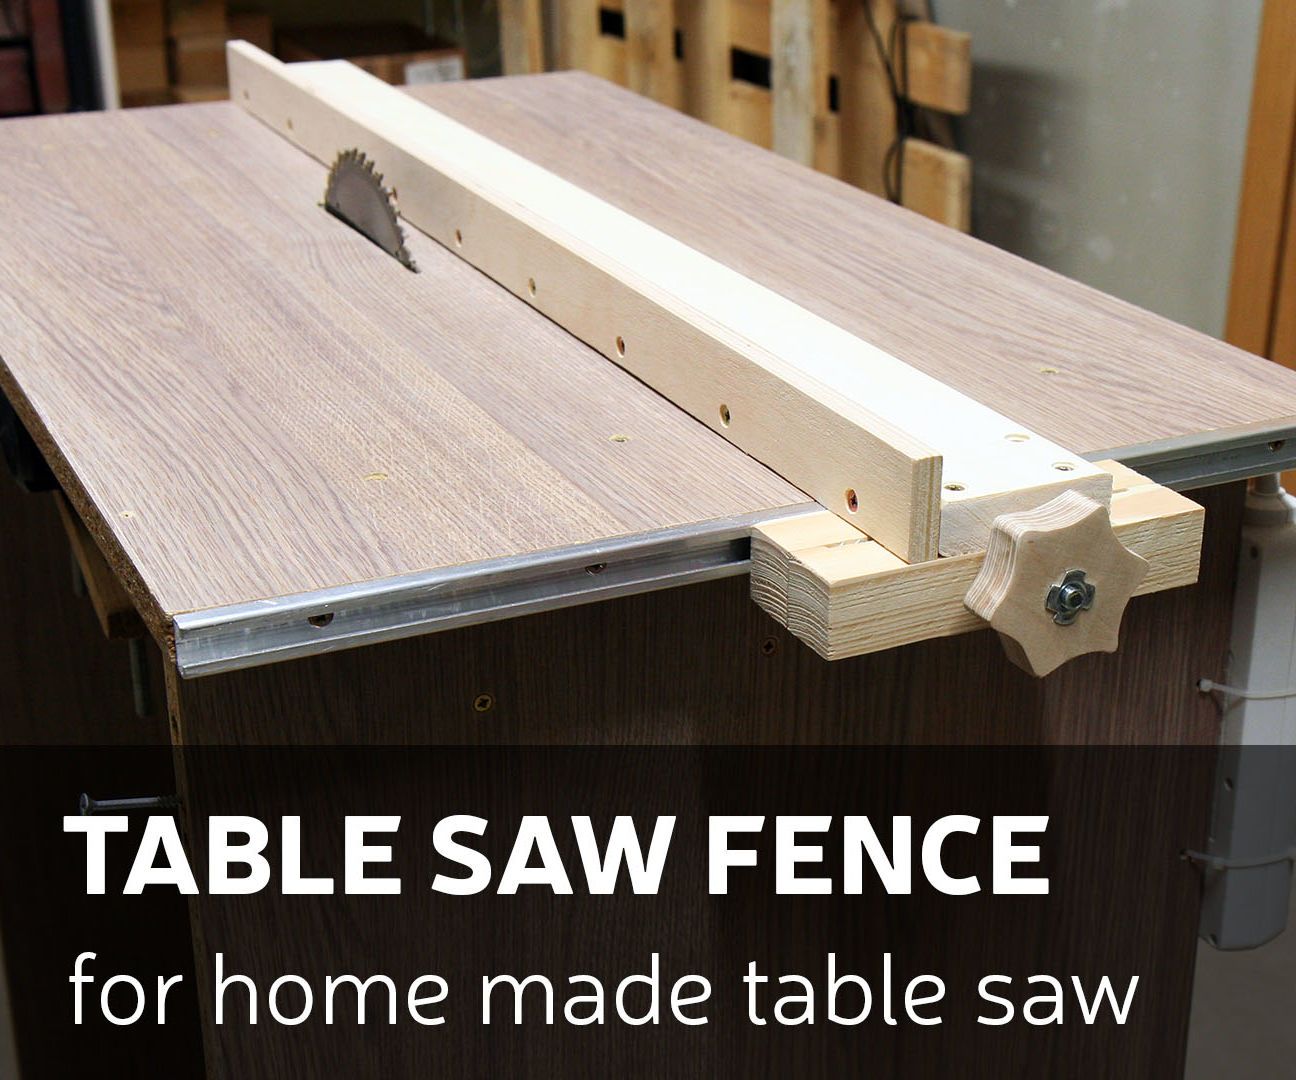
Image Source: content.instructables.com
Why Build Your Own Table Saw Fence?
Factory-issued table saw fences, while functional, often lack the precision, rigidity, and ease of use that serious woodworkers desire. They can be prone to flexing, misalignment, and difficult adjustments. Building your own table saw fence allows you to:
- Achieve Superior Accuracy: A custom-built fence can be engineered for maximum rigidity and precise movement, leading to straighter and more square cuts.
- Tailor to Your Needs: You can design a fence that fits your specific saw and woodworking style, perhaps incorporating features like a router table fence system on one side.
- Save Money: While quality aftermarket fences can be expensive, building one yourself using good materials can be a more budget-friendly option.
- Gain a Deeper Appreciation for Your Tools: The process of building your own components fosters a better understanding of how your machinery works.
Essential Components of a Table Saw Fence
Before diving into the building process, let’s break down the key parts of a functional table saw fence. This will help you comprehend the design and make informed choices.
1. The Fence Body
This is the main structure that slides along the table saw’s fence rails. It needs to be straight, rigid, and parallel to the blade.
2. The Fence Face
This is the surface of the fence that the workpiece registers against. It should be smooth, flat, and perpendicular to the table.
3. The Adjustment Mechanism
This allows you to move the fence accurately across the table and lock it securely in place. This is where much of the innovation in DIY table saw fence designs lies.
4. The Locking Mechanism
This secures the fence at your desired position, preventing any movement during cuts.
5. The Fence Rails
These are typically mounted to the table saw’s top and guide the movement of the fence body. Many DIY designs utilize specific hardware for these.
Choosing the Right Design: Popular DIY Table Saw Fence Plans
There are numerous approaches to building a DIY table saw fence. The “best” plan often depends on your budget, available tools, and the specific table saw you own. Here are a few popular and effective designs:
1. The Biesemeyer-Style Fence
This is arguably the most sought-after design for aftermarket and DIY table saw fences. It’s known for its incredible accuracy, smooth operation, and robust locking mechanism.
- How it works: A rigid fence body is mounted on an adjustable carriage that slides along two parallel rails. A lever system mechanically moves the fence body to and from the blade, ensuring it remains parallel.
- Key features:
- Powder-coated steel rails for smooth gliding.
- Adjustable cam-action locks for precise alignment.
- A substantial fence body that won’t flex.
- DIY approach: Replicating a Biesemeyer fence involves precise fabrication, often using aluminum extrusions or steel. It requires accurate drilling and milling for the guide rods and locking mechanisms.
2. The Delta T-Square Style Fence
This design is simpler than the Biesemeyer but still offers good accuracy and ease of use. It resembles the classic T-square used in drafting.
- How it works: The fence body is mounted on a single rail, typically a square steel tube. It slides along this rail and is locked in place with a handwheel or knob.
- Key features:
- Simpler construction, making it more accessible for beginners.
- Good for smaller contractor-style table saws.
- Can be very effective if built with straight materials.
- DIY approach: Often built using readily available hardware store materials like angle iron, square tubing, and plywood or MDF for the fence body.
3. The Router Table Integration Fence
Many DIY builders aim to create a fence system that can serve dual purposes, acting as a table saw fence on one side and a router table fence on the other.
- How it works: This typically involves a more robust fence body and a specialized mounting system that allows it to be positioned for either function. It might have a larger fence face for router operations.
- Key features:
- Versatility for shops with limited space.
- Requires careful planning to ensure it functions well for both table saw and router operations.
- DIY approach: Often a modification or expansion of a Biesemeyer-style or T-square design, with added features and a larger fence face.
When searching for the best table saw fence plans, look for detailed diagrams, material lists, and clear instructions that match your skill level and the type of table saw you own.
Building Your DIY Table Saw Fence: Step-by-Step Guide
Let’s outline the general steps involved in building a robust DIY table saw fence, focusing on a Biesemeyer-style approach, as it’s a common goal for many woodworkers. Remember, precise measurements and careful execution are paramount for accurate cuts.
Step 1: Planning and Material Selection
This is arguably the most critical step. Thorough planning prevents costly mistakes.
H3: Rail System
- Option 1: Commercial Rails: Purchase a pre-made fence rail system. These are designed for easy installation and provide excellent accuracy. Many companies offer these as aftermarket table saw fence upgrades.
- Option 2: DIY Rails: Fabricate your own rails. This usually involves using square steel tubing or precisely milled aluminum extrusions. You’ll need to ensure they are perfectly parallel and mounted securely to your table saw.
H3: Fence Body and Face
- Material: High-quality plywood (e.g., Baltic birch), MDF, or solid hardwood are good choices for the fence body. The fence face should be made of a very flat and smooth material like melamine-coated particleboard, a laminate sheet, or a dense hardwood.
- Dimensions: The fence body should be long enough to support wider boards and tall enough to provide good workpiece support. The fence face should extend slightly above and below the fence body for better registration.
H3: Adjustment and Locking Hardware
- Guide Rods: For Biesemeyer-style fences, you’ll need smooth, hardened steel rods that fit snugly into drilled holes in the fence body and carriages.
- Carriages: These are the components that hold the fence body and slide along the rails. They typically incorporate brass or nylon inserts for smooth movement and a mechanism to engage the locking lever.
- Locking Mechanism: This usually involves a threaded rod and a cam or lever that pushes against the rail to secure the fence.
H3: Fasteners and Adhesives
- Use high-quality screws, bolts, and wood glue. Ensure all connections are strong and secure.
Step 2: Constructing the Fence Rails (If DIY)
If you’re not using a commercial system, this is where precision is key.
H4: Preparing the Rails
- If using steel tubing, ensure the outer surface is smooth and free of any imperfections that could impede movement.
- If using aluminum extrusions, make sure the channels are clean and true.
H4: Mounting the Rails
- Alignment: This is critical for table saw fence alignment. The rails must be perfectly parallel to each other and square to the miter slots. Use a dial indicator or a precise ruler to check for parallelism and squareness.
- Securing: Drill pilot holes in the table saw’s cabinet and use strong bolts or lag screws to attach the rails securely. Consider using shim washers to achieve perfect alignment.
Step 3: Building the Fence Body and Face
This is the core of your DIY table saw fence.
H4: Cutting the Components
- Cut your chosen material for the fence body and fence face to the desired dimensions. Ensure all cuts are square and precise.
- For a Biesemeyer-style fence, you’ll need to fabricate the carriages that will attach to the fence body and slide on the rails.
H4: Assembling the Fence Body
- Glue and screw the fence body components together. Ensure the assembly is square and rigid.
- If using a T-square design, the fence body is typically a single piece of plywood or MDF.
H4: Attaching the Fence Face
- The fence face needs to be perfectly flat and square to the fence body.
- Use a good quality adhesive and screws to attach the fence face. Ensure the screws are countersunk so they don’t interfere with the workpiece.
- For optimal results, you can use a router to create a slight dado in the fence body for the fence face to seat into, ensuring a strong mechanical lock.
Step 4: Implementing the Adjustment and Locking Mechanism
This is where the fence gets its functionality.
H4: Biesemeyer-Style Mechanism
- Drilling for Guide Rods: Precisely drill holes in the fence body and carriages to accept the guide rods. The holes must be perpendicular to the fence face.
- Carriage Fabrication: Fabricate the carriages from metal or sturdy hardwood. These will hold the fence body and slide onto the fence rails.
- Lever System: Mount the lever mechanism. This typically involves a threaded rod that moves a cam or roller that contacts the fence rail, thereby locking the fence in place. Ensure the movement is smooth and the lock is positive.
- Tuning: Use shims or adjustable inserts within the carriages to fine-tune the fence’s movement and ensure it glides smoothly along the rails. This is crucial for achieving good table saw fence alignment.
H4: T-Square Style Mechanism
- Locking Knob/Wheel: Install a T-handle knob or a threaded rod with a handwheel that can be tightened against the rail to lock the fence.
Step 5: Table Saw Fence Installation and Calibration
This is the final stage before you can start making accurate cuts.
H5: Mounting the Fence to the Rails
- Carefully attach the assembled fence body and its carriage system to the fence rails.
- For Biesemeyer-style fences, the carriages will simply slide onto the rails.
H5: Aligning the Fence
- Blade Alignment: This is paramount. With the blade raised to its full height and set to a 90-degree angle to the table, align the fence so it is perfectly parallel to the blade.
- Checking Parallelism: Use a dial indicator mounted to the fence and move it from the front of the blade to the back. The reading should be the same at both points. Alternatively, use a good quality ruler or measuring tape, measuring the distance from the fence to the blade’s teeth at the front and rear of the blade.
- Micro-Adjustments: Most DIY fences incorporate mechanisms for fine-tuning this alignment. For Biesemeyer-style fences, this is often done by adjusting set screws or shims in the carriages.
H5: Testing the Lock
- Once aligned, lock the fence securely. Test its rigidity by pushing and pulling on it. It should not move.
- Make a test cut on a scrap piece of wood and check the accuracy of the cut.
Enhancing Your DIY Table Saw Fence
Once you have a functional fence, you can consider enhancements.
H3: Adding a Router Table Fence System
Many woodworkers find it beneficial to have a fence that can also function as a router table fence system. This usually involves:
- A Wider Fence Face: A wider face provides more support for router operations.
- Adjustable Inserts: Creating removable fence faces or inserts allows for different router bit profiles or dust collection.
- Dust Collection Ports: Integrating dust collection ports into the fence body improves workshop air quality.
H3: Improving Glide and Lock
- Lubrication: Use a dry lubricant like graphite or a specialized furniture wax on the rails and carriage contact points for smoother operation.
- Upgraded Hardware: Consider using higher quality bearings or roller systems for even smoother movement, especially for heavier fences.
H3: Incorporating a Table Saw Fence Jig
A table saw fence jig can be a custom-made accessory that attaches to your fence to aid in specific operations, such as:
- Repeatable Cuts: Create a jig that can be quickly positioned for making multiple identical cuts.
- Angled Cuts: Design jigs that help guide workpieces for accurate bevel cuts.
- Small Parts Support: Add supports for holding very small pieces safely against the fence.
Troubleshooting Common Issues
Even with careful construction, you might encounter minor issues.
H4: Fence Not Moving Smoothly
- Cause: Rails are not perfectly parallel, or there’s debris in the carriage guides.
- Solution: Re-check rail alignment. Clean the rails and carriage components thoroughly. Ensure any guide rods are clean and lubricated. Adjust carriage tension if applicable.
H4: Fence Locks but Slips Under Pressure
- Cause: Locking mechanism is not engaging firmly enough, or the contact point is worn.
- Solution: Tighten the locking mechanism. Inspect the cam or locking surface for wear and consider replacing or shimming it. Ensure the rail surface is smooth and clean where the lock engages.
H4: Inaccurate Cuts (Not Parallel to Blade)
- Cause: Misalignment between the fence and the blade.
- Solution: Repeat the alignment process meticulously. Use your dial indicator or measuring tape to confirm parallelism. Fine-tune the adjustment screws or shims.
Frequently Asked Questions (FAQ)
Q1: What is the easiest DIY table saw fence to build?
A: The Delta T-Square style fence is generally considered the easiest for beginners due to its simpler design and fewer moving parts.
Q2: Can I use wood for my table saw fence rails?
A: While technically possible, using wood for rails is not recommended for accuracy. Wood can warp and move with changes in humidity, compromising the precision of your fence. Metal or aluminum extrusions are much preferred.
Q3: What is the best material for a table saw fence face?
A: The best material is one that is perfectly flat, smooth, and durable. High-density fiberboard (HDF) with a laminate or melamine coating, a dense hardwood like maple, or even a sheet of phenolic resin are excellent choices.
Q4: How do I ensure my DIY table saw fence is parallel to the blade?
A: This is achieved through precise alignment during installation. You’ll need to adjust the fence using a measuring tool, like a dial indicator or a ruler, ensuring the distance from the fence to the blade is identical at the front and back of the blade.
Q5: What makes an aftermarket table saw fence better than a stock one?
A: Aftermarket fences, like Biesemeyer-style systems, are typically made with much tighter tolerances, more rigid materials, and more sophisticated locking and adjustment mechanisms, leading to significantly better accuracy and repeatability.
Q6: Can I convert my existing fence into an adjustable table saw fence?
A: It’s often more practical to build a new fence from scratch than to modify a basic stock fence. However, you can sometimes improve a stock fence by adding a better fence face or a more robust locking system.
Q7: What tools do I need to build a table saw fence?
A: Essential tools include a table saw (of course!), a miter saw or circular saw for accurate cuts, a drill and drill bits, screwdrivers, wrenches, measuring tapes, a square, and potentially a router, metal-cutting tools, and clamps depending on your chosen design.
Q8: How much does it typically cost to build a DIY table saw fence?
A: The cost varies greatly depending on the materials you choose. Using readily available hardware store items can be quite affordable, perhaps in the $100-$200 range. Opting for precision-machined aluminum extrusions or commercial hardware can increase the cost significantly, but still often less than a high-end aftermarket fence.
Q9: Is it worth building a table saw fence if I’m a hobbyist?
A: Absolutely! Even for hobbyists, consistent and accurate cuts make woodworking more enjoyable and lead to better results in your projects. The improved efficiency and reduced frustration are well worth the effort.
Q10: Can I integrate a router table fence system with my DIY table saw fence?
A: Yes, this is a very popular modification. It often involves designing a fence body that is wider and has provisions for attaching router-specific accessories or using a different fence face for router operations.
Building your own table saw fence is a project that requires patience and precision, but the rewards of accurate and repeatable cuts are immense. By carefully following these steps and choosing the right plans for your needs, you can create a workshop workhorse that elevates your woodworking capabilities.