
Can you frame a jigsaw puzzle? Absolutely! Framing your completed jigsaw puzzle is a fantastic way to turn your hard work into a beautiful piece of art for your home. This guide will walk you through everything you need to know to achieve a professional-looking jigsaw puzzle display. We’ll cover the puzzle framing materials, puzzle mounting techniques, and the best way to frame a puzzle to ensure it lasts for years to come. Whether you’re a seasoned puzzler or new to the hobby, these puzzle framing tips will make the process smooth and rewarding.
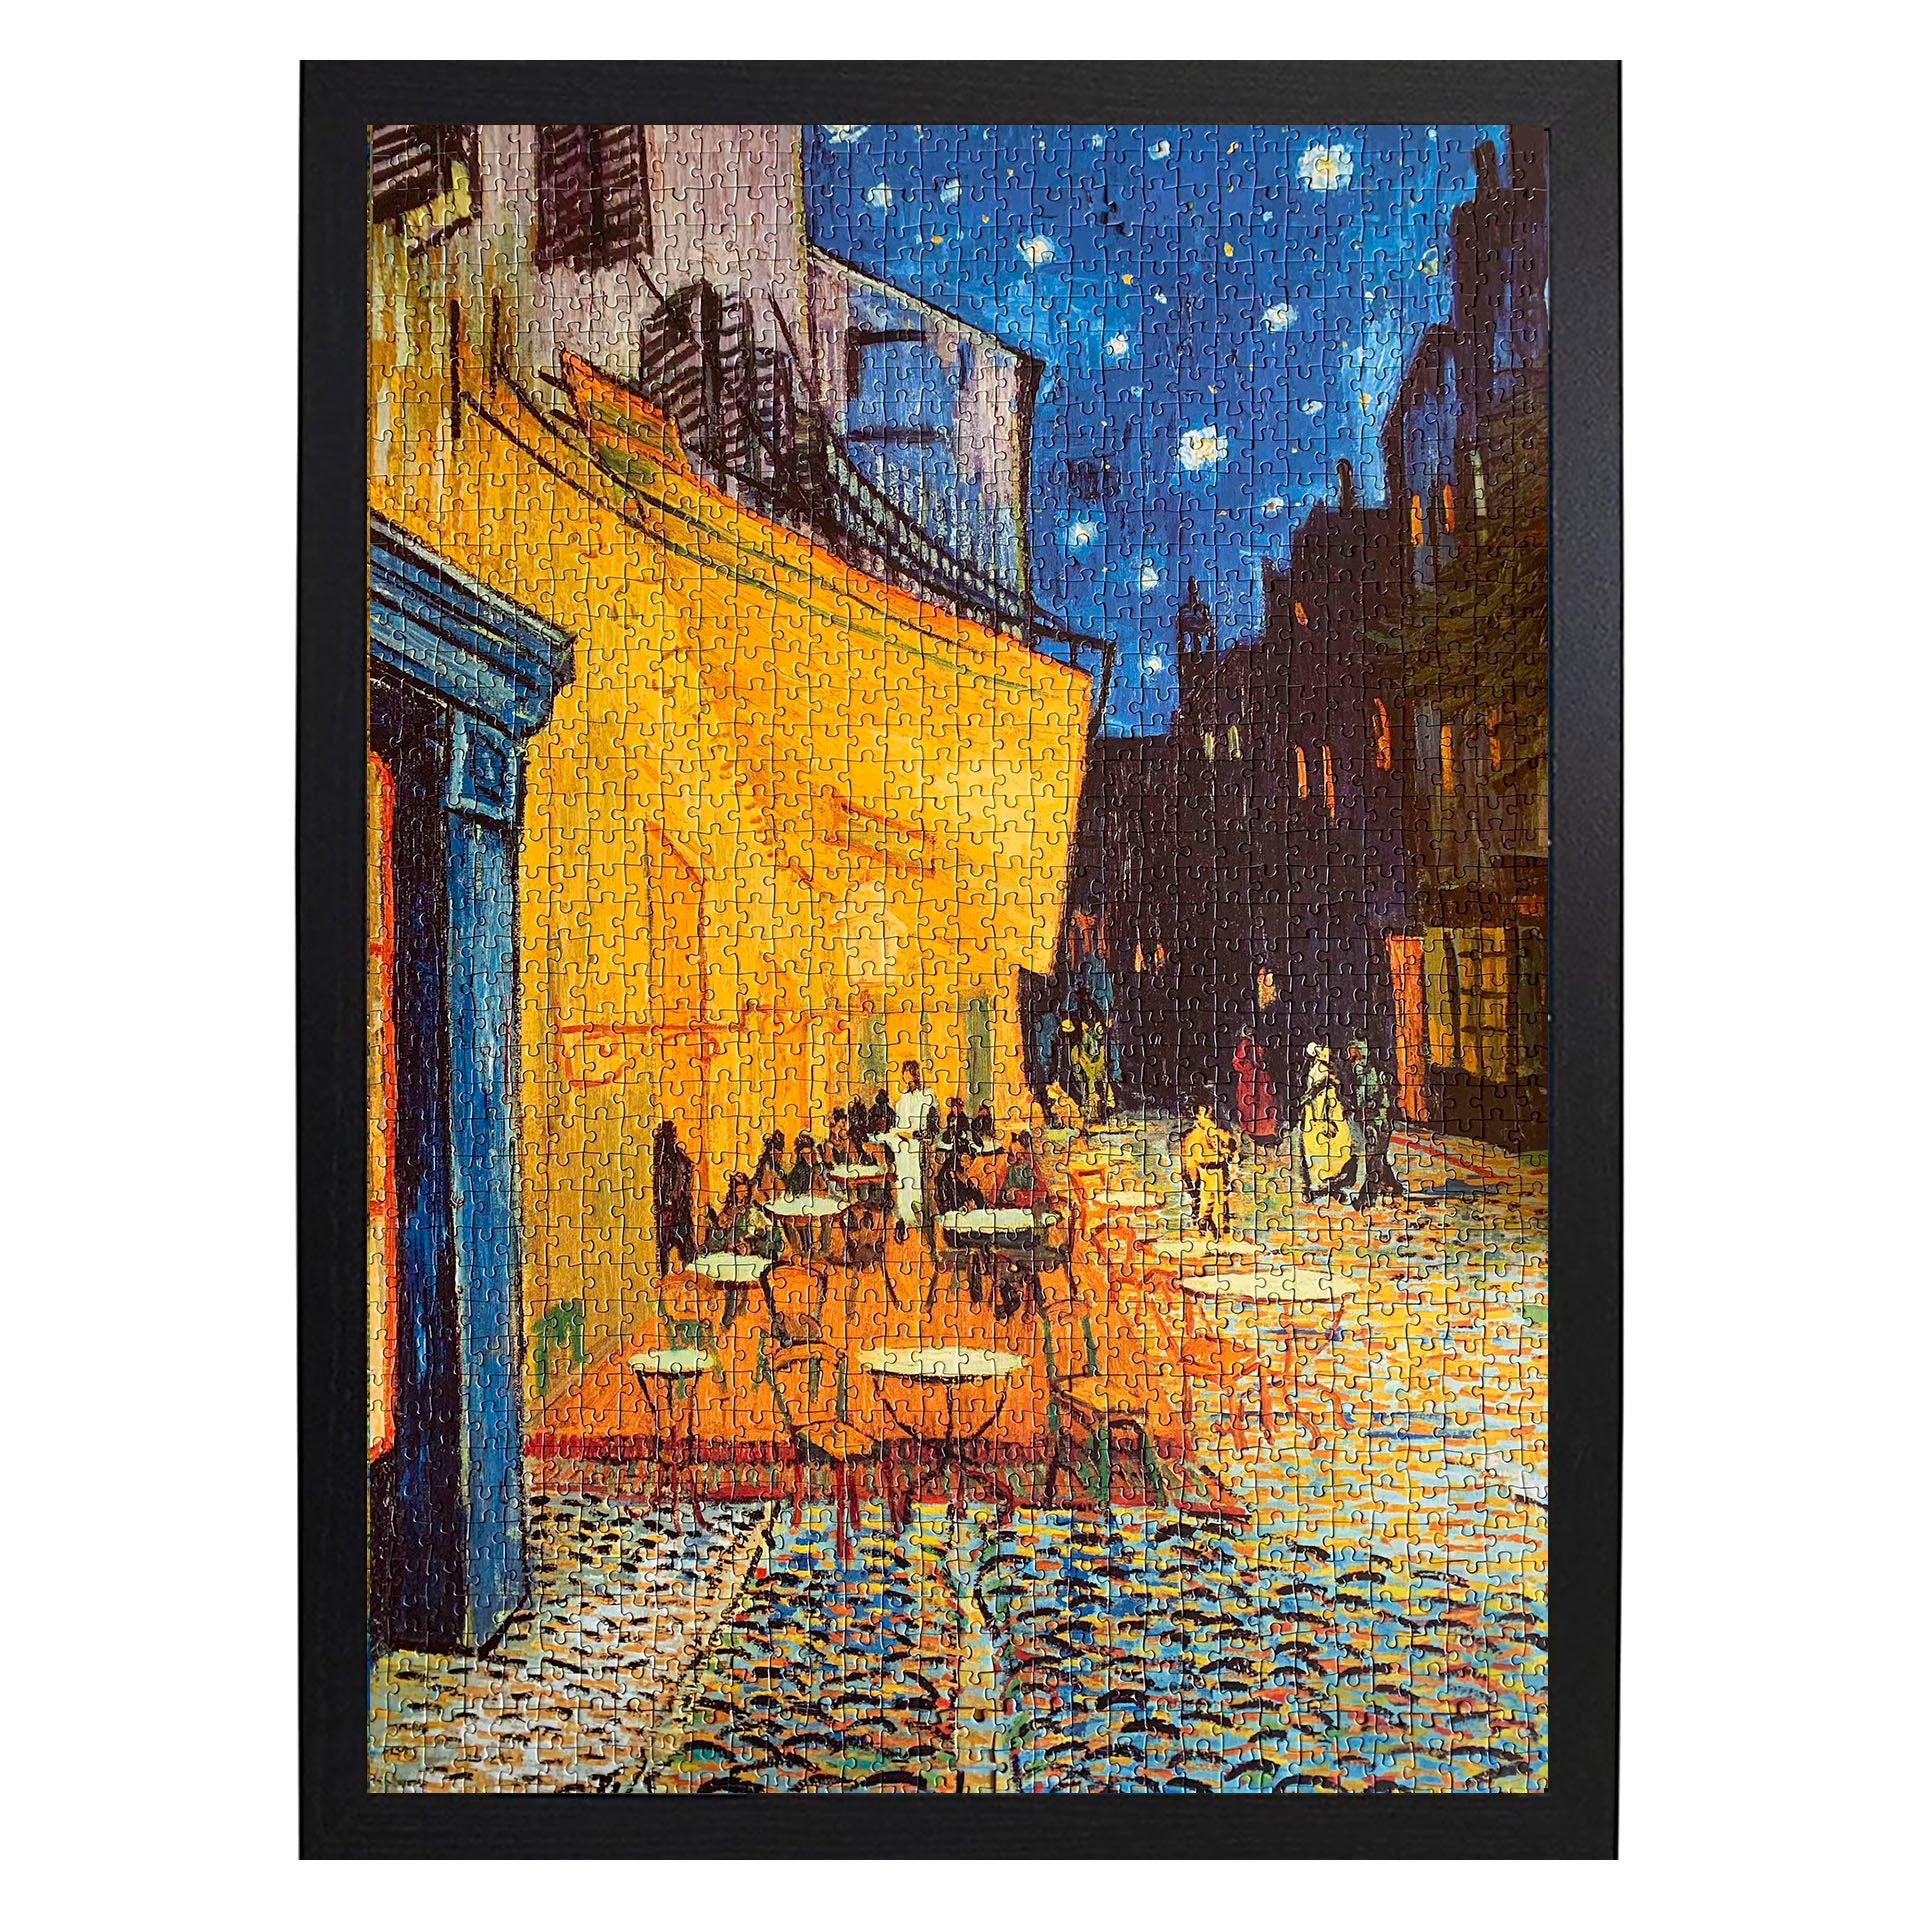
Image Source: www.restinpieces.co.uk
Why Frame Your Jigsaw Puzzle?
Completing a jigsaw puzzle is an accomplishment. The intricate details, vibrant colors, and the sheer satisfaction of fitting the last piece deserve to be showcased. Framing your puzzle transforms it from a temporary pastime into a permanent decoration. It’s a personal touch that adds character to any room. Think of it as a custom piece of art, created by you! It’s a great way to preserve memories, celebrate a favorite image, or simply add a unique element to your home décor. This is a key aspect of jigsaw puzzle display.
Preparing Your Puzzle for Framing
Before you can frame your masterpiece, proper preparation is crucial. This involves ensuring the puzzle is secure and ready for the framing process.
Step 1: Securing the Puzzle Pieces
The first step in mounting jigsaw puzzles is to make sure the pieces stay together. If you plan to frame it immediately after completion, you can often slide a piece of sturdy cardboard or foam board underneath it. However, for long-term preservation or if you need to move the puzzle, gluing is the best method.
How to Glue a Jigsaw Puzzle
Gluing a jigsaw puzzle sounds a little daunting, but it’s quite straightforward. Here’s how to do it:
-
Gather Your Materials:
- Puzzle Glue: Specialized puzzle glue (like Mod Podge or specific puzzle glue brands) is best. These glues dry clear and are designed to adhere puzzle pieces without damaging the image.
- Sponge Brush or Foam Brush: For even application.
- Plastic Wrap or Wax Paper: To protect your work surface.
- Old Cardboard or Foam Board: Slightly larger than your puzzle.
- Ruler or Straight Edge: To help slide the puzzle.
- Weights: Books or other flat, heavy objects.
-
Prepare Your Workspace: Lay down plastic wrap or wax paper on a flat, protected surface. This will catch any excess glue.
-
Slide and Secure: Carefully slide a piece of sturdy cardboard or foam board underneath the completed puzzle. Ensure it’s the same size or slightly larger than the puzzle.
-
Apply Glue to the Front:
- Using your sponge brush, apply a generous, even coat of puzzle glue over the entire surface of the puzzle. Work in one direction to avoid streaks.
- Make sure to get glue into the cracks between the pieces.
- Don’t be afraid to use enough glue, but avoid thick globs.
- Let the first coat dry completely. This might take a few hours, depending on the glue and humidity.
-
Apply Glue to the Back (Optional but Recommended):
- Once the front is dry, carefully flip the puzzle over. This is where the ruler can help if you’re working alone. You can also ask a friend for assistance.
- Apply another even coat of glue to the back of the puzzle. This adds extra strength and helps prevent warping.
- Let the back dry completely.
-
Add Extra Layers (Optional): For added durability and a richer finish, you can apply a second coat of glue to the front after the first coat is fully dry.
-
Weight It Down: While the glue is still wet (or for the final layer), place more books or flat weights on top of the puzzle. This helps ensure the puzzle remains flat and prevents any warping as it dries. Leave the weights on until the glue is completely dry.
Step 2: Trimming Excess Glue and Edges
Once the glue is fully dry, you might have a few excess glue drips or slightly uneven edges.
- Remove Drips: If there are any hardened glue drips, you can carefully scrape them off with a craft knife or a razor blade. Be gentle to avoid damaging the puzzle image.
- Even Edges: For a cleaner look, especially if you’re using a frame that requires precise sizing, you can use a craft knife to carefully trim any stray puzzle pieces or uneven edges. Use a metal ruler as a guide for straight cuts.
Choosing Your Framing Method: DIY vs. Professional
There are several ways to frame your jigsaw puzzle, each with its own pros and cons. The best way to frame a puzzle often depends on your budget, skill level, and desired aesthetic.
DIY Puzzle Framing
DIY puzzle framing is a popular choice for its cost-effectiveness and the personal satisfaction it brings. There are several jigsaw puzzle frame ideas you can explore.
Method 1: Using a Standard Picture Frame
This is the most common and accessible DIY method.
Puzzle Framing Materials:
- Completed and Glued Puzzle: As prepared above.
- Picture Frame: Choose a frame that is slightly larger than your puzzle’s dimensions. Make sure it has a glass or acrylic front.
- Mat Board (Optional): A mat can add a professional touch and help center the puzzle within the frame.
- Acid-Free Cardstock or Foam Board: To mount the puzzle onto.
- Double-Sided Tape or Spray Adhesive: For attaching the puzzle to the backing.
- Scissors or Craft Knife and Ruler: For trimming.
Steps:
- Measure Your Puzzle: Accurately measure the height and width of your glued puzzle.
- Select a Frame: Purchase a standard picture frame that is at least 1-2 inches larger than your puzzle’s dimensions. For example, if your puzzle is 20×26 inches, look for a frame that fits a 22×28 inch opening.
- Prepare the Frame: Remove the backing and any existing photo from the frame. Clean the glass or acrylic thoroughly.
- Cut the Backing: Cut a piece of acid-free cardstock or foam board to the exact size of your puzzle. This will be the surface the puzzle adheres to.
- Attach the Puzzle:
- Lay your puzzle face down on your protected surface.
- Apply double-sided tape or spray adhesive evenly to the back of your puzzle.
- Carefully place the cut backing board onto the adhesive, aligning it with the puzzle edges. Press firmly.
- Alternatively, you can adhere the puzzle directly to the frame’s backing board if it’s sturdy enough.
- Add a Mat (Optional): If you’re using a mat, cut an opening in the mat board that is slightly smaller than your puzzle (e.g., 1/4 inch overlap on all sides). This overlap will hide the puzzle edges and keep it in place. Adhere the puzzle to the mat using double-sided tape or spray adhesive, then place the mat into the frame.
- Assemble the Frame: Place the puzzle (either directly on the backing or adhered to the mat) into the frame. Replace the frame’s backing, securing it with the clips or tabs.
- Hang Your Masterpiece: Add a hanging wire or sawtooth hanger if not already present and hang your framed puzzle.
Method 2: Using a Shadow Box Frame
Shadow boxes are excellent for puzzles with interesting textures or if you want to add extra elements.
Puzzle Framing Materials:
- Completed and Glued Puzzle:
- Shadow Box Frame: Choose a shadow box with enough depth to accommodate your puzzle.
- Acid-Free Foam Board: To mount the puzzle onto.
- Strong Adhesive (e.g., E6000 or hot glue gun): To adhere the puzzle to the shadow box backing.
- Craft Knife: For trimming.
Steps:
- Measure Your Puzzle and Shadow Box: Ensure your puzzle will fit within the shadow box dimensions.
- Prepare the Shadow Box Backing: Cut a piece of acid-free foam board to fit snugly inside the shadow box.
- Adhere the Puzzle:
- Apply a strong adhesive to the back of your puzzle. Ensure even coverage, paying attention to the edges.
- Carefully place the puzzle onto the prepared foam board backing, pressing firmly to ensure good adhesion. Let it dry completely according to the adhesive manufacturer’s instructions.
- Assemble the Shadow Box: Place the adhered puzzle and backing into the shadow box frame. Close and secure the frame.
- Add Embellishments (Optional): Shadow boxes offer space to add small trinkets, extra puzzle pieces, or a printed title to your display.
Method 3: Puzzle Mounting Boards
Specialized puzzle mounting boards offer a simple and clean way to display your puzzle without a traditional frame.
Puzzle Framing Materials:
- Completed and Glued Puzzle:
- Puzzle Mounting Board: Available in various sizes and materials (like foam core or wood composite).
- Double-Sided Tape or Spray Adhesive:
- Craft Knife:
Steps:
- Measure and Cut: Ensure your puzzle fits onto the mounting board. If the board is larger, trim it down to size using a craft knife.
- Adhere the Puzzle: Apply adhesive to the back of your puzzle and carefully press it onto the mounting board.
- Finishing Touches: Some mounting boards have pre-drilled holes for hanging. Others might require you to attach hanging hardware.
Professional Framing
For a truly high-end and protected display, professional framing is an excellent option.
Pros:
- Expertise: Professionals have the skills and tools to handle delicate puzzles.
- Customization: You can choose from a vast array of frame styles, matting options, and glass types (e.g., UV-protective, anti-glare).
- Durability: Professional framing techniques ensure the longevity of your puzzle.
- Acid-Free Materials: Reputable framers will use acid-free materials to prevent damage over time.
Cons:
- Cost: Professional framing can be significantly more expensive than DIY methods.
How it Works:
- Find a Reputable Frame Shop: Look for a frame shop with good reviews and experience in framing artwork or delicate items.
- Consultation: Bring your completed puzzle to the shop. Discuss your vision, budget, and desired aesthetic with the framer.
- Material Selection: Choose your frame, mat board (if desired), and glass type. The framer can offer advice on what will best suit your puzzle and décor.
- Assembly: The professional framer will expertly glue (if needed), mount, and assemble the puzzle into the frame using specialized techniques and archival materials.
Advanced Puzzle Framing Techniques and Considerations
Beyond basic framing, there are a few more advanced puzzle mounting techniques and considerations for the ultimate jigsaw puzzle display.
Non-Frame Display Options
Not every jigsaw puzzle display needs a traditional frame.
- Puzzle Glue and Varnish: Some puzzlers opt to simply glue and varnish their puzzles, then attach hanging hardware directly to the back. This is a more minimalist approach.
- Mounting on Wood or Canvas: You can adhere your puzzle to a piece of painted wood or a stretched canvas for a unique, rustic look. This can be achieved using spray adhesive or Mod Podge.
Protecting Your Puzzle
- UV-Protective Glass/Acrylic: If your puzzle will be displayed in an area with direct sunlight, consider using UV-protective glass or acrylic in your frame. This prevents fading of the colors over time.
- Acid-Free Materials: Always use acid-free mat boards, backing, and adhesives. Acidic materials can cause discoloration and damage to your puzzle over time, compromising preserving jigsaw puzzles.
Framing Odd-Sized Puzzles
Many puzzles are not standard print sizes. This is where DIY puzzle framing or professional framing becomes essential.
- Custom Sizing: For DIY, you’ll need to cut your own mat board or backing to perfectly fit your puzzle within a slightly larger standard frame.
- Custom Framing: Professional framers excel at creating custom-sized frames and mats to accommodate any puzzle size.
Puzzle Framing Materials Table
Here’s a quick reference for the puzzle framing materials you might need:
| Material | Purpose | DIY Suitability | Professional Suitability | Notes |
|---|---|---|---|---|
| Puzzle Glue | Secures puzzle pieces, preserves image | High | High | Use specialized puzzle glue or Mod Podge. |
| Sponge/Foam Brush | Even application of glue | High | High | Essential for smooth glue coats. |
| Cardboard/Foam Board | Backing for puzzle, mounting surface | High | High | Acid-free is recommended for long-term preservation. |
| Double-Sided Tape | Attaching puzzle to backing or mat | High | Medium | Strong adhesive tape is best. |
| Spray Adhesive | Adhering puzzle to backing/mat, more even coverage than tape | High | High | Use in a well-ventilated area. |
| Picture Frame | Encloses and protects the puzzle | High | High | Choose size carefully. |
| Mat Board | Adds aesthetic appeal, centers puzzle | High | High | Acid-free is crucial for preserving jigsaw puzzles. |
| Craft Knife/Razor Blade | Trimming excess glue, edges | High | High | Use with caution and a ruler for straight cuts. |
| Metal Ruler | Guide for cutting, sliding puzzle | High | Medium | Essential for precise DIY work. |
| Shadow Box Frame | Offers depth and space for embellishments | High | High | Ideal for textured puzzles or adding extra elements. |
| UV-Protective Glass/Acrylic | Protects colors from fading due to sunlight | Medium | High | Recommended for puzzles in sunny locations. |
| E6000/Hot Glue Gun | Strong adhesive for shadow boxes or mounting on wood/canvas | Medium | Medium | Use with caution, ensure ventilation for strong glues. |
Frequently Asked Questions (FAQ)
Here are some common questions people have when framing puzzles:
Q1: What is the best way to frame a puzzle?
A1: The “best” way depends on your budget and desired outcome. For a simple, affordable option, using a standard picture frame with proper gluing and mounting is excellent. For a professional, museum-quality look, custom framing by a professional is ideal.
Q2: Can I frame a puzzle without gluing it?
A2: While you can technically secure a puzzle within a frame using tape or by having the glass hold it in place, it’s not recommended for long-term display. Gluing provides the necessary stability and prevents pieces from shifting, which is crucial for preserving jigsaw puzzles.
Q3: How do I prevent my puzzle from warping when I glue it?
A3: Ensure you use enough glue for even coverage, especially on the back. After gluing, placing heavy, flat objects on top of the puzzle while it dries is key to preventing warping.
Q4: What size frame do I need for my puzzle?
A4: Measure your completed and glued puzzle precisely. You’ll need a frame that is at least 1-2 inches larger in both dimensions than your puzzle to allow for a border or matting.
Q5: How do I clean a framed puzzle?
A5: For the glass or acrylic, use a standard glass cleaner and a soft cloth. Avoid spraying cleaner directly onto the frame, especially if it’s made of wood. For the puzzle itself (if the glass is removed), use a soft brush or a slightly damp cloth, being very careful not to snag any pieces.
Q6: Can I use regular school glue to frame a puzzle?
A6: It’s not recommended. School glue may not be as durable or archival as specialized puzzle glue. It might also cause the puzzle image to degrade or the pieces to yellow over time.
Q7: What are some creative jigsaw puzzle frame ideas?
A7: Consider using a shadow box to add depth, incorporating a mat with a custom opening, or even adhering the puzzle to a painted piece of wood or fabric for a unique wall hanging. You could also use vintage frames for a retro feel.
By following these steps and puzzle framing tips, you can successfully frame your jigsaw puzzles, creating beautiful and lasting pieces of art that you can proudly display in your home. Enjoy your jigsaw puzzle display!