
Can you prevent kickback on a table saw? Yes, you absolutely can and must prevent kickback on a table saw. Kickback is a sudden, violent ejection of the workpiece back towards the operator. It’s one of the most dangerous table saw accidents, and with proper techniques and equipment, it can be avoided entirely. This guide will delve deep into the core principles and practical methods for ensuring safe operation and preventing kickback.
Table saws are incredibly versatile tools, capable of making a wide variety of cuts. However, their power and the rapidly spinning blade also present inherent risks. Fathoming the causes of kickback is the first step toward mastering its prevention. Understanding how the blade, the wood, and the saw’s components interact is crucial for safe operation.
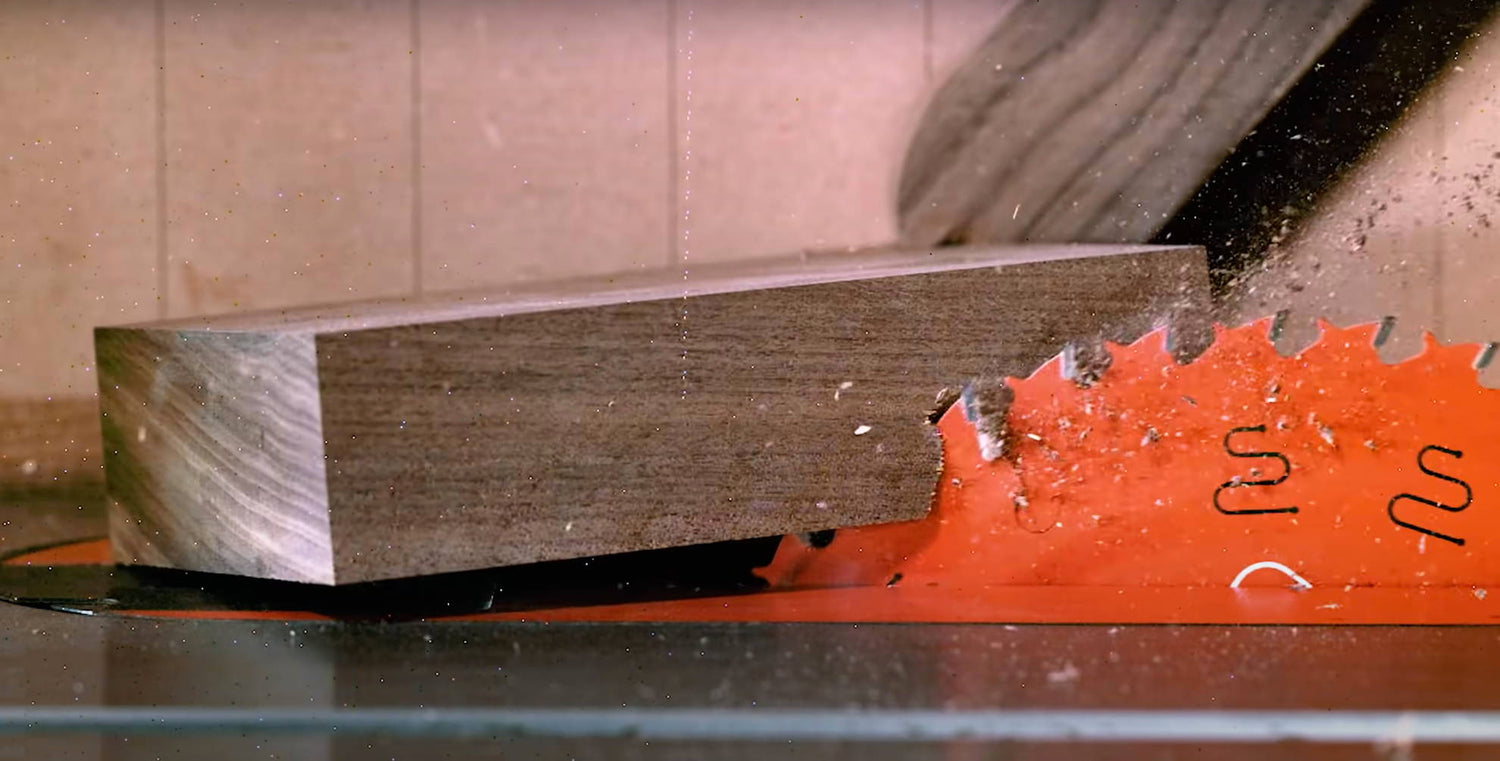
Image Source: kmtools.com
Deciphering the Causes of Kickback
Kickback occurs when the workpiece is unexpectedly thrown back at the operator. This usually happens when the wood being cut is forced into the blade at an angle, or when the kerf (the gap created by the blade) closes up and pinches the blade. Several factors can lead to this dangerous situation:
- Binding: This is when the wood gets squeezed against the blade.
- Twisted or Warped Wood: If the wood isn’t flat, it can pinch the blade as it passes through.
- Unsupported Offcuts: When a piece of wood is cut and the offcut is not properly supported, it can twist and bind against the blade.
- Blade Not Perpendicular: If the blade isn’t perfectly 90 degrees to the table, it can cause binding.
- Blade Contact with the Push Stick: If a push stick is allowed to get too close to the blade, it can bind the wood.
- Misaligned Ripping Fence: A ripping fence that isn’t parallel to the blade is a primary culprit. If the fence is closer to the blade on the outfeed side, the wood will be forced into the blade.
- Blade Guard Issues: A malfunctioning or improperly set blade guard can also contribute to kickback.
- Improper Feed Rate: Pushing the wood too fast or too slow can both lead to problems. Too slow can cause burning, and too fast can lead to loss of control.
- Cutting Freehand: Never cut without proper support for the workpiece against the fence or miter gauge.
Essential Table Saw Safety Practices
Adhering to strict table saw safety protocols is paramount. It’s not just about avoiding kickback; it’s about ensuring your long-term safety and well-being.
1. Prioritize the Blade Guard and Splitter
The blade guard and splitter are your first lines of defense against kickback.
- The Blade Guard: This is the physical cover that encloses the top of the blade. Its primary function is to prevent the blade from contacting your body and to help contain ejected material. Always ensure it’s properly adjusted and in place.
- The Splitter: This is a metal piece that sits directly behind the blade. Its purpose is to keep the kerf open, preventing the wood from pinching the blade. It should be slightly thinner than the blade’s kerf and aligned with the blade.
Key Points for Blade Guard and Splitter Use:
- Always use them: Unless a specific operation genuinely requires their removal (which is rare), keep them on your saw.
- Proper Alignment: Ensure the splitter is aligned with the blade and the blade guard is set correctly to hover just above the workpiece.
- Maintenance: Keep them clean and free of debris.
2. The Indispensable Push Stick and Push Blocks
When your hands get close to the blade, a push stick or push block becomes essential for maintaining control and keeping your fingers safe.
- Push Stick: A long, slender piece of wood or plastic with a notch at one end. You use it to push the workpiece past the blade once your hands can no longer safely do so.
- Push Blocks: These are larger, often angled blocks with a handle. They provide more downward pressure and control, especially for thinner or smaller workpieces.
How to Use Push Sticks and Blocks Effectively:
- Keep them handy: Have several readily accessible around your table saw.
- Use them early: Begin using them as soon as your hands would be within a few inches of the blade.
- Maintain contact: Always keep the workpiece pressed down and against the fence with your push stick or block.
- Never use them to push sideways: They are designed for forward motion, not for guiding the wood into the blade.
3. Master the Ripping Fence
The ripping fence is your guide for making rip cuts (cuts parallel to the grain). Its proper setup is critical for preventing kickback.
- Alignment is Crucial: The ripping fence must be perfectly parallel to the blade. A fence that is closer to the blade on the outfeed side will inevitably cause the wood to bind.
- Checking Alignment: You can check this by:
- Raising the blade to its full height.
- Ensuring the blade is at 90 degrees to the table.
- Measuring the distance from the front of the blade to the fence.
- Rotating the blade so the back is closer to the fence and measuring again. The measurements should be identical.
- Make adjustments to the fence as needed.
Tips for Safe Ripping:
- Use the fence for ripping only: Never use the miter gauge for ripping, as it can be dislodged and cause kickback.
- Support the offcut: Ensure the offcut piece is supported and doesn’t fall onto the blade or table, potentially causing issues.
- Avoid short pieces: Ripping very short pieces significantly increases the risk of kickback.
4. The Crosscut Sled: A Superior Option for Crosscuts
For crosscuts (cuts perpendicular to the grain), a crosscut sled is a far safer and more stable option than relying solely on the miter gauge.
- What is a Crosscut Sled? It’s a jig made of plywood or MDF with a fence attached. The sled slides smoothly along the table saw’s miter slots, ensuring the workpiece remains square to the blade. It also provides a large surface for applying downward pressure.
- Benefits:
- Provides excellent support for the workpiece.
- Keeps the workpiece square to the blade.
- Minimizes the risk of the wood binding or twisting.
- Greatly reduces the chance of kickback during crosscuts.
Using a Crosscut Sled:
- Build it well: Ensure your sled is square and glides smoothly in the miter slots.
- Hold the workpiece firmly: Secure the wood against the sled’s fence.
- Push with control: Use a steady, controlled motion.
5. Dado Blade Kickback: A Specific Danger
Using a dado blade set for cutting grooves or dados requires special attention to preventing kickback. A dado blade creates a wider kerf, and the risk of the wood pinching the blades increases.
- Splitter for Dado Blades: Many table saws come with a specific splitter designed for dado blade sets. If yours does, always use it. If not, or if the dado blade set is wider than what the standard splitter can accommodate, you might need to consider custom solutions or avoid using dado blades altogether.
- Workpiece Support: Ensure the workpiece is extremely well-supported and stable.
- Proper Feed Rate: Feed the wood slowly and steadily.
- Avoid Narrow Strips: Do not attempt to cut dados in very narrow strips of wood.
6. Maintaining Control: The Core of Kickback Prevention
Ultimately, preventing kickback comes down to maintaining complete control over the workpiece throughout the cut.
- Never Reach Over the Blade: Once the wood is in motion, do not reach over the blade to support or guide the offcut. Use a push stick or have a helper.
- Support Both Sides of the Cut: When ripping, ensure both the main workpiece and the offcut are supported as they exit the blade.
- Watch for Binding: Pay close attention to the sound and feel of the cut. If the saw seems to be straining or the wood is vibrating abnormally, stop immediately.
- Don’t Cut Wet Wood: Wet wood can swell and warp, increasing the risk of binding.
- Be Mindful of Internal Stresses: Wood can have internal stresses that are released when cut, causing it to warp and pinch the blade. This is particularly common with certain types of wood or pieces with knots.
7. Blade Selection and Maintenance
The type and condition of your table saw blade play a significant role in safe operation.
- Sharp Blades: A sharp blade cuts more cleanly and requires less force. A dull blade will bind more easily and generate more heat, increasing the risk of kickback.
- Correct Blade for the Job: Use the right type of blade for the cut you’re making. Rip blades have fewer teeth and are designed for cutting with the grain. Combination blades have more teeth and are suitable for both ripping and crosscutting.
- Blade Alignment: Ensure the blade is properly installed and aligned with the arbor.
8. Awareness of Your Surroundings and Yourself
Beyond the mechanical aspects, your own actions and awareness are critical.
- Distraction-Free Zone: Keep your workspace clean and free of distractions.
- No Loose Clothing or Jewelry: These can get caught in the blade.
- Eye Protection: Always wear safety glasses or a face shield.
- Hearing Protection: Table saws are loud.
- Know When to Stop: If you are tired, rushed, or distracted, it’s time to take a break.
Advanced Kickback Prevention Techniques
Beyond the fundamental safety measures, several advanced techniques can further enhance kickback prevention.
1. Anti-Kickback Pawls (Riving Knives)
Modern table saws often feature an integrated riving knife or anti-kickback pawls that are part of the blade guard assembly.
- Riving Knife: This is a solid piece of metal that is directly behind the blade, much like a splitter but often thicker and more robust. It’s designed to stay with the blade as it rises and falls, always maintaining its position to keep the kerf open. It’s a highly effective kickback prevention device.
- Anti-Kickback Pawls: These are small, spring-loaded teeth that are part of some blade guard systems. If the wood begins to be ejected backward, these teeth dig into the wood, preventing it from accelerating back towards the operator.
Importance of These Features:
- Always Engage: Ensure your riving knife or pawls are properly engaged with the blade.
- Check Functionality: Periodically check that the pawls can spring out and engage properly.
2. Push Blocks with Hold-Down Capabilities
For added security, especially when ripping narrow stock or working with slippery wood, consider using push blocks that have a gripping surface or a slight downward angle.
- Grip: The material of the push block should provide good traction on the wood.
- Downward Pressure: A slight downward angle on the block helps keep the wood pressed firmly against the table.
3. Using a Table Saw Zero-Clearance Insert
A zero-clearance insert is a custom-made insert for your table saw that fits snugly around the blade.
- Benefits:
- Reduces the gap around the blade, providing better support for the workpiece.
- Minimizes the chance of small pieces falling into the throat of the saw.
- Can help prevent tear-out on delicate woods.
- Contributes to overall stability, indirectly aiding in kickback prevention.
4. Avoiding Ripping Long, Thin Strips
Ripping very long, thin strips of wood is inherently risky. The wood can easily flex, twist, and bind against the blade.
- Alternative Methods: If possible, consider using other tools for making very thin strips, such as a jointer with a fence attachment, a router table, or even cutting multiple pieces and then joining them.
- If You Must Rip Thin Strips: Use a well-aligned ripping fence, a sharp blade, and a very precise push stick or push block to maintain constant pressure against the fence and table.
Table Saw Kickback: What to Do If It Happens
While prevention is key, it’s useful to know what to do if you experience kickback.
- Don’t Panic: The initial reaction might be to flinch or grab at the wood, which can be dangerous.
- Turn Off the Saw: If it’s safe to do so, immediately turn off the table saw.
- Assess the Situation: Carefully examine the saw and the workpiece. Check for any damage or if anything is jammed.
- Clear the Area: Ensure the blade is stopped before attempting to clear any debris.
Table 1: Common Kickback Scenarios and Their Prevention
| Scenario | Cause | Prevention Technique |
|---|---|---|
| Ripping a warped board | Warped wood pinches the blade. | Use flat, stable wood. Use a zero-clearance insert and anti-kickback pawls. |
| Offcut falls and binds | Unsupported offcut twists into the blade. | Support the offcut with a push stick or use a splitter. |
| Ripping fence not parallel to the blade | Wood is forced into the blade as it exits. | Ensure the ripping fence is perfectly aligned and parallel to the blade at all times. |
| Crosscutting without a sled | Miter gauge misalignment, wood twists. | Use a crosscut sled for all crosscuts. |
| Using a dado blade on narrow stock | Dado blades create a wide kerf, increasing pinching risk. | Use a dado-specific splitter. Avoid dados on narrow stock. Feed slowly and steadily. |
| Reaching over the blade to steady offcut | Loss of control as hands get too close to the blade. | Use a push stick or a helper to manage the offcut. |
| Cutting freehand without fence or miter gauge | Complete lack of workpiece guidance. | Always use the ripping fence or miter gauge (with a sled for crosscuts). |
| Blade or splitter not correctly set | Inadequate kerf support. | Ensure the splitter is aligned with the blade and slightly thinner than the kerf. Blade guard should hover above wood. |
Frequently Asked Questions (FAQ)
- What is the most common cause of table saw kickback?
The most common cause is the workpiece binding against the blade, often due to a misaligned ripping fence or warped wood. - Can I use a table saw without a blade guard?
It is strongly advised against using a table saw without a properly functioning blade guard and splitter/riving knife. These are critical safety features. - Is it safe to remove the blade guard for certain cuts?
Generally, no. While some specialized cuts might necessitate temporary removal, it should only be done by experienced users who understand the risks and have alternative safety measures in place. For most operations, the guard should remain. - How do I know if my ripping fence is aligned?
You can check alignment by measuring the distance from the blade to the fence at the front and back of the blade with the blade raised to its highest point and set at 90 degrees. The measurements should be identical. - When should I use a push stick versus a push block?
A push stick is good for general pushing past the blade. A push block is better for thinner stock, when more downward pressure is needed, or for long rips where control is paramount.
By diligently applying these principles and techniques, you can significantly reduce the risk of table saw accidents and enjoy the benefits of this powerful tool with confidence and safety. Remember, table saw safety is an ongoing commitment to good habits and proper equipment usage.