
Can I saw down a tree myself? Yes, you can saw down a tree yourself, but it requires careful planning, the right equipment, and a strong focus on safety. What is the safest way to cut down a tree? The safest way involves understanding directional felling principles, using proper cutting techniques like directional felling, and prioritizing chainsaw safety at all times. Who is qualified to remove a tree? While a trained professional arborist or tree removal expert is always the safest bet, with proper knowledge and precautions, individuals can undertake smaller tree felling tasks.
Taking down a tree is a significant task that demands respect for the tree’s power and the potential hazards involved. Whether you’re clearing space for a new garden, removing a diseased tree, or simply managing your property, knowing how to saw down a tree safely and effectively is crucial. This guide will walk you through the process, from initial assessment to final cleanup, incorporating essential chainsaw safety and tree removal techniques.
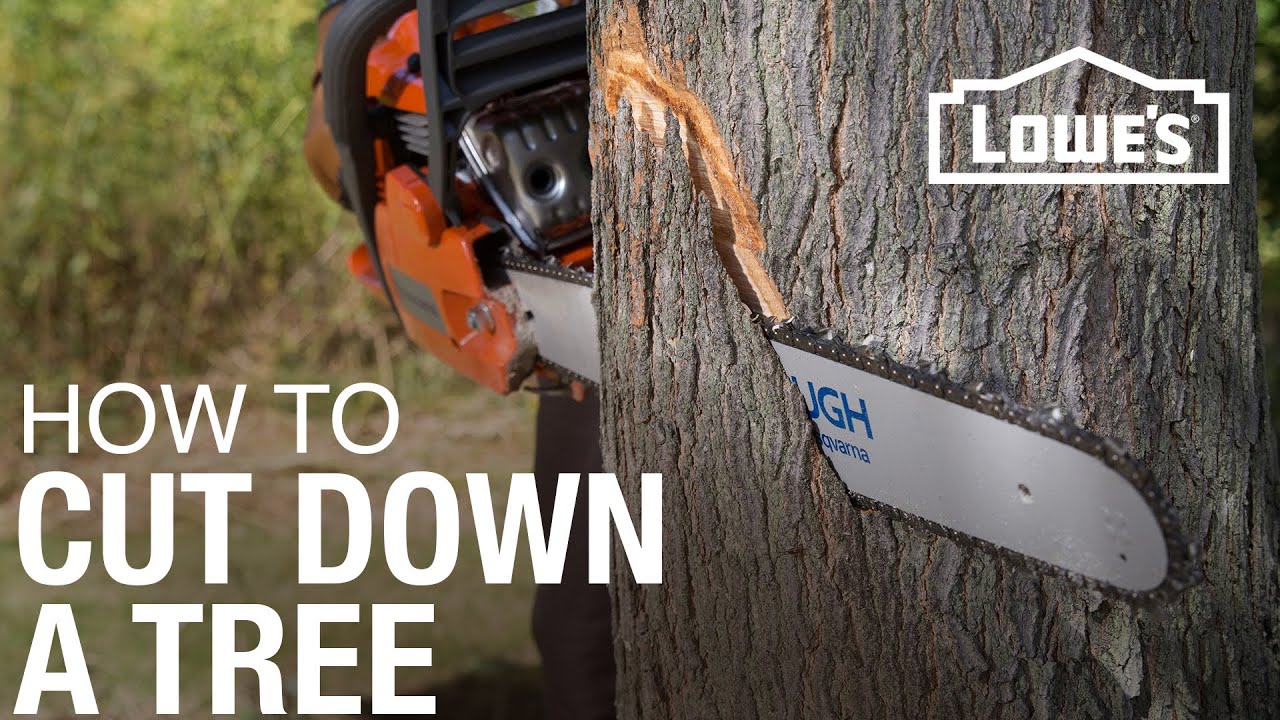
Image Source: i.ytimg.com
Deciphering the Tree’s Intentions: Pre-Felling Assessment
Before you even pick up a chainsaw, a thorough assessment of the tree and its surroundings is paramount. This phase is critical for successful and safe felling a tree.
Assessing the Tree’s Health and Structure
- Lean: Does the tree have a natural lean? This lean will significantly influence your felling direction. A tree leaning heavily in one direction will naturally want to fall that way.
- Dead or Damaged Branches: Look for any deadwood, broken branches, or signs of disease. These can break off unexpectedly during the felling process, posing a severe risk.
- Trunk Condition: Check for rot, hollows, or cracks in the trunk. These weaken the tree and can lead to unpredictable breaking.
- Root System: Observe the ground around the base. Are there signs of root rot or instability?
Evaluating the Felling Zone
The area where the tree will fall is just as important as the tree itself.
- Obstacles: Identify any structures (houses, sheds, fences), power lines, roads, vehicles, or other trees in the planned fall path. Even a small obstacle can be severely damaged.
- Wind Conditions: Never fell a tree in high winds. Wind can alter the tree’s natural lean and affect the direction of fall. A gentle breeze might be manageable, but strong gusts are a no-go.
- Escape Routes: Plan at least two clear escape routes. These should be at a 45-degree angle away from the planned felling direction and clear of any obstructions. You’ll need to move quickly once the tree begins to fall.
Gathering Your Arsenal: Essential Equipment and Safety Gear
Having the right tools and protective gear is non-negotiable for safe tree felling. Don’t compromise on quality or proper fit.
Essential Cutting Tools
- Chainsaw: Choose a chainsaw appropriate for the size of the tree. For larger trees, you’ll need a more powerful saw. Ensure it’s well-maintained, with a sharp chain and proper chain tension.
- Felling Wedges: These are vital for controlling the direction of fall and preventing the chainsaw from binding in the cut. They are typically made of plastic or aluminum.
- Felling Lever or Axe: Can be used to help guide smaller trees or to assist in driving wedges.
Personal Protective Equipment (PPE) – Your First Line of Defense
Chainsaw safety is paramount, and proper PPE is the foundation.
- Helmet with Face Shield and Hearing Protection: Protects your head from falling debris and reduces noise exposure.
- Safety Glasses: Additional eye protection is always a good idea.
- Chainsaw Chaps or Pants: Made of tough material designed to stop a moving chain.
- Steel-Toed Boots: Protect your feet from falling limbs or the chainsaw.
- Heavy-Duty Gloves: Improve grip and protect your hands.
Mastering the Cuts: The Art of Directional Felling
Directional felling is the technique used to control the direction in which a tree falls. It relies on two primary cuts: the notch and the back cut.
The Notch: Guiding the Fall
The notch, also called the undercut or face cut, is made on the side of the tree facing the desired fall direction. It essentially creates a hinge that guides the tree as it falls.
Types of Notches:
-
Conventional Notch: This is the most common type.
- Top Cut: Make a downward cut at an angle of about 70 degrees. The depth of this cut should be about one-quarter to one-third of the tree’s diameter.
- Bottom Cut: Make a horizontal cut that meets the end of the top cut.
- The result is a wedge-shaped opening.
-
Open-Face Notch (Mdirectional Notch): This notch offers better control than the conventional notch, especially in windy conditions or when felling larger trees.
- Top Cut: Make a downward cut at an angle of about 45-50 degrees. The depth should be about one-third of the tree’s diameter.
- Second Top Cut: Make another downward cut from the opposite side, also at about 45-50 degrees, meeting the first top cut.
- Bottom Cut: Make a horizontal cut that meets the point where the two top cuts converge. This creates a more open mouth.
Pro Tip: The angle of the top cut in the conventional notch and the angle of the open-face notch determine the direction of the hinge. A steeper angle guides the tree more precisely.
The Back Cut: Releasing the Tree
The back cut, also known as the felling cut, is made on the opposite side of the tree from the notch. This cut releases the tension and allows the tree to fall.
- Positioning: The back cut should be slightly higher than the apex of the notch. This is crucial for creating a strong hinge.
- The Hinge: The uncut wood between the notch and the back cut is the hinge. It should be about one-tenth of the tree’s diameter. A properly sized hinge is critical for controlling the fall. Too thin, and the tree might twist; too thick, and it won’t fall properly.
- Using Felling Wedges: As you make the back cut, insert felling wedges into the cut to prevent the chainsaw bar from getting pinched and to help push the tree over. Drive the wedges in with a hammer or axe as the cut progresses.
Table: Notch vs. Back Cut
| Feature | Notch (Face Cut) | Back Cut (Felling Cut) |
|---|---|---|
| Purpose | Guides the direction of fall; creates the hinge. | Releases tension; initiates the fall. |
| Location | Side facing the desired fall direction. | Opposite side of the notch. |
| Depth | About 1/4 to 1/3 of the tree’s diameter. | Continues towards the notch, leaving a hinge. |
| Angle | Varies (e.g., 70° for conventional, 45-50° for open-face). | Typically horizontal or slightly angled upwards. |
| Key Element | Defines the direction of fall. | Completes the cut to allow falling; uses wedges. |
Step-by-Step Guide to Felling a Tree
Now, let’s put it all together into a practical, step-by-step process.
Step 1: Final Checks and Preparation
- Clear the Area: Remove any brush, debris, or obstacles from around the base of the tree and along your planned escape routes.
- Check Equipment: Ensure your chainsaw is fueled, oiled, and running smoothly. Check that your PPE is properly fitted and secured.
- Confirm Felling Direction: Take one last look at the lean, wind, and planned fall path. Make sure everything is still as you assessed.
Step 2: Making the Notch (Face Cut)
- Position: Stand on the side of the tree facing your intended fall direction.
- Execute the Top Cut: For a conventional notch, make the angled cut first. For an open-face notch, make the two angled cuts. Ensure the depth is correct.
- Execute the Bottom Cut: Make the horizontal cut to meet the top cut, forming the notch. Remove the wedge of wood. The notch should open cleanly towards your planned fall path.
Step 3: Making the Back Cut
- Position: Move to the opposite side of the tree.
- Start the Cut: Begin the back cut horizontally, slightly above the level of the notch’s apex.
- Insert Wedges: As you cut deeper, insert felling wedges into the saw cut to prevent it from closing and to help push the tree. Keep inserting wedges as needed.
- The Hinge: Stop cutting when you have about one-tenth of the tree’s diameter remaining as uncut wood – this is your hinge. The hinge is critical for controlling the fall.
Step 4: The Fall and Immediate Aftermath
- Retreat: Once the back cut is almost complete and the hinge is properly formed, carefully remove your chainsaw.
- Escape: Immediately move to one of your pre-planned escape routes.
- Observe: Watch the tree as it falls. Be aware of any “kickback” or unexpected movements. Do not turn your back on a falling tree.
- Wait: Stay clear of the falling tree and any branches that might spring back or fall after the main trunk hits the ground.
Post-Felling Operations: From Stump to Salvage
Once the tree has safely fallen, the work isn’t over. You’ll need to address the tree stump and process the felled timber.
Pruning Branches and Limb Removal
- Limbing: This involves cutting off the branches from the felled trunk.
- Limbing from the base: Start at the butt end of the trunk and work your way up.
- Stand on the trunk: Whenever possible, stand on the felled trunk to avoid working in awkward positions.
- Be aware of tension: Branches can be under tension. Cut from the compression side first, then finish from the tension side to avoid the saw binding.
- Bucking: This is the process of cutting the trunk into manageable lengths.
- Clearance: Ensure you have adequate space to maneuver the chainsaw.
- Support: If the log is resting on one end, cut from the top down about one-third of the way, then finish from the bottom up to prevent pinching. If it’s supported at both ends, cut from the top down.
Addressing the Tree Stump
After bucking the trunk, you’re left with the tree stump removal.
- Options for Stump Removal:
- Manual Removal: For smaller stumps, you can use an axe and shovel to dig around and lever it out.
- Grinding: A stump grinder is the most efficient method for removing larger stumps. You can rent these machines.
- Chemical Removal: Applying a chemical stump remover can accelerate the decay process, making it easier to break down or dig out over time.
- Burning: This is an option in some areas, but check local regulations. It’s often slow and can leave a mess.
- Leaving it: For some, leaving the stump to decompose naturally is an option, especially if it’s in an out-of-the-way location.
Table: Stump Removal Methods
| Method | Pros | Cons | Best For |
|---|---|---|---|
| Manual Removal | Low cost, no chemicals | Labor-intensive, time-consuming, difficult for large stumps | Small stumps, accessible locations |
| Grinding | Fast, efficient, removes below ground | Machine rental cost, can be messy | All sizes, quick results needed |
| Chemical | Less effort than manual, aids decay | Slow, requires patience, chemicals involved | Medium to large stumps, no immediate need |
| Burning | Can be effective | Fire hazard, requires permits, leaves ash | Remote areas, with proper precautions |
| Leaving it | No effort, provides habitat | Can be unsightly, tripping hazard, attract pests | Out-of-the-way areas, aesthetic concerns |
Pro Tips for Professional Tree Cutting
Elevating your tree removal techniques from amateur to proficient requires attention to detail and experience.
- Practice Makes Perfect: Start with smaller, less challenging trees to build your confidence and skills.
- Sharpen Your Saw: A sharp chain cuts faster and safer, reducing kickback risk.
- Maintain Your Saw: Proper lubrication and tension are crucial for performance and longevity.
- Use the Right Tool for the Job: Don’t try to fell a giant oak with a small homeowner’s saw.
- Never Work Alone: Always have someone else present who can assist in an emergency or call for help.
- Consider the Wood Grain: When making cuts, be mindful of how the wood grain will react.
- Learn to Read the Tree: Experienced arborists can interpret subtle cues from a tree that indicate its stability and how it will behave during felling. This comes with practice and study.
- Know When to Call a Professional: For large trees, trees near structures, or trees with significant disease or damage, calling professional tree cutting services is the safest and most responsible choice. They have the specialized equipment and expertise to handle complex situations.
Frequently Asked Questions (FAQ)
Q1: How do I know which direction a tree will fall?
A1: A tree’s natural lean is the primary indicator. However, wind, the location of branches, and the type of cuts you make all influence the final fall direction.
Q2: What is kickback when using a chainsaw?
A2: Kickback is a sudden, violent upward and backward motion of the chainsaw. It happens when the tip of the guide bar (the kickback zone) strikes an object or when the chain is pinched. It’s extremely dangerous and a major cause of chainsaw injuries. Maintaining proper grip, avoiding cutting with the tip, and using a chainsaw with a low-kickback chain and bar can help prevent it.
Q3: How far away should I stand when a tree falls?
A3: It’s generally recommended to be at least two tree lengths away from the falling tree. This provides a buffer for branches that might spring back or for the trunk to roll after impact.
Q4: Can I fell a tree in damp or wet conditions?
A4: While you can fell a tree in damp conditions, avoid doing so when the ground is saturated. This can make the ground unstable and unpredictable. Wet wood can also be heavier and affect how the tree falls.
Q5: What is the smallest diameter a tree should be before I consider felling it myself?
A5: There’s no definitive “smallest” diameter, as it depends on your experience, the chainsaw you have, and the tree’s condition. However, trees with a diameter exceeding your chainsaw’s bar length, or those with significant leans or hazards, are best left to professionals.
Q6: How important is the hinge in felling a tree?
A6: The hinge is absolutely critical. It controls the speed and direction of the fall. A properly sized hinge ensures the tree falls in the intended direction and at a controlled pace. Without a hinge, the tree can fall unpredictably.
By approaching tree felling with careful planning, the right equipment, and a strong commitment to chainsaw safety, you can successfully and safely manage your tree removal projects. Remember, when in doubt, always consult with or hire professional tree cutting services.