
Can I use an electric saw safely for DIY projects? Yes, you can use an electric saw safely for DIY projects and woodworking by following proper safety precautions, choosing the right saw and blade for your task, and mastering proper cutting techniques. What is the most important thing to remember when using an electric saw? Always prioritize safety.
Electric saws are powerful tools that can make your DIY and woodworking tasks much easier and faster. From framing a deck to crafting a detailed piece of furniture, the right electric saw can be your best friend. However, with great power comes great responsibility. Using an electric saw without the proper knowledge and precautions can lead to serious injury. This guide will walk you through everything you need to know to use electric saws safely and effectively, helping you master your cuts with ease.
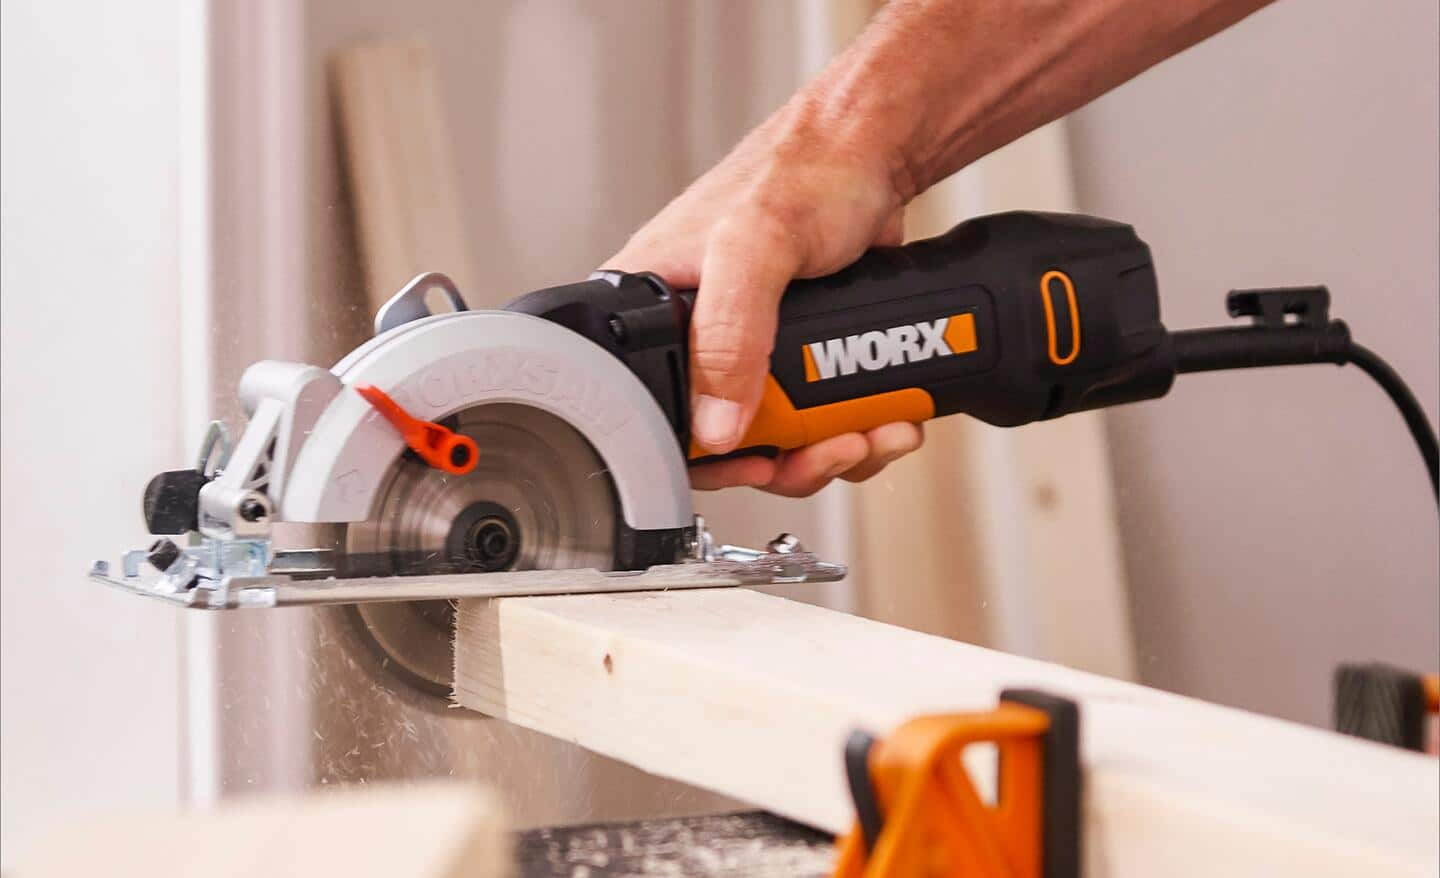
Image Source: dam.thdstatic.com
Choosing the Right Saw for Your Project
The world of electric saws is vast, with different types designed for specific jobs. Selecting the correct saw is the first step towards safe and efficient operation.
Popular Electric Saw Types
- Circular Saws: These are versatile workhorses, perfect for making straight cuts in lumber, plywood, and other sheet goods. They are excellent for breaking down large sheets and general construction tasks.
- Jigsaw: Known for its ability to make curved and intricate cuts, a jigsaw is a must-have for detailed woodworking and decorative projects.
- Reciprocating Saws: Often called “Sawzalls,” these powerful saws are designed for rough cutting, demolition, and cutting through materials like metal, plastic, and wood, even with nails embedded.
- Miter Saws (Chop Saws): Ideal for making precise crosscuts and angled cuts, miter saws are essential for trim work, framing, and projects requiring repeatable accuracy.
- Table Saws: These stationary saws offer excellent control and precision for ripping (cutting along the grain) and crosscutting larger pieces of lumber. They are a staple in most woodworking shops.
- Scroll Saws: For delicate and intricate work, such as intarsia or fretwork, a scroll saw is the tool of choice. Its thin blade and fine control allow for complex patterns.
Factors to Consider When Choosing
- Project Type: What kind of cuts do you need to make? Straight, curved, angled, rough, or precise?
- Material: What will you be cutting? Wood, metal, plastic, drywall?
- Power Source: Corded saws offer continuous power, while cordless models provide portability.
- Budget: Prices vary significantly between saw types and brands.
- Workspace: Consider the size of your workspace and whether a portable or stationary saw is more appropriate.
Essential Safety Precautions
Safety is paramount when operating any power tool, especially electric saws. Ignoring safety can lead to severe injuries, including cuts, amputations, and eye damage. Always make safety your top priority.
Personal Protective Equipment (PPE)
Wearing the right PPE is non-negotiable.
- Safety Glasses or Goggles: Protect your eyes from flying debris and sawdust. Wrap-around styles offer better peripheral protection.
- Hearing Protection: Electric saws can be very loud. Earplugs or earmuffs are crucial to prevent hearing damage.
- Dust Mask or Respirator: Sawdust can be harmful to your lungs. A good quality dust mask or respirator will filter out fine particles.
- Work Gloves: Provide a better grip on the tool and protect your hands from splinters and minor cuts.
- Sturdy Footwear: Closed-toe shoes with good grip will protect your feet from dropped tools or materials.
- Appropriate Clothing: Avoid loose clothing, jewelry, or anything that could get caught in the moving blade. Tie back long hair.
Pre-Operation Checks
Before you even plug in your saw, perform these checks:
- Inspect the Saw: Ensure the housing is intact, the cord is not frayed, and all guards are in place and functioning correctly.
- Check the Blade: Make sure the blade is sharp, free of damage, and correctly installed for the direction of rotation. Ensure it’s the right blade type for the material you’re cutting.
- Clear the Work Area: Remove any clutter, tools, or obstructions from your workspace that could interfere with your movement or the saw’s operation. Ensure good lighting.
- Secure the Workpiece: Always clamp down your material securely. Never try to hold the material with your hand while cutting. Use clamps, vises, or a workbench.
Safe Operating Practices
- Read the Manual: Familiarize yourself with your specific saw’s operation and safety features.
- Start Slowly: Begin cuts at a moderate speed to allow the blade to reach full speed and avoid kickback.
- Maintain Control: Keep a firm grip on the saw with both hands, if applicable, and maintain a stable stance.
- Let the Saw Do the Work: Don’t force the saw. Excessive pressure can cause the blade to bind, leading to kickback.
- Be Aware of Kickback: Kickback is a sudden, violent upward or backward thrust of the saw. It occurs when the blade binds in the material. To prevent kickback:
- Ensure the blade is sharp and correctly installed.
- Use the correct blade type for the material.
- Never twist the saw in the cut.
- Avoid cutting knots or embedded nails.
- Keep the saw’s base plate flat on the material.
- Guard Operation: Never remove or bypass safety guards. They are designed to protect you from the blade.
- Power Cord Management: Keep the power cord away from the blade and the cutting path. Be mindful of where the cord is to avoid tripping or cutting it. For cordless saws, ensure batteries are fully charged and in good condition.
- Never Reach Under the Material: When cutting, keep your hands and body well away from the blade’s path.
- Turn Off and Unplug: Always turn off the saw and unplug it (or remove the battery) before changing blades, making adjustments, or performing maintenance.
Blade Types: Matching the Blade to the Job
The blade is the cutting edge of your saw. Using the wrong blade can result in poor cut quality, increased risk of kickback, and damage to the blade or the saw. Understanding different blade types is crucial.
| Blade Type | Tooth Count | Tooth Configuration | Best For | Avoid Using For |
|---|---|---|---|---|
| General Purpose | 24-40 | Flat Top Grind (FTG) | General wood cutting, framing, rough construction | Fine finish cuts, hardwoods, non-ferrous metals |
| Fine Finish | 60-80+ | Alternate Top Bevel (ATB) | Smooth cuts on hardwoods, softwoods, laminates | Rough construction, aggressive cutting |
| Plywood/Laminate | 80+ | High Alternate Top Bevel (Hi-ATB) | Clean, splinter-free cuts on plywood, laminates | Softwoods, general construction |
| Metal Cutting | Varies | Carbide-tipped, specific tooth geometry | Cutting non-ferrous metals, steel | Wood, plastics (unless specifically designed) |
| Reciprocating Saw | Varies | Bi-metal, HCS, HSS | Demolition, wood with nails, metal, plastic | Fine woodworking, precise cuts |
| Jigsaw Blades | Varies | T-shank, U-shank | Wood, metal, plastic, ceramic (material specific) | Very thick materials, large diameter curves |
Blade Maintenance
- Keep Blades Clean: Sawdust and sap can build up on blades, reducing their efficiency and increasing heat.
- Sharpen Blades: Dull blades require more force, leading to poor cuts and increased risk of kickback. Have blades professionally sharpened or learn to do it yourself if you have the right tools.
- Replace Damaged Blades: Any nicks, cracks, or missing teeth mean the blade should be replaced immediately.
Mastering Proper Technique for Various Cuts
Technique is key to achieving clean cuts and operating safely. Practice these techniques to improve your results.
Rip Cuts (Cutting with the Grain)
Rip cuts are typically made with circular saws, table saws, or table saws.
- Mark Your Line: Use a sharp pencil or marking knife for a clear, precise line.
- Use a Straightedge or Rip Fence: For circular saws, use a rip fence attachment or a clamped-on guide (like a straight piece of wood or metal). For table saws, use the rip fence.
- Position the Saw: Align the blade with your marked line, ensuring the guide or fence is set correctly.
- Start the Saw: Let the blade reach full speed before contacting the material.
- Push Smoothly: Apply steady, consistent pressure. Keep the saw base firmly against the workpiece and the guide/fence.
- Support the Offcut: As you near the end of the cut, ensure the offcut piece is supported to prevent it from pinching the blade.
Crosscuts (Cutting Against the Grain)
Crosscuts are common for circular saws and miter saws.
- Mark Your Line: Again, a sharp pencil or marking knife is essential.
- Use a Miter Gauge or Crosscut Sled (Table Saw): These ensure the material stays square to the blade.
- Use a Clamp or Guide (Circular Saw): Clamp a straight edge across the material to guide the saw.
- Position the Saw: Align the blade with the marked line. For circular saws, ensure the base plate is flat on the material.
- Start the Saw: Let the blade reach full speed.
- Move Through the Cut: Push the saw smoothly and steadily through the material. Keep the saw base firmly on the material.
- Support the Offcut: For long pieces, support the end that will be cut off to prevent it from falling and damaging the blade or workpiece.
Bevel Cuts (Angled Cuts)
Most circular saws and miter saws allow you to adjust the blade angle for bevel cuts.
- Set the Angle: Adjust the saw’s bevel adjustment mechanism to your desired angle. Double-check the setting with a protractor.
- Secure the Material: Ensure the workpiece is firmly clamped.
- Follow Cutting Guidelines: Use the same principles as rip or crosscuts, paying close attention to the angle of the blade relative to the material.
Jig Saw Techniques
Jigsaws excel at curved cuts.
- Choose the Right Blade: Select a blade designed for the material and the type of curve (e.g., a fine-tooth blade for tight curves).
- Mark Your Line: Draw your curve clearly on the material.
- Start the Cut: Start the saw with the base plate flat on the material. For internal cuts, you may need to drill a “lead hole” to insert the blade.
- Follow the Line: Guide the saw gently along the marked line, allowing the blade to do the work. Avoid forcing it.
- Control the Curve: For tight curves, you might need to pivot the saw slightly rather than turning it abruptly.
Cutting Materials Safely and Effectively
Different materials require specific approaches and blade choices.
Cutting Wood
- Softwoods (Pine, Fir): Easy to cut. General-purpose or fine-finish blades work well.
- Hardwoods (Oak, Maple): Require sharper blades and slower feed rates to avoid burning. Fine-finish blades are recommended.
- Plywood and Engineered Woods: Can chip or splinter. Use blades with a high tooth count and an ATB grind for clean edges.
- Composite Materials (MDF, Particle Board): Produce a lot of fine dust. Use dedicated blades for these materials and ensure excellent dust collection.
Cutting Metal
- Non-Ferrous Metals (Aluminum, Brass): Use blades specifically designed for metal with carbide teeth. Ensure the material is securely clamped.
- Steel: Requires specialized metal-cutting blades and often a lubricant to prevent overheating and blade damage. Reciprocating saws with metal-cutting blades are often used for demolition.
Cutting Plastic
- Acrylic/Plexiglass: Use a fine-tooth blade (often specifically for plastic) to prevent cracking and melting. A slower speed and steady feed are important.
- PVC/ABS: These plastics are softer and can be cut with standard wood blades, but dedicated plastic blades offer cleaner results.
Power Cord Management
A stray power cord can be a serious hazard.
- Keep it Clear: Always ensure the power cord is out of the cutting path.
- Buddy System: If possible, have a helper manage the cord, especially on longer cuts.
- Cord Reels: For stationary tools, consider a retractable cord reel.
- Avoid Tripping Hazards: Be aware of where the cord is running to prevent yourself or others from tripping.
- Check for Damage: Regularly inspect the power cord for cuts, fraying, or damage. Never use a tool with a damaged cord.
Dust Collection: A Crucial Element
Sawdust isn’t just messy; it can be harmful to your health and create a fire hazard.
Why Dust Collection Matters
- Health: Fine sawdust particles can cause respiratory problems.
- Visibility: Dust can obscure your cutting line.
- Tool Performance: Dust buildup can overheat the motor and clog components.
- Fire Hazard: Fine sawdust can be highly flammable.
Dust Collection Methods
- Built-in Dust Ports: Many modern saws have ports that can connect directly to a shop vacuum or dust collection system.
- Dust Bags: Some saws come with dust bags that collect a portion of the sawdust.
- Shop Vacuums: Connect a shop vacuum to the saw’s dust port for efficient collection. Consider a vacuum with a HEPA filter for very fine dust.
- Dust Collection Systems: For dedicated workshops, a central dust collection system is the most effective solution.
- WET CUTTING: For certain materials like concrete or stone, wet cutting methods use water to suppress dust. This is typically done with specialized saws.
Maintenance and Care for Your Saw
Regular maintenance keeps your saw in good working order and ensures safety.
Routine Cleaning
- After Each Use: Brush or blow away sawdust and debris from the saw housing, motor vents, and blade guard.
- Blade Area: Ensure the area around the blade and the arbor are clean.
Lubrication (If Applicable)
- Some saws may have specific lubrication points. Consult your owner’s manual.
Checking for Loose Parts
- Periodically check that all screws, nuts, and bolts are tight.
Brush Replacement (For Brushed Motors)
- If your saw has a brushed motor, the brushes will wear out over time and need replacement. Consult your manual for instructions.
Storage
- Store your saw in a clean, dry place.
- Ensure blades are protected when stored.
Troubleshooting Common Issues
Even with the best care, problems can arise.
Saw Won’t Start
- Check Power: Is it plugged in? Is the circuit breaker tripped? Is the battery charged?
- Safety Lockout: Ensure the safety switch or lockout is not engaged.
- Overheating: Allow the saw to cool down if it has been used extensively.
Blade Binding or Slow Cutting
- Dull Blade: Replace or sharpen the blade.
- Wrong Blade Type: Ensure you’re using the correct blade for the material.
- Forcing the Saw: Let the saw do the work; don’t push too hard.
- Material Issues: Check for knots, nails, or inconsistencies in the material.
Excessive Vibration
- Loose Blade: Ensure the blade is securely tightened.
- Damaged Blade: Replace a bent or damaged blade.
- Motor Issues: If vibration is severe or accompanied by noise, contact a service center.
Finishing Cuts
The final step of a cut can be as important as the start.
Avoiding Tear-Out and Splintering
- Sharp Blade: A sharp blade is the best defense against tear-out.
- Correct Blade Type: Use a fine-tooth or specialized blade for delicate materials.
- Support Material: Ensure the workpiece is fully supported.
- Backer Board: For critical cuts, place a piece of scrap wood along the exit side of the cut to support the wood fibers.
- Cut with the Good Side Down: For circular saws, place the surface you want to remain pristine facing downwards. For table saws, place the good side up.
- Score the Line: For delicate materials, you can lightly score the cut line with a utility knife before sawing.
Smooth Transitions
- After the cut, you may need to lightly sand the edges to remove any minor imperfections.
Frequently Asked Questions (FAQ)
Q1: How do I prevent kickback when using a circular saw?
A1: Ensure your blade is sharp and correctly installed. Use the right blade for the material. Never twist the saw in the cut, and always keep the saw’s base plate flat on the material. Avoid cutting knots or embedded nails.
Q2: Can I use a wood blade to cut metal?
A2: No. Using a wood blade on metal can damage the blade, the material, and potentially cause a dangerous kickback. Always use blades specifically designed for metal cutting.
Q3: How often should I replace my saw blade?
A3: Replace blades when they become dull, chipped, or damaged. A good rule of thumb is to sharpen or replace a blade when you notice increased effort required to make a cut, burning, or splintering.
Q4: Is it safe to hold the workpiece with my hand while cutting?
A4: Absolutely not. Always secure your workpiece with clamps or a vise. Holding the material with your hand puts you at extreme risk of serious injury from the blade.
Q5: What is the best way to clean sawdust from my saw?
A5: After unplugging the saw (or removing the battery), use a brush or compressed air to remove sawdust from the housing, motor vents, and blade guard. A shop vacuum is also very effective.
By following these guidelines, you can confidently and safely use electric saws to achieve professional-quality results in all your DIY and woodworking projects. Remember, safety first, always!