
What are grommet pliers? Grommet pliers are a specialized tool used to install metal grommets, also known as eyelets, into fabrics, paper, leather, and other flexible materials. They provide a neat and durable finish for holes, preventing fraying and adding strength.
Installing grommets might seem tricky at first, but with the right knowledge and a good grommet tool, it’s a straightforward process. Whether you’re working on a craft project, repairing a tarp, or creating custom clothing, knowing how to use grommet pliers correctly is essential for achieving professional-looking results. This guide will walk you through everything you need to know about using your grommet tool effectively.
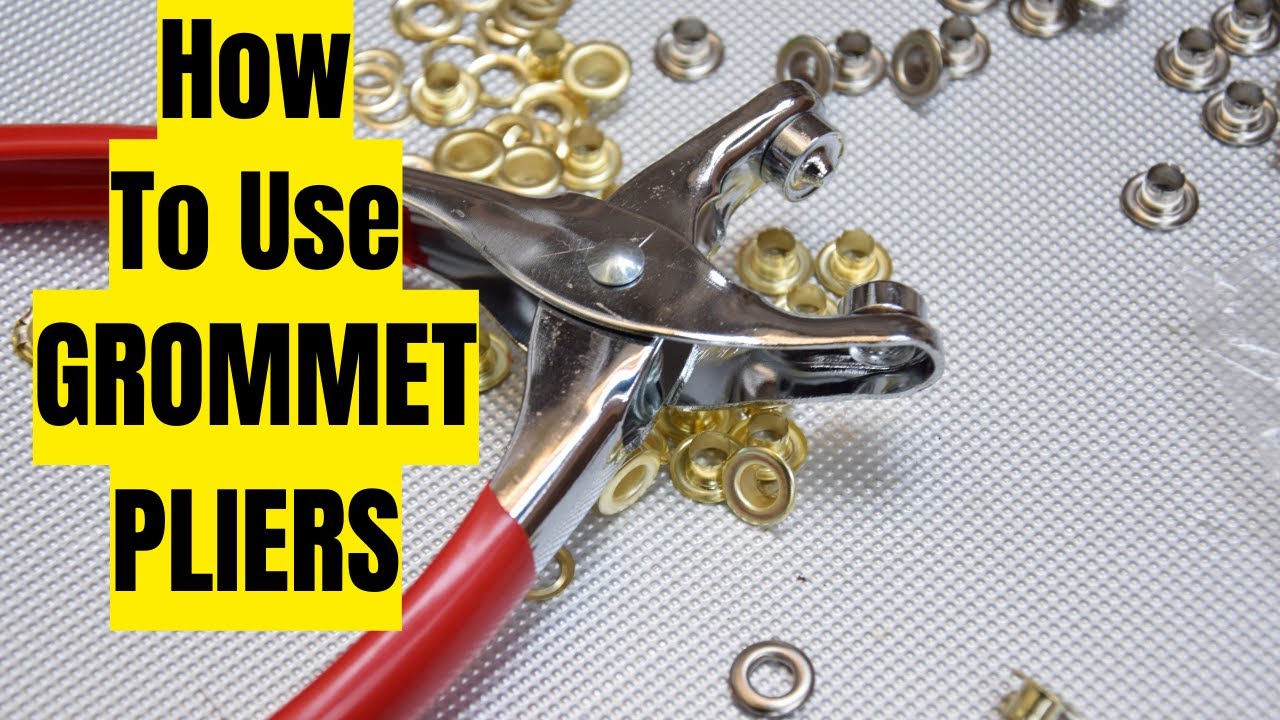
Image Source: i.ytimg.com
Getting Started: What You Need
Before you dive into setting grommets, ensure you have the necessary items. A good grommet kit is your best friend here. This typically includes:
- Grommet Pliers (Grommet Tool): This is the main tool. It has a mechanism to pierce the material and then set the grommet halves together.
- Grommets: These are the metal rings you’ll be installing. They come in different sizes and finishes.
- Punching Die: This part of the pliers is used to create the hole in your material.
- Setting Die: This part of the pliers is used to clinch the two halves of the grommet together.
- Anvil (Optional but helpful): A flat surface that supports the material while you punch and set. Some pliers have a built-in anvil, while others may require a separate one.
Types of Grommet Pliers
There are a few main types of eyelet pliers you might encounter:
- Handheld Pliers: These are the most common for smaller projects. They look similar to regular pliers but have specialized jaws for grommets.
- Bench-Mounted Grommet Presses: For higher volume or heavier materials, these offer more leverage and stability.
- Heavy-Duty Presses: These are for industrial use and can handle very thick materials.
For this guide, we’ll focus on the common handheld grommet pliers.
Preparing Your Material for Grommets
Proper preparation is key to installing grommets smoothly.
1. Choosing the Right Grommet Size
Grommets come in various inner diameter sizes. The size you choose depends on what you’re threading through the hole. For instance, if you’re using a cord, measure the cord’s diameter to ensure it fits comfortably through the finished grommet.
2. Marking the Placement
Decide exactly where you want your grommet. Use a fabric marker, chalk, or a fine-point pen to mark the center of the hole. Ensure your marks are accurate, as repositioning a grommet can be difficult.
3. Reinforcing the Area (Optional but Recommended)
For fabrics, especially lightweight ones, it’s a good idea to reinforce the area where the grommet will be placed. This prevents the grommet from tearing through the material over time.
- Interfacing: Fuse a piece of medium-weight fusible interfacing to the back of the fabric where the grommet will go.
- Patches: Sew a small fabric patch onto the back for added strength.
- Specialized Grommet Reinforcement Tape: This is a sticky tape designed specifically for this purpose.
Reinforcement adds durability and makes setting grommets much easier.
Using Your Grommet Tool: Step-by-Step
Now, let’s get down to the actual process of applying grommets.
Step 1: Preparing the Grommet Pliers
Most grommet tools have interchangeable dies. You’ll need to set up the pliers for piercing and setting.
- Piercing Die: The top part of the pliers usually has a pointed or sharp die for punching the hole.
- Setting Die: The bottom part typically has a slightly rounded or cupped die to help clinch the grommet.
Consult your specific grommet kit instructions, as the setup can vary slightly between brands. Usually, you unscrew the existing dies and screw in the correct ones for your grommet size.
Step 2: Piercing the Material
This is the first step in piercing grommets.
- Position the Material: Lay your material flat. Place the marked spot directly over the punching die on the bottom jaw of the pliers. If your pliers have an anvil, ensure the material is resting on it.
- Align the Pliers: Position the top punching die directly over the marked spot.
-
Apply Pressure: Firmly squeeze the handles of the grommet pliers. You want to apply enough pressure to cleanly cut through the material. You should feel a distinct “pop” or “crunch” as the hole is made.
-
Troubleshooting Piercing:
- Material Not Pierced: Ensure you’re using the correct die for piercing and that it’s securely attached. Try applying more pressure or squeezing faster.
- Ragged Hole: This might happen with thicker materials. If your tool has a separate punch and anvil, ensure they are aligned perfectly. Sometimes, a second press can clean up a ragged edge.
Step 3: Inserting the Grommet Halves
Grommets typically come in two pieces: the eyelet (with the flange facing outwards) and the stopper (with a flat flange).
- First Half (Eyelet): Place the eyelet piece into the newly created hole from the front side of your material. The flanged (rolled) edge should face away from the material. The flat side of the eyelet should be against the material’s front.
- Second Half (Stopper): Place the stopper piece into the hole from the back side of your material. The flat side of the stopper should be against the material’s back. The flanged edge will be on the inside of the material.
Step 4: Setting the Grommet
This is the crucial step for setting grommets securely.
- Prepare for Setting: Now, you need to switch your grommet pliers to the setting dies. Unscrew the punching die and screw in the setting die on top. The bottom die should already be the setting die, or you may need to switch that too, depending on your tool. The setting dies are usually designed to match the shape of the grommet halves.
- Position the Grommet:
- Place the material with the inserted grommet halves onto the bottom setting die. Ensure the eyelet half is seated correctly in the die.
- Align the top setting die of the pliers precisely over the stopper half of the grommet.
-
Apply Pressure to Set: Squeeze the grommet pliers handles firmly. The dies will press the two halves of the grommet together, folding the edges of the eyelet over the stopper to create a secure bond. You should feel a solid resistance as the grommet is clinched.
-
Tips for a Good Set:
- Alignment is Crucial: Make sure the top die is perfectly centered over the grommet. Off-center pressure can result in a crooked or poorly set grommet.
- Sufficient Pressure: Don’t be afraid to use a good amount of force. A weak squeeze will result in a loose grommet that might fall apart.
- Check the Set: Once set, gently tug on the grommet to ensure it’s secure. The edges should be smoothly folded, with no sharp edges exposed.
Advanced Techniques and Considerations
While the basic process is straightforward, some situations might require a bit more attention.
Working with Different Materials
- Thick Fabrics (Denim, Canvas): Reinforcement is almost always necessary. You might also need a stronger grommet tool or a bench press for easier handling.
- Leather: Leather is forgiving but can still benefit from reinforcement, especially if it’s thin. A sharp punch is crucial for a clean hole in leather.
- Paper and Cardstock: These materials are easy to pierce but can tear if the grommet is too large or the pressure is uneven. Use lighter-duty pliers and ensure your markings are precise.
- Vinyl and Plastic: These can melt or stretch. Work quickly and ensure the dies are clean to avoid sticking.
Maintaining Your Grommet Pliers
To ensure your grommet tool lasts and performs well:
- Cleanliness: Keep the dies clean. Metal filings or debris can affect the setting quality. Wipe them down after use.
- Lubrication: Lightly oil the pivot points occasionally to ensure smooth operation.
- Storage: Store your pliers in a dry place to prevent rust.
Troubleshooting Common Grommet Installation Issues
Even with careful work, you might encounter problems.
Grommet Won’t Set Properly
- Issue: Grommet halves aren’t fully clinched.
- Cause: Insufficient pressure, incorrect dies, or misalignment.
- Solution: Re-align and squeeze with more force. Double-check that you have the correct setting dies for your grommet size and that they are securely installed.
Hole is Too Small or Too Big
- Issue: The hole isn’t the right size for the grommet.
- Cause: Using the wrong size punch die or the material is too thick for the punch.
- Solution: Ensure you are using the correct size punch die that came with your grommet kit. For very thick materials, consider a separate punch tool or a heavy-duty grommet press.
Grommet Tears the Material
- Issue: The material rips around the grommet.
- Cause: Lack of reinforcement, blunt punch die, or excessive force applied unevenly.
- Solution: Always reinforce thin or stretchy materials. Make sure your punch die is sharp. Ensure the material is flat and the pliers are aligned squarely before punching and setting.
Grommet Pliers vs. Other Grommet Tools
While grommet pliers are popular, other tools exist for installing grommets.
| Tool Type | Best For | Pros | Cons |
|---|---|---|---|
| Handheld Pliers | Small projects, crafts, occasional use, lightweight to medium materials. | Portable, easy to use, affordable. | Can cause hand fatigue with many grommets, less leverage for thick materials. |
| Bench Presses | Medium to high volume, thicker materials, consistent results. | More leverage, greater speed, consistent setting, less user fatigue. | Not portable, higher initial cost. |
| Die Sets with Mallet | Very thick materials, heavy-duty applications, or when no pliers are available. | Can handle extremely tough materials, simple mechanism. | Requires a sturdy surface, can be noisy, less precise than presses. |
When using grommet tool options, choose based on your project’s needs. For most DIYers, handheld eyelet pliers are the go-to choice.
Frequently Asked Questions about Grommet Pliers
Q1: Can I use grommet pliers on any material?
A1: Grommet pliers work best on flexible materials like fabric, leather, canvas, vinyl, and cardstock. Very hard or rigid materials cannot be pierced or set with standard grommet pliers.
Q2: How do I know if my grommet is set correctly?
A2: A correctly set grommet will be snug and secure. The top flange of the eyelet should be smoothly folded over the stopper, creating a clean, rounded edge. There should be no gaps between the grommet and the material, and the grommet should not pull out easily.
Q3: Do I need to buy grommets that match my pliers?
A3: Yes, it’s crucial. Grommets are sized by their inner diameter (e.g., 1/4″, 3/8″). Your grommet kit should include grommets of a specific size that fit the dies on your pliers. Using the wrong size grommets will not work.
Q4: How do I switch between punching and setting dies on my grommet pliers?
A4: Most grommet tools have threaded dies that screw into the jaws. You’ll typically unscrew the current die and screw in the correct one for the operation (piercing or setting). Consult the manual that came with your specific grommet kit for precise instructions.
Q5: My grommet pliers are difficult to squeeze. What should I do?
A5: Ensure the pivot points are clean and lubricated. Check that the dies are correctly seated and not cross-threaded. If the material is very thick, you might need a more robust tool or to reinforce the material more thoroughly.
By following these steps and tips, you’ll be applying grommets like a pro, ensuring your projects are durable and finished with a professional touch. Happy crafting!