
How To Measure Saw Chain: Simple Steps
What is the best way to measure a saw chain? Measuring a saw chain involves a few key steps: counting the drive links, measuring the pitch, and checking the gauge. This ensures you get the proper saw chain size for your chainsaw.
Figuring out the right saw chain size for your chainsaw might seem tricky at first, but it’s actually pretty straightforward once you know what to look for. When your chainsaw’s chain gets dull or worn out, or if you just need a replacement, getting the correct new one is vital for your saw’s performance and your safety. The wrong chain can cause kickback, poor cutting, and even damage your chainsaw. This guide will walk you through precisely how to measure saw chain, making sure you always pick the right fit. We’ll cover everything from identifying the critical measurements to deciphering those often-confusing saw chain numbers.
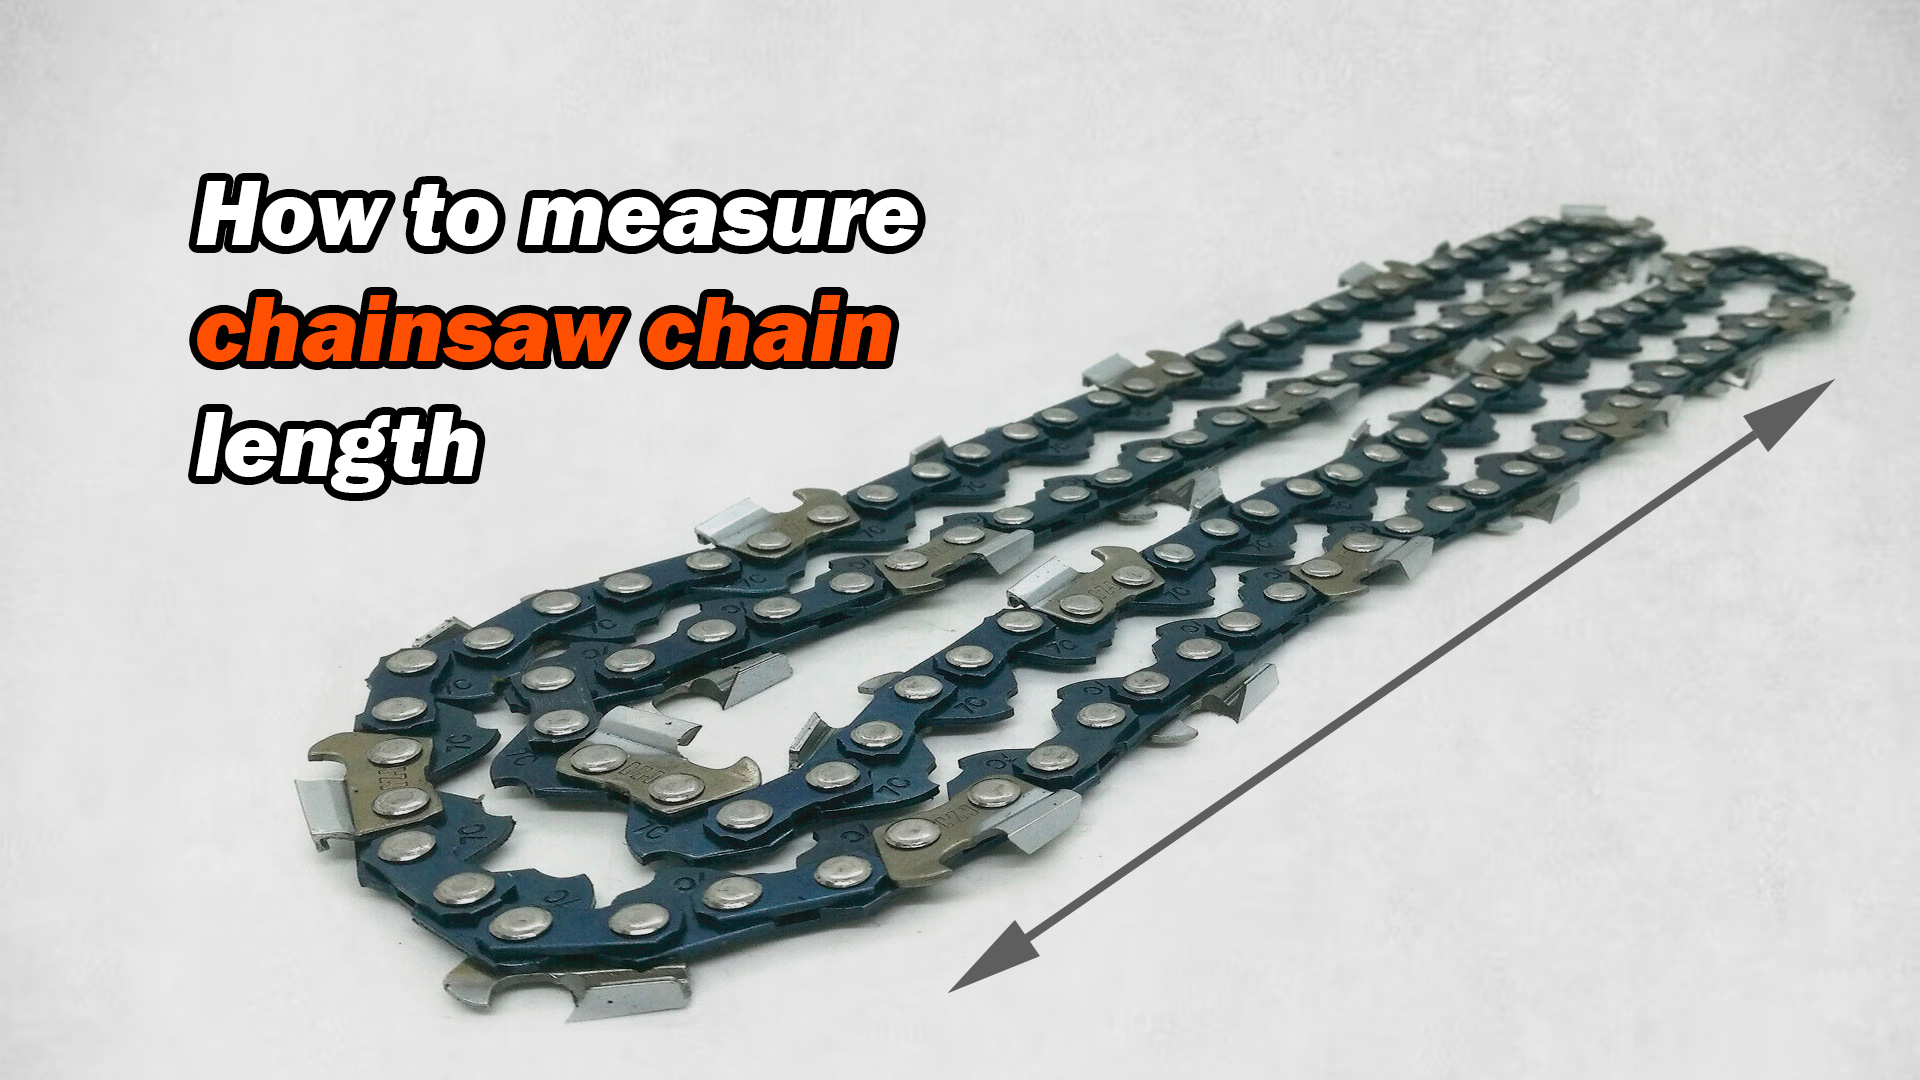
Image Source: www.chainsaw.parts
Measuring Saw Chain: Your Essential Guide
When it comes to measuring chainsaw chain, there are three primary pieces of information you absolutely need: the number of drive links, the pitch, and the gauge. These three factors together define the specific dimensions of your chain and determine if it will fit your chainsaw bar and drive sprocket correctly.
Counting Drive Links: The Foundation of Saw Chain Length
The first and often easiest step in measuring chainsaw chain is to count the drive links. Drive links are the small, flat pieces of metal that extend downwards from the bottom of the chain and fit into the groove of your chainsaw bar and the drive sprocket.
How to Count Drive Links:
- Remove the Chain: Safely remove the saw chain from your chainsaw. Ensure the chainsaw is off and the spark plug is disconnected for safety.
- Lay it Flat: Spread the chain out on a flat surface. It can be helpful to lay it in a straight line or a gentle curve, without any kinks.
- Count Each Drive Link: Start at one end of the chain and carefully count every single drive link. Be systematic and mark the last link you count if you’re worried about losing your place. A drive link is the part of the chain that engages with the sprocket and sits in the bar groove.
- Double Check: It’s always a good idea to count them a second time to confirm your number. An incorrect drive link count is a common mistake that leads to buying the wrong size chain.
The total number of drive links directly dictates the saw chain length. For instance, a 72-drive link chain is longer than a 60-drive link chain. This number is crucial when you’re looking at replacement chains.
Fathoming Pitch: The Spacing Between Teeth
The pitch of a saw chain is a critical measurement that defines the distance between the drive links. It’s a measurement that must match the pitch of your chainsaw bar and drive sprocket exactly. If the pitch is off, the chain simply won’t run properly, if at all.
What is Chain Pitch?
Chain pitch is the distance between any three consecutive rivets, divided by two. In simpler terms, it’s the measurement from the center of one drive sprocket tooth (or the center of one set of drive links) to the center of the next. Chainsaw chains are manufactured in standardized pitches. Common pitches include 3/8 inch, .325 inch, and 1/4 inch.
Chain Pitch Calculation (and how it’s measured by manufacturers):
While you can measure it yourself, it’s more common and accurate to find the pitch printed on your current chain, the chainsaw bar, or in your chainsaw’s manual. Manufacturers measure pitch by taking the distance from the center of one drive link’s rivet to the center of the next drive link’s rivet, and then multiplying that by two. This distance is then standardized and usually expressed as a fraction (like 3/8″) or a decimal (like .325″).
Measuring Pitch (If Necessary):
If you cannot find the pitch information elsewhere, you can measure it yourself, but it requires precision.
- Identify Rivets: Locate three consecutive drive links on the chain.
- Measure Between Rivets: Use a ruler or calipers to measure the distance between the center of the first rivet and the center of the third rivet.
- Divide by Two: Divide this measurement by two. This will give you the pitch of your chain. For example, if the distance between the first and third rivet center is 3/4 inch, the pitch is 3/8 inch (3/4 ÷ 2 = 3/8).
Remember, it’s best to rely on the manufacturer’s markings if possible, as precise measurement can be challenging.
Gauging Your Chain: The Thickness of the Drive Link
The gauge of a saw chain refers to the thickness of the drive links. This measurement is also critical for ensuring compatibility between the chain, the drive sprocket, and the groove in the chainsaw bar.
What is Saw Chain Gauge?
The gauge is the thickness of the metal on the drive link that sits in the groove of your chainsaw bar and engages with the drive sprocket. Common gauges include .050 inch, .058 inch, and .063 inch.
Saw Chain Gauge Measurement:
You can measure the gauge using a ruler or, more accurately, with calipers.
- Select a Drive Link: Pick one drive link from your chain.
- Measure Thickness: Measure the thickness of the widest part of the drive link – the part that actually rides in the chainsaw bar groove.
- Compare to Standards: The measurement will typically be a small decimal number, like .050 or .058.
Again, checking the markings on your current chain, bar, or manual is the most reliable way to determine the gauge. If you need to measure it yourself, ensure your measuring tool is accurate.
Deciphering Saw Chain Numbering: The Manufacturer’s Code
Many saw chain manufacturers use a numbering system or code to identify their chains. This saw chain numbering system often encodes the pitch, gauge, and the number of drive links. Being able to decipher this code is a significant shortcut to measuring chainsaw chain and finding the correct replacement.
Common Numbering Systems:
-
Oregon: Oregon is a very popular manufacturer. Their chains often have codes like “20BPX072G”.
- “20” might indicate the pitch (though not always directly).
- “BPX” often relates to the type of chain (e.g., .325 pitch, low profile).
- “072” indicates the number of drive links (72 in this case).
- “G” could indicate the gauge (though it’s often a number like 050 or 058).
- More commonly, you’ll see numbers like 72LGX052E. Here, “72” is the drive link count, “LGX” signifies the chain type and pitch (.325), and “052” is the gauge (.050).
-
Stihl: Stihl also has its own numbering system. For example, a “36RS” chain.
- “36” could refer to the number of drive links (36 in this case).
- “RS” often indicates the pitch (e.g., .325 inch).
- The gauge might be implied or found elsewhere in the product description.
How to Use Saw Chain Numbering:
- Check Your Existing Chain: Look for stamped numbers on the drive links or the chain itself.
- Consult Your Chainsaw Manual: The manual will often specify the exact chain part number or its specifications (pitch, gauge, drive links).
- Look at Your Chainsaw Bar: The chainsaw bar length often has the required chain pitch and gauge stamped on it. Sometimes, the number of drive links might also be indicated.
Matching Your Chain to Your Chainsaw Bar Length
The chainsaw bar length is measured from the nose of the bar to the point where the chain passes over the drive sprocket. This measurement (e.g., 16 inches, 20 inches) is important, but it doesn’t directly tell you the chain’s pitch or gauge. However, it is related to the number of drive links needed.
Relationship Between Bar Length and Drive Links:
Longer bars generally require more drive links to create a complete loop of the correct saw chain length. For instance, a 16-inch bar might use a chain with 62 drive links, while a 20-inch bar might use a chain with 72 drive links. Always verify the specific drive link count for your bar size and chainsaw model.
Determining Saw Chain Type: More Than Just Measurements
Beyond the core measurements, determining saw chain type involves understanding the different cutters and their configurations. This affects cutting speed, smoothness, and the type of wood you’re cutting.
- Full Chisel: These cutters have a square-cornered cutting edge. They are very aggressive and cut fast, but they can be more prone to kickback and wear down faster if they hit dirt or rocks.
- Semi-Chisel: These cutters have a rounded-cornered cutting edge. They are less aggressive than full chisel but are more durable and forgiving if they encounter debris. They offer a good balance of speed and longevity.
- Skip Tooth: These chains have fewer cutting teeth, with every other tooth skipped. This allows for more chip clearance, making them ideal for cutting frozen wood or very dirty logs where clogging can be an issue.
- Low Profile: These chains are designed for smaller, less powerful chainsaws. They typically have smaller pitches (like .375 or 3/8 inch low profile) and gauges, which reduces the power required to drive them.
Why Accurate Measurement Matters: Ensuring Compatibility
Using the proper saw chain size is paramount for several reasons:
- Safety: An incorrectly sized chain is a major safety hazard. A chain that’s too long or too short won’t engage properly. A chain with the wrong pitch or gauge can cause the saw to behave unpredictably, increasing the risk of kickback.
- Performance: The correct chain ensures your chainsaw cuts efficiently. If the pitch or gauge is wrong, the chain won’t mesh well with the drive sprocket and bar, leading to poor cutting performance, excessive wear, and increased strain on the engine.
- Durability: A properly fitted chain distributes the cutting load evenly. This reduces stress on the drive sprocket, clutch, and the chainsaw bar itself, extending the life of these components.
- Engine Life: When a chain is not the right size, the engine has to work harder, which can lead to overheating and premature wear.
Your Step-by-Step Guide to Measuring Chainsaw Chain
Let’s put it all together into a simple, actionable process for chainsaw chain identification and measurement.
Step 1: Gather Your Tools
- A tape measure or ruler (preferably with millimeter markings for precision)
- A pair of calipers (ideal for precise measurements)
- Your chainsaw, chainsaw bar, and the old chain (if possible)
- Your chainsaw’s owner’s manual
Step 2: Identify Key Markings
Before you start measuring, check all available sources for the necessary information.
- On the Old Chain: Look for numbers stamped directly onto the drive links or the cutters. These often represent pitch, gauge, and drive link count.
- On the Chainsaw Bar: Most bars have the pitch and gauge stamped near the base of the bar, where it mounts to the chainsaw. The chainsaw bar length will also be indicated here.
- In the Chainsaw Manual: This is often the most definitive source. It will list the exact specifications or part numbers for the recommended chains.
Step 3: Count Your Drive Links
As detailed earlier, carefully remove the chain and count the drive links. This is the most fundamental step in determining saw chain length.
Step 4: Measure or Identify Pitch
- Check Markings: Look for markings like “.325”, “3/8”, or “1/4” on the chain or bar.
- Measure: If no markings are present, measure the distance between three consecutive rivets, divide by two. This is your chain pitch calculation.
Step 5: Measure or Identify Gauge
- Check Markings: Look for numbers like “.050”, “.058”, or “.063” on the chain or bar.
- Measure: If no markings are present, use calipers to measure the thickness of a drive link. This is your saw chain gauge measurement.
Step 6: Record Your Findings
Write down the following information:
- Number of Drive Links: ______
- Pitch: ______ (e.g., 3/8″, .325″)
- Gauge: ______ (e.g., .050″, .058″)
- Chainsaw Bar Length: ______ (e.g., 16″, 18″, 20″)
Step 7: Cross-Reference and Purchase
Once you have these measurements, you can confidently:
- Match the Manufacturer’s Part Number: If you found a part number, search for that specific number.
- Find Chains with Matching Specs: Look for chains that list your exact pitch, gauge, and drive link count. For example, if you need a 20-inch bar with a .050 gauge and 3/8 pitch, and your old chain had 72 drive links, you’d look for a 72 drive link chain with 3/8 pitch and .050 gauge.
Common Mistakes to Avoid
- Confusing Drive Links with Full Links: Make sure you’re counting only the drive links that go into the bar groove and sprocket.
- Ignoring Markings: Always try to find manufacturer markings first; they are the most reliable.
- Mixing Measurements: Don’t assume that because you have a certain bar length, you automatically know the pitch and gauge. Always verify.
- Measuring from the Wrong Point: When measuring bar length, be precise about where you start and stop measuring.
- Assuming Compatibility: Don’t assume a chain that looks similar will work. The pitch and gauge are critical.
FAQs
Q1: Can I use a chain with a different pitch than what my chainsaw calls for?
A1: No, you absolutely cannot. The pitch of the chain must precisely match the pitch of your drive sprocket and chainsaw bar. Using the wrong pitch will prevent the chain from running correctly and can cause severe damage to your saw and create a serious safety hazard.
Q2: What happens if my saw chain gauge is slightly off?
A2: Even a slight difference in gauge can cause problems. If the gauge is too thick, the chain won’t sit properly in the bar groove, leading to friction, overheating, and poor cutting. If the gauge is too thin, the chain might be too loose, increasing the risk of derailment and damage to the drive sprocket and bar. It’s essential to match the gauge exactly.
Q3: My chain seems the right length, but it’s not cutting well. What could be wrong?
A3: If the chain is the correct length but not cutting well, the issue could be with the sharpness of the teeth, the pitch or gauge being incorrect (even if the length is right), or a problem with the drive sprocket or bar itself. Ensure the teeth are sharp and that all measurements (pitch and gauge) are accurate.
Q4: How often should I replace my saw chain?
A4: Saw chains wear out over time and require sharpening. You should replace a chain when the teeth become too worn to be sharpened effectively, or if you notice significant damage like bent or broken teeth. Regular sharpening will prolong the life of your chain.
Q5: What does “low profile” mean for a chainsaw chain?
A5: “Low profile” chains typically have smaller pitches (like .375 or 3/8″ LP) and narrower gauges. They are designed for smaller, less powerful chainsaws and require less power to drive, making them more efficient for homeowners or for use on lighter-duty saws.
By following these steps for measuring your saw chain, you’ll ensure you always have the correct fit for your chainsaw, leading to safer, more efficient, and more enjoyable cutting.