
Can you test a circuit breaker yourself? Yes, you can test a circuit breaker yourself, but only if you follow strict safety precautions and have the right tools. What is the purpose of a circuit breaker test? The main purpose of circuit breaker testing is to ensure it will trip and disconnect power when it’s supposed to, protecting your home and family from electrical hazards. This guide will walk you through the essential steps of safely testing your circuit breakers.
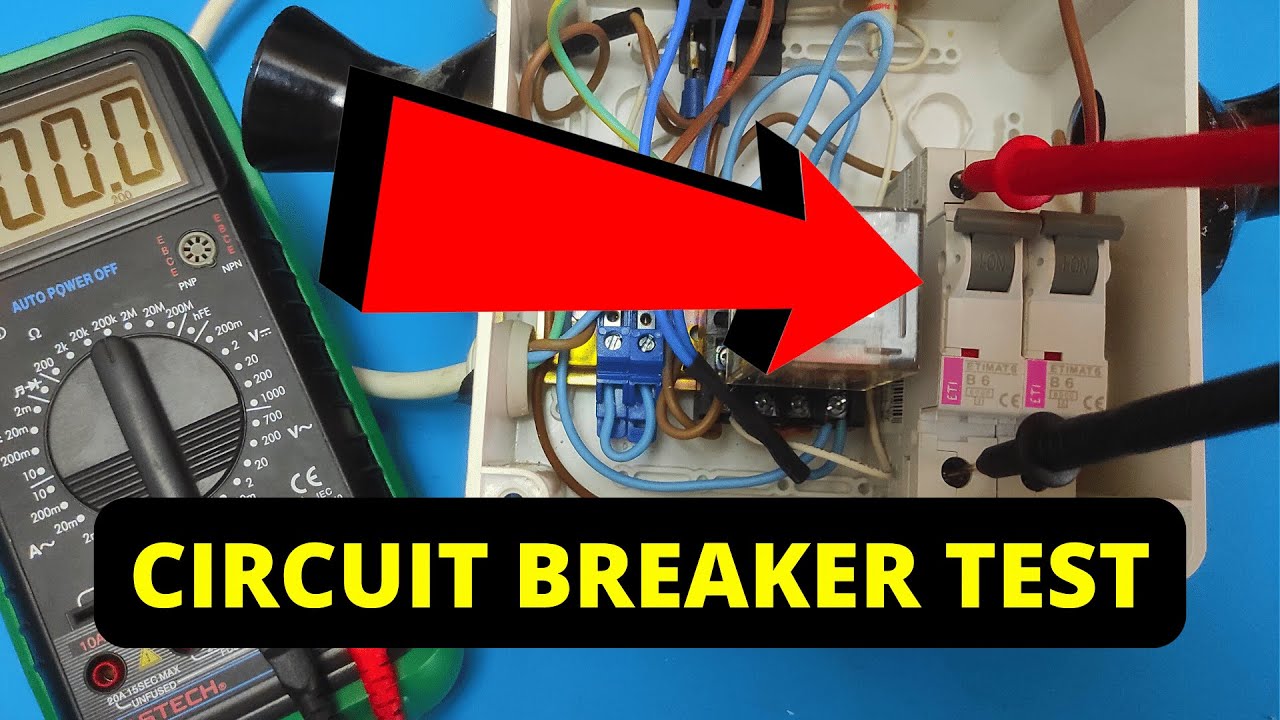
Image Source: i.ytimg.com
Why Regular Circuit Breaker Testing is Crucial
Circuit breakers are the silent guardians of your home’s electrical system. They are designed to protect your wiring from damage caused by overloads or short circuits. However, like any mechanical device, they can wear out over time or develop faults. Circuit breaker troubleshooting often begins with proper testing.
Signs Your Circuit Breakers Might Need Testing
- Frequent tripping: If a breaker trips often, it might be faulty or there’s an underlying issue with the circuit it protects.
- Warm to the touch: A breaker that feels unusually warm is a warning sign.
- Discolored or burnt appearance: Visible damage to the breaker or surrounding area indicates a problem.
- Buzzing or humming sounds: Unusual noises from the electrical panel can signal issues.
- Old or damaged electrical panel: An aging panel may house faulty breakers.
Essential Safety Precautions Before You Begin
Safety is paramount when dealing with electricity. Always prioritize your well-being.
General Safety Precautions
- Never work alone: Have someone with you who can assist or call for help if needed.
- Turn off power to the entire house: If you’re not experienced, it’s safest to shut off the main breaker before accessing the electrical panel. This minimizes the risk of accidental shock.
- Wear appropriate safety gear: This includes insulated gloves, safety glasses, and non-conductive footwear.
- Use insulated tools: Ensure all your tools have insulated handles.
- Avoid distractions: Concentrate fully on the task at hand.
- Keep the area dry: Never perform electrical work in wet conditions.
- If in doubt, call a professional: For any complex issues or if you feel unsure, always consult a qualified electrician.
Understanding Your Electrical Panel
Before testing, take a moment for an electrical panel inspection.
- Identify the main breaker: This is usually the largest breaker, at the top or side of the panel.
- Locate individual circuit breakers: Each breaker controls a specific circuit in your home.
- Labeling: Ensure your breakers are clearly labeled so you know which appliance or area each breaker controls. If they aren’t, it’s a good idea to label them after testing or hire an electrician to do so.
Basic Circuit Breaker Tests You Can Perform
There are several tests you can perform to check the functionality of your circuit breakers. These range from simple visual checks to more involved tests using specialized equipment.
Visual Inspection
A simple visual inspection can reveal obvious problems.
- Look for damage: Check for any signs of discoloration, melting, or cracking on the breaker casing.
- Check for loose connections: Ensure the breaker is securely seated in the panel.
The “Click” Test (Manual Operation)
This is the most basic test, checking the physical mechanism.
- Turn the breaker ON: Push the breaker handle fully to the “ON” position. You should hear a distinct click.
- Turn the breaker OFF: Push the breaker handle firmly to the “OFF” position. Again, you should hear a click.
- Turn the breaker ON again: Push the handle to “ON.”
- Trip the breaker: Push the handle to the “OFF” position.
Observation: If the breaker feels stiff, loose, or doesn’t click properly, it might be a sign of internal wear.
Continuity Test Using a Multimeter
A multimeter test for continuity is a good way to check if the internal contacts of the breaker are making a connection when it’s in the “ON” position.
What you’ll need:
- A digital multimeter with continuity testing function.
- Insulated gloves and safety glasses.
Safety Note: For this test, it is absolutely essential to ensure the breaker is turned OFF before opening the panel cover, and ideally, the main power to the panel should be shut off to prevent accidental energization.
Steps:
- Shut off the main breaker: Turn off the main power supply to your entire electrical panel.
- Open the panel cover: Carefully remove the panel cover to expose the circuit breakers.
- Turn the breaker ON: Set the specific breaker you want to test to the “ON” position.
- Set your multimeter: Select the continuity setting (usually indicated by a sound wave or diode symbol).
- Touch the probes: Place one multimeter probe on the breaker’s terminal screw (where the wire connects) and the other probe on the breaker’s tab that connects to the busbar.
- Read the result:
- Good Breaker: The multimeter should beep or display a very low resistance reading (close to 0 ohms), indicating continuity.
- Bad Breaker: If there’s no beep or a high resistance reading, the internal contacts may be faulty or burnt.
- Turn the breaker OFF: Set the breaker to the “OFF” position.
- Test continuity again: With the breaker OFF, there should be no continuity. The multimeter should not beep, and the resistance reading should be high (OL or infinity).
Interpreting Results: A breaker that shows continuity when OFF or no continuity when ON is likely faulty and needs replacement.
Voltage Test
A voltage test can confirm if power is reaching the breaker and if it’s being passed through correctly. This test requires a multimeter capable of reading AC voltage.
What you’ll need:
- A digital multimeter with AC voltage setting.
- Insulated gloves and safety glasses.
Safety Note: This test involves working with live electrical components. Extreme caution is required. Ensure you are comfortable and experienced with using a multimeter on live circuits. If not, do not attempt this test and call a professional.
Steps:
- Ensure the main breaker is ON.
- Open the panel cover.
- Set your multimeter: Select the AC voltage setting, ensuring it’s higher than your household voltage (e.g., 200V AC range).
- Test at the breaker input: With the breaker in the “ON” position, touch one probe to the terminal screw that receives power from the busbar and the other probe to the neutral busbar or ground busbar. You should read your household voltage (e.g., 120V). If you don’t, power isn’t reaching the breaker, which is a different issue.
- Test at the breaker output: Carefully touch one probe to the terminal screw where the wire to your circuit exits the breaker, and the other probe to the neutral busbar or ground busbar.
- If the breaker is ON: You should read the same voltage as at the input. This indicates the breaker is passing power.
- If the breaker is OFF: You should read 0 volts or a very low voltage, indicating the breaker has interrupted the flow of electricity.
Troubleshooting: If you read voltage at the input but not the output when the breaker is ON, the breaker is faulty. If you read voltage at the output when the breaker is OFF, the breaker is not tripping correctly.
Breaker Trip Test (Simulated Overload)
A breaker trip test is designed to see if the breaker will open under a controlled overload. This is more advanced and requires specialized equipment.
What you’ll need:
- A circuit breaker test set (e.g., a high-resistance current injection tester or a time-travel tester).
- Qualified personnel to operate the equipment.
How it works:
These testers inject a specific amount of current into the circuit controlled by the breaker. They then measure how quickly and at what current level the breaker trips. This test verifies the breaker’s trip curve and its ability to protect against specific fault conditions.
Who should perform this: This type of testing is typically done by trained electricians or specialized electrical testing services. It’s not usually a DIY test due to the equipment required and the potential risks involved.
Specialized Circuit Breaker Testing
Beyond basic multimeter tests, more sophisticated methods can provide deeper insights into a breaker’s health.
Load Testing
A load test involves applying a controlled electrical load to the circuit protected by the breaker and monitoring the breaker’s performance.
- Purpose: To see how the breaker behaves under normal operating loads and if it can handle the intended current without tripping prematurely or failing to trip under a genuine overload.
- Method: This can be done by connecting a known load (like a high-wattage heater or a load bank) to the circuit. You monitor the current draw and the breaker’s temperature.
- Considerations: This is a more advanced test and often requires specialized equipment to accurately simulate various load conditions.
GFCI Testing
Ground Fault Circuit Interrupter (GFCI) outlets and breakers are designed to protect against electric shock by detecting small current leaks to ground. GFCI testing is crucial for safety, especially in areas prone to moisture like kitchens, bathrooms, and outdoors.
How to Test GFCI:
- Locate the GFCI outlet or breaker: Most GFCIs have a “TEST” and a “RESET” button.
- Press the “TEST” button: This should immediately trip the GFCI, cutting power to the outlet and any other outlets connected to it. You may hear a click.
- Press the “RESET” button: After the GFCI has tripped, press the “RESET” button firmly to restore power.
- Verify power restoration: Plug in a small appliance (like a lamp) to confirm power is back on.
Frequency: GFCI devices should be tested monthly to ensure they are functioning correctly.
Circuit Breaker Troubleshooting Scenarios
When a breaker isn’t working as expected, troubleshooting is key.
Breaker Trips Immediately
- Problem: The breaker trips as soon as you turn it ON.
- Possible Causes:
- Short Circuit: A short circuit in the wiring or an appliance is causing a rapid surge of current.
- Overloaded Circuit: The circuit is trying to draw more power than the breaker is rated for, often due to too many appliances connected.
- Faulty Breaker: The breaker itself might be defective.
- Troubleshooting Steps:
- Unplug all appliances on the circuit.
- Turn the breaker ON. If it stays ON, plug in appliances one by one until the breaker trips. The last appliance plugged in is likely the culprit or is causing an overload.
- If the breaker trips with nothing plugged in, the problem is likely in the wiring or the breaker itself.
Breaker Trips Periodically (Nuisance Tripping)
- Problem: The breaker trips intermittently, even when the load doesn’t seem excessive.
- Possible Causes:
- Overloaded Circuit: The cumulative load from multiple devices exceeds the breaker’s capacity over time.
- Loose Connections: Loose wiring at the breaker, outlet, or fixture can cause resistance and heat, leading to tripping.
- Undersized Wire: The wire gauge might be too small for the circuit’s load.
- Faulty Breaker: The breaker may be aging or have internal issues.
- Ground Fault: A small, persistent leakage of current to ground can cause GFCI breakers to trip.
- Troubleshooting Steps:
- Note when the tripping occurs – are specific appliances running?
- Check for loose connections in outlets and switches on that circuit.
- Consider redistributing appliance usage to lower the overall load on the circuit.
- Perform continuity and voltage tests on the breaker.
Breaker Won’t Trip
- Problem: The breaker continues to supply power even when it should trip due to an overload or short circuit. This is a dangerous situation.
- Possible Causes:
- Faulty Breaker Mechanism: The internal tripping mechanism has failed.
- Incorrect Breaker Size: The breaker is rated higher than the wiring capacity.
- Troubleshooting Steps:
- Immediately turn off the main breaker to de-energize the panel.
- Perform thorough multimeter tests, especially the continuity test with the breaker in the “ON” position.
- If the breaker fails the continuity test when OFF or shows no interruption when ON, it needs immediate replacement.
Replacing a Faulty Circuit Breaker
If testing reveals a faulty breaker, it needs to be replaced. This is a task that many homeowners can do with care, but if you’re not comfortable, hire an electrician.
What you’ll need:
- A new circuit breaker of the exact same type, amperage, and voltage rating.
- Insulated gloves and safety glasses.
- Insulated screwdrivers and pliers.
Steps:
- Turn off the main breaker: Absolutely critical for safety.
- Remove the faulty breaker:
- Turn the faulty breaker to the “OFF” position.
- Disconnect the wire attached to the breaker’s terminal screw.
- Carefully unclip the breaker from the busbar it snaps onto.
- Install the new breaker:
- Snap the new breaker onto the busbar.
- Reconnect the wire to the terminal screw of the new breaker.
- Restore power: Turn the main breaker back ON and then turn on the newly replaced breaker.
- Test the new breaker: Ensure it operates correctly by testing the circuit it protects.
Important Note: Ensure the new breaker is compatible with your electrical panel. Breakers are often brand-specific.
When to Call a Professional Electrician
While some basic tests can be done by homeowners, there are situations where professional help is essential:
- Uncertainty or lack of confidence: If you’re not completely sure about any step, it’s safer to call an expert.
- Repeated tripping: If you can’t identify the cause of a breaker tripping, an electrician can perform more in-depth diagnostics.
- Visible damage to the panel: If the electrical panel itself shows signs of scorching, melting, or extensive corrosion.
- Complex testing: If advanced circuit breaker testing equipment or load testing is required.
- GFCI issues: If you’re having trouble with GFCI outlets or breakers, an electrician can properly diagnose and fix the problem.
- After a major electrical event: Such as a lightning strike or a fire, have the entire system inspected.
Frequently Asked Questions (FAQ)
Q1: How often should I test my circuit breakers?
A1: It’s good practice to perform a visual inspection and manual operation (the “click” test) every six months to a year. GFCI breakers and outlets should be tested monthly. More in-depth tests like continuity and voltage tests can be done annually or if you suspect a problem.
Q2: Can I use a simple plug-in tester to test a circuit breaker?
A2: Plug-in testers are primarily designed to test the outlets themselves and indicate if the outlet is wired correctly and if power is present. They do not test the functionality of the circuit breaker itself.
Q3: My breaker keeps tripping. What’s the first thing I should do?
A3: The first step is to unplug all appliances connected to that specific circuit. Then, try turning the breaker back on. If it stays on, plug in your appliances one by one, waiting a few minutes between each, to identify which appliance is causing the overload or short circuit.
Q4: What does it mean if a breaker feels warm?
A4: A breaker that feels warm to the touch when it’s not tripping can indicate a loose connection within the breaker or at the wire terminals. This is a sign of increased resistance and potential overheating, and the breaker should be inspected and possibly replaced by an electrician.
Q5: Can I replace a circuit breaker with one of a higher amperage?
A5: Absolutely not. Replacing a breaker with one of a higher amperage than what the circuit wiring is rated for is extremely dangerous. It bypasses the wire’s protection, creating a fire hazard as the wires can overheat and melt before the breaker trips. Always use an exact replacement.
By following this comprehensive guide, you can safely test your circuit breakers and ensure the continued protection of your home’s electrical system. Remember, when in doubt, always prioritize safety and call a qualified electrician.