
Can I open split rings without pliers? Yes, you can! While pliers are the standard tool for opening split rings, there are several clever and effective methods you can use when they aren’t handy. This guide will walk you through various techniques, from simple tricks using everyday items to slightly more involved approaches, ensuring you can access your jewelry, keychains, or other items secured by these small but sturdy fasteners.
Split rings are those small, circular metal rings with a gap, often found holding charms on bracelets, attaching keys to keychains, or securing small components in various crafts and repairs. Their design makes them secure, but opening them can be a challenge, especially without the right tools. Fear not! With a bit of ingenuity, you can master the art of opening split rings using items you likely have around your home.
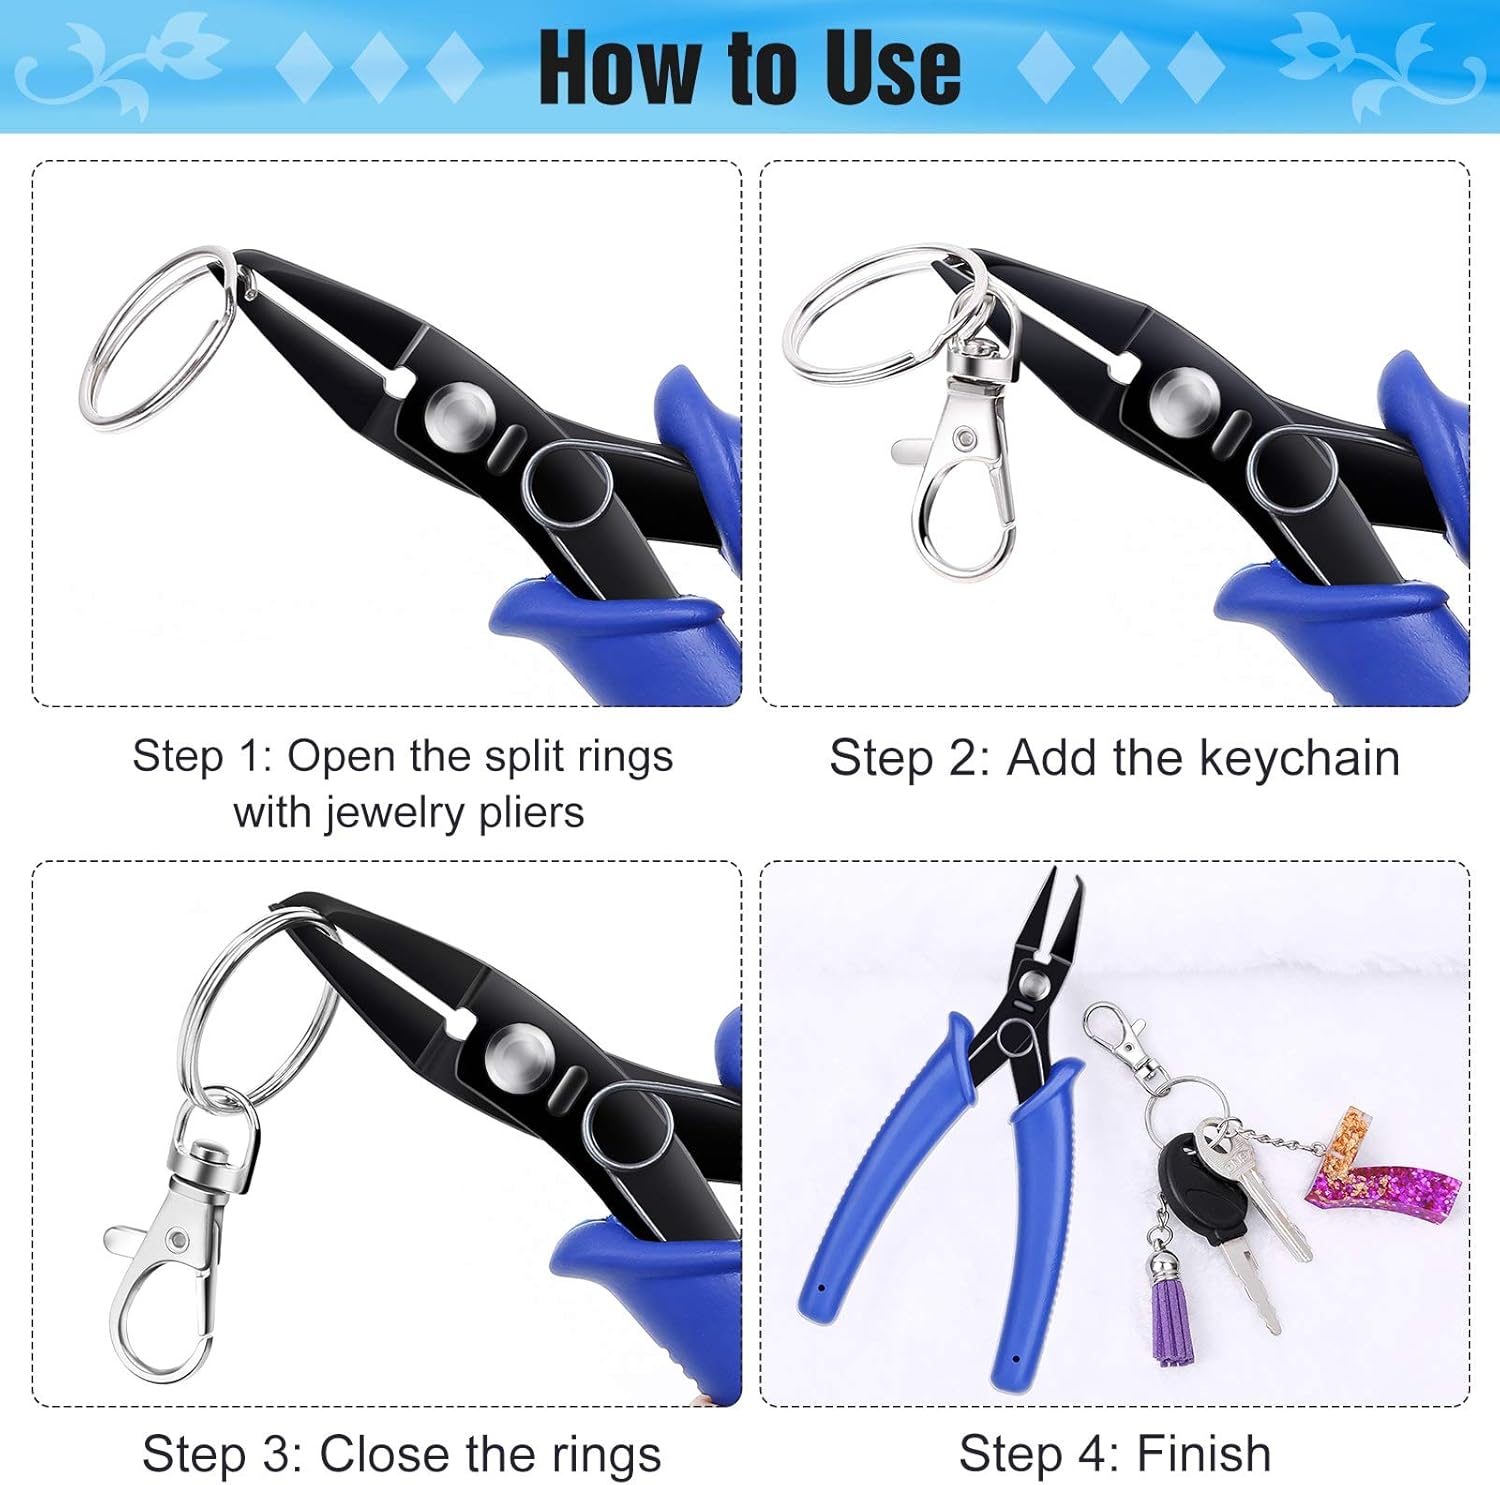
Image Source: m.media-amazon.com
The Basic Principle: Creating Leverage
Before diving into specific methods, it’s important to grasp the core concept. Split rings are essentially two overlapping loops of metal. To open them, you need to create a small gap by pushing the ends of the ring apart. This requires applying force at the split point, usually by leveraging one end against the other. The trick is to find something small and strong enough to insert into that gap and twist or pry.
Everyday Item Openers
Many common household items can be surprisingly effective for opening split rings. These methods rely on finding an object with a thin, strong edge or point that can be inserted into the split of the ring.
1. The Fingernail Trick: A Delicate Approach
Your own fingernails, particularly strong ones, can sometimes do the job, especially on smaller or less robust split rings.
- How it works: The idea is to use the edge of your fingernail to push into the split and create a tiny opening.
- Steps:
- Identify the split in the ring.
- Carefully insert the very tip of a strong fingernail into the split.
- Gently, but firmly, press down and twist your finger sideways. The goal is to slightly widen the gap.
- If you manage to create a small gap, you can then try to lever the other side of the ring over the edge.
- Best for: Smaller, thinner split rings and those with strong, well-maintained fingernails.
- Caution: This method carries a risk of breaking or damaging your fingernails. It’s best suited for quick, minor tasks or if you have particularly resilient nails.
2. The Coin Method: Using Edge Pressure
A coin, especially one with a slightly raised edge, can provide a good point of pressure to open a split ring.
- How it works: You’ll use the edge of the coin to push into the split and widen it.
- Steps:
- Find a coin with a relatively thin but firm edge. Quarters or dimes often work well.
- Hold the split ring firmly in one hand, locating the gap.
- Place the edge of the coin directly into the split.
- Apply steady downward pressure, trying to widen the gap. You might need to wiggle it slightly.
- Once a small opening is made, you can try to maneuver the ring open.
- Best for: Medium-sized split rings.
- Tips: Using the edge of a coin that’s slightly thicker, like a penny, might be harder due to its rounded edge.
3. The Paperclip Opener: A Versatile Tool
A standard metal paperclip can be a surprisingly effective tool for opening split rings. Its strength and thin profile are ideal.
- How it works: You’ll straighten and use one end of the paperclip to pry open the split.
- Steps:
- Take a metal paperclip.
- Unbend one end of the paperclip until it’s mostly straight, leaving the other end as is for grip. You want a thin, pointed end.
- Hold the split ring securely.
- Insert the straightened end of the paperclip into the split of the ring.
- Gently twist or pry the paperclip sideways to widen the gap.
- Once you have enough space, you can slide the ring off its attachment.
- Best for: A wide range of split ring sizes, especially those where you need a precise poking tool.
- Variations: You can also use a sturdier metal staple remover or even a safety pin if they are strong enough.
4. The Hairpin Technique: For Finer Control
A bobby pin or hair clip can be a good option, especially if you need a bit more grip and a thinner tip than a coin.
- How it works: Similar to the paperclip, you’ll use the fine end of the hairpin to create leverage.
- Steps:
- If using a bobby pin, open it slightly so the two arms are separated. Choose a sturdy one.
- If using a clip, you might be able to use one of its ends or a thin part of its structure.
- Insert the thin tip of the hairpin into the split of the split ring.
- Gently twist or push to widen the gap.
- Once the gap is sufficient, carefully slide the ring off.
- Best for: Smaller to medium split rings where delicate manipulation is required.
- Considerations: Ensure the hairpin is made of metal and is strong enough not to bend or break.
5. The Flathead Screwdriver: Precision Prying
A small flathead screwdriver, like those found in eyeglass repair kits or small electronics toolsets, is an excellent tool for this task.
- How it works: The flat edge of the screwdriver is perfect for insertion and leverage.
- Steps:
- Locate a small flathead screwdriver. The thinner the tip, the better.
- Hold the split ring firmly in one hand.
- Place the very tip of the flathead screwdriver into the split of the ring.
- Gently but firmly twist the screwdriver. This action will force the split open.
- Once the gap is wide enough, slide the ring off its attachment.
- Best for: Most sizes of split rings, offering good control and leverage.
- Safety: Be mindful not to slip with the screwdriver, especially if the ring is slippery or small.
6. The Key Trick: Always Available
Your everyday house key can also be a surprisingly effective tool for opening split rings.
- How it works: The thin edge of a key’s teeth or the tip of the key can be used to pry.
- Steps:
- Select a key that has a relatively thin and straight edge, or a distinct tooth.
- Hold the split ring securely.
- Insert the edge of the key into the split of the ring.
- Apply pressure, twisting or wiggling the key to widen the gap.
- Once you have a sufficient opening, carefully slide the ring off.
- Best for: Medium to larger split rings where the key’s thickness can provide enough leverage.
- Note: Some modern car keys with complex designs might be less suitable. Traditional house keys usually work best.
7. The Shim Method: Creating a Wedge
This method involves creating a thin “shim” from a sturdy material to wedge open the split.
- How it works: You insert a thin, rigid object into the split and use it to force the ring apart.
- Materials: Thin, strong plastic (like from a credit card or plastic packaging), thin metal (like a piece of a can, carefully handled), or even a sturdy piece of paper folded tightly.
- Steps:
- Cut or find a thin, narrow strip of your chosen shim material. It should be stiff enough to not bend easily.
- Hold the split ring.
- Carefully insert the edge of the shim into the split of the ring.
- Push the shim further into the split, widening the gap. You might need to use a bit of force.
- Once the gap is open, you can slide the ring off, or use the shim to keep it open while you work.
- Best for: Split rings where you need to maintain the opening for a moment or want to avoid scratching the surface with metal tools.
- Safety: If using metal shims, be extremely cautious of sharp edges.
8. The Nail File: A Durable Edge
A sturdy nail file, particularly one with a metal edge, can provide a good prying surface.
- How it works: The firm edge of the file is inserted into the split to lever the ring open.
- Steps:
- Choose a nail file with a metal or very hard composite edge.
- Hold the split ring firmly.
- Insert the edge of the nail file into the split.
- Gently twist or push to widen the opening.
- Slide the ring off once the gap is sufficient.
- Best for: Medium to larger split rings.
- Advantage: Provides a good grip and a firm edge for leverage.
9. Tweezers: For Precise Gripping and Prying
While not all tweezers are strong enough, a robust pair can be quite effective for manipulating smaller split rings.
- How it works: You use the tips of the tweezers to grasp and spread the split.
- Steps:
- Select a pair of strong, pointed tweezers.
- Hold the split ring.
- Insert the tips of the tweezers into the split of the ring.
- Gently spread the tips apart, applying outward pressure to open the ring.
- If you can create enough of a gap, slide the ring off.
- Best for: Smaller split rings, like those found on jewelry.
- Tip: For best results, use tweezers with fine, sharp tips rather than blunt ones.
10. The Butter Knife: A Larger Leverage Option
A butter knife, with its relatively thin and sturdy edge, can be used for larger split rings.
- How it works: Similar to the flathead screwdriver, the edge of the butter knife is used to pry.
- Steps:
- Find a butter knife with a somewhat pointed or squared-off tip, not a rounded one.
- Hold the split ring securely.
- Insert the edge of the butter knife into the split.
- Apply steady pressure, twisting the knife to widen the gap.
- Once the opening is sufficient, carefully slide the ring off.
- Best for: Larger, more robust split rings that might be difficult for smaller tools.
- Caution: Avoid using sharp knives, as they pose a greater risk of injury. A butter knife is ideal because it’s blunt but still strong.
Techniques for Different Split Ring Sizes
The effectiveness of each method often depends on the size of the split ring.
| Split Ring Size | Recommended Methods | Notes |
|---|---|---|
| Small (Jewelry) | Fingernail trick, paperclip opener, hairpin technique, tweezers | Precision is key; avoid damaging delicate items. |
| Medium | Coin method, paperclip opener, key trick, nail file, flathead screwdriver | Good balance of leverage and control. |
| Large (Keychains) | Flathead screwdriver, key trick, butter knife, coin method | Requires more force and leverage; sturdier tools are better. |
General Tips for Success
Regardless of the tool you choose, a few general tips can make the process smoother:
- Grip Firmly: A secure grip on the split ring is essential. Use your thumb and forefinger, or even a piece of rubber or cloth for better traction.
- Work on a Stable Surface: Place the item with the split ring on a flat, stable surface to prevent it from moving around.
- Apply Gentle, Steady Pressure: Avoid sudden, jerky movements, which can cause the tool to slip or damage the ring or the item it’s attached to.
- Be Patient: Some split rings can be stubborn. If one method doesn’t work immediately, try another or apply the same method with slightly more persistence.
- Protect Your Fingers: If you’re worried about slipping, consider wearing thin work gloves or using a piece of cloth to protect your hands.
- Consider the Material: Be mindful of the material of the split ring and the item it’s attached to. Some materials are more easily scratched or damaged than others.
When to Consider Getting Pliers
While these methods are great for emergencies or quick fixes, if you frequently work with split rings, investing in a pair of small, dedicated split ring pliers is highly recommended. They are designed specifically for the task, making the process faster, easier, and less likely to cause damage. They typically have thin, pointed jaws that fit perfectly into the split, allowing for controlled opening and closing.
Frequently Asked Questions (FAQ)
Q1: Will these methods damage my jewelry or keychain?
A1: There’s always a slight risk of scratching or bending the split ring or the item it’s attached to, especially if you use excessive force or sharp tools. However, by using gentle, controlled pressure and choosing methods appropriate for the ring size, you can minimize the risk of damage.
Q2: Can I use my teeth?
A2: It is strongly advised not to use your teeth. This can lead to chipped or broken teeth, enamel damage, and is generally unhygienic. Always opt for a tool.
Q3: What’s the best method for very small split rings, like those on earrings?
A3: For very small split rings, the fingernail trick (if you have strong nails), a paperclip, a hairpin, or fine-tipped tweezers are usually the most effective. Precision is more important than brute force.
Q4: How do I close a split ring after opening it?
A4: Closing a split ring is often easier than opening it. You can typically use your fingers to press the two ends together, or use one of the tools mentioned (like the flathead screwdriver or paperclip) to lever one end over the other. Pliers are also excellent for safely closing split rings.
Q5: Are there any specific types of split rings that are harder to open without pliers?
A5: Yes, split rings made of thicker or harder metal, or those that are very tightly wound, will be more challenging to open without specialized tools like pliers. The methods described here are most effective on standard, moderately tensioned split rings.
By keeping these simple, resourceful techniques in mind, you’ll be well-equipped to tackle any split ring challenge that comes your way, no pliers required!