
Can you frame a jigsaw puzzle? Yes, absolutely! Framing a jigsaw puzzle is a fantastic way to preserve your hard work and turn a fun pastime into a beautiful piece of art for your home. Whether it’s a complex 2000-piece landscape or a cherished family photo puzzle, the process of framing a completed puzzle can seem daunting, but with the right guidance, it’s quite achievable. This guide will walk you through everything you need to know to frame your jigsaw puzzle like a pro, from choosing the right method to making it last for years to come.
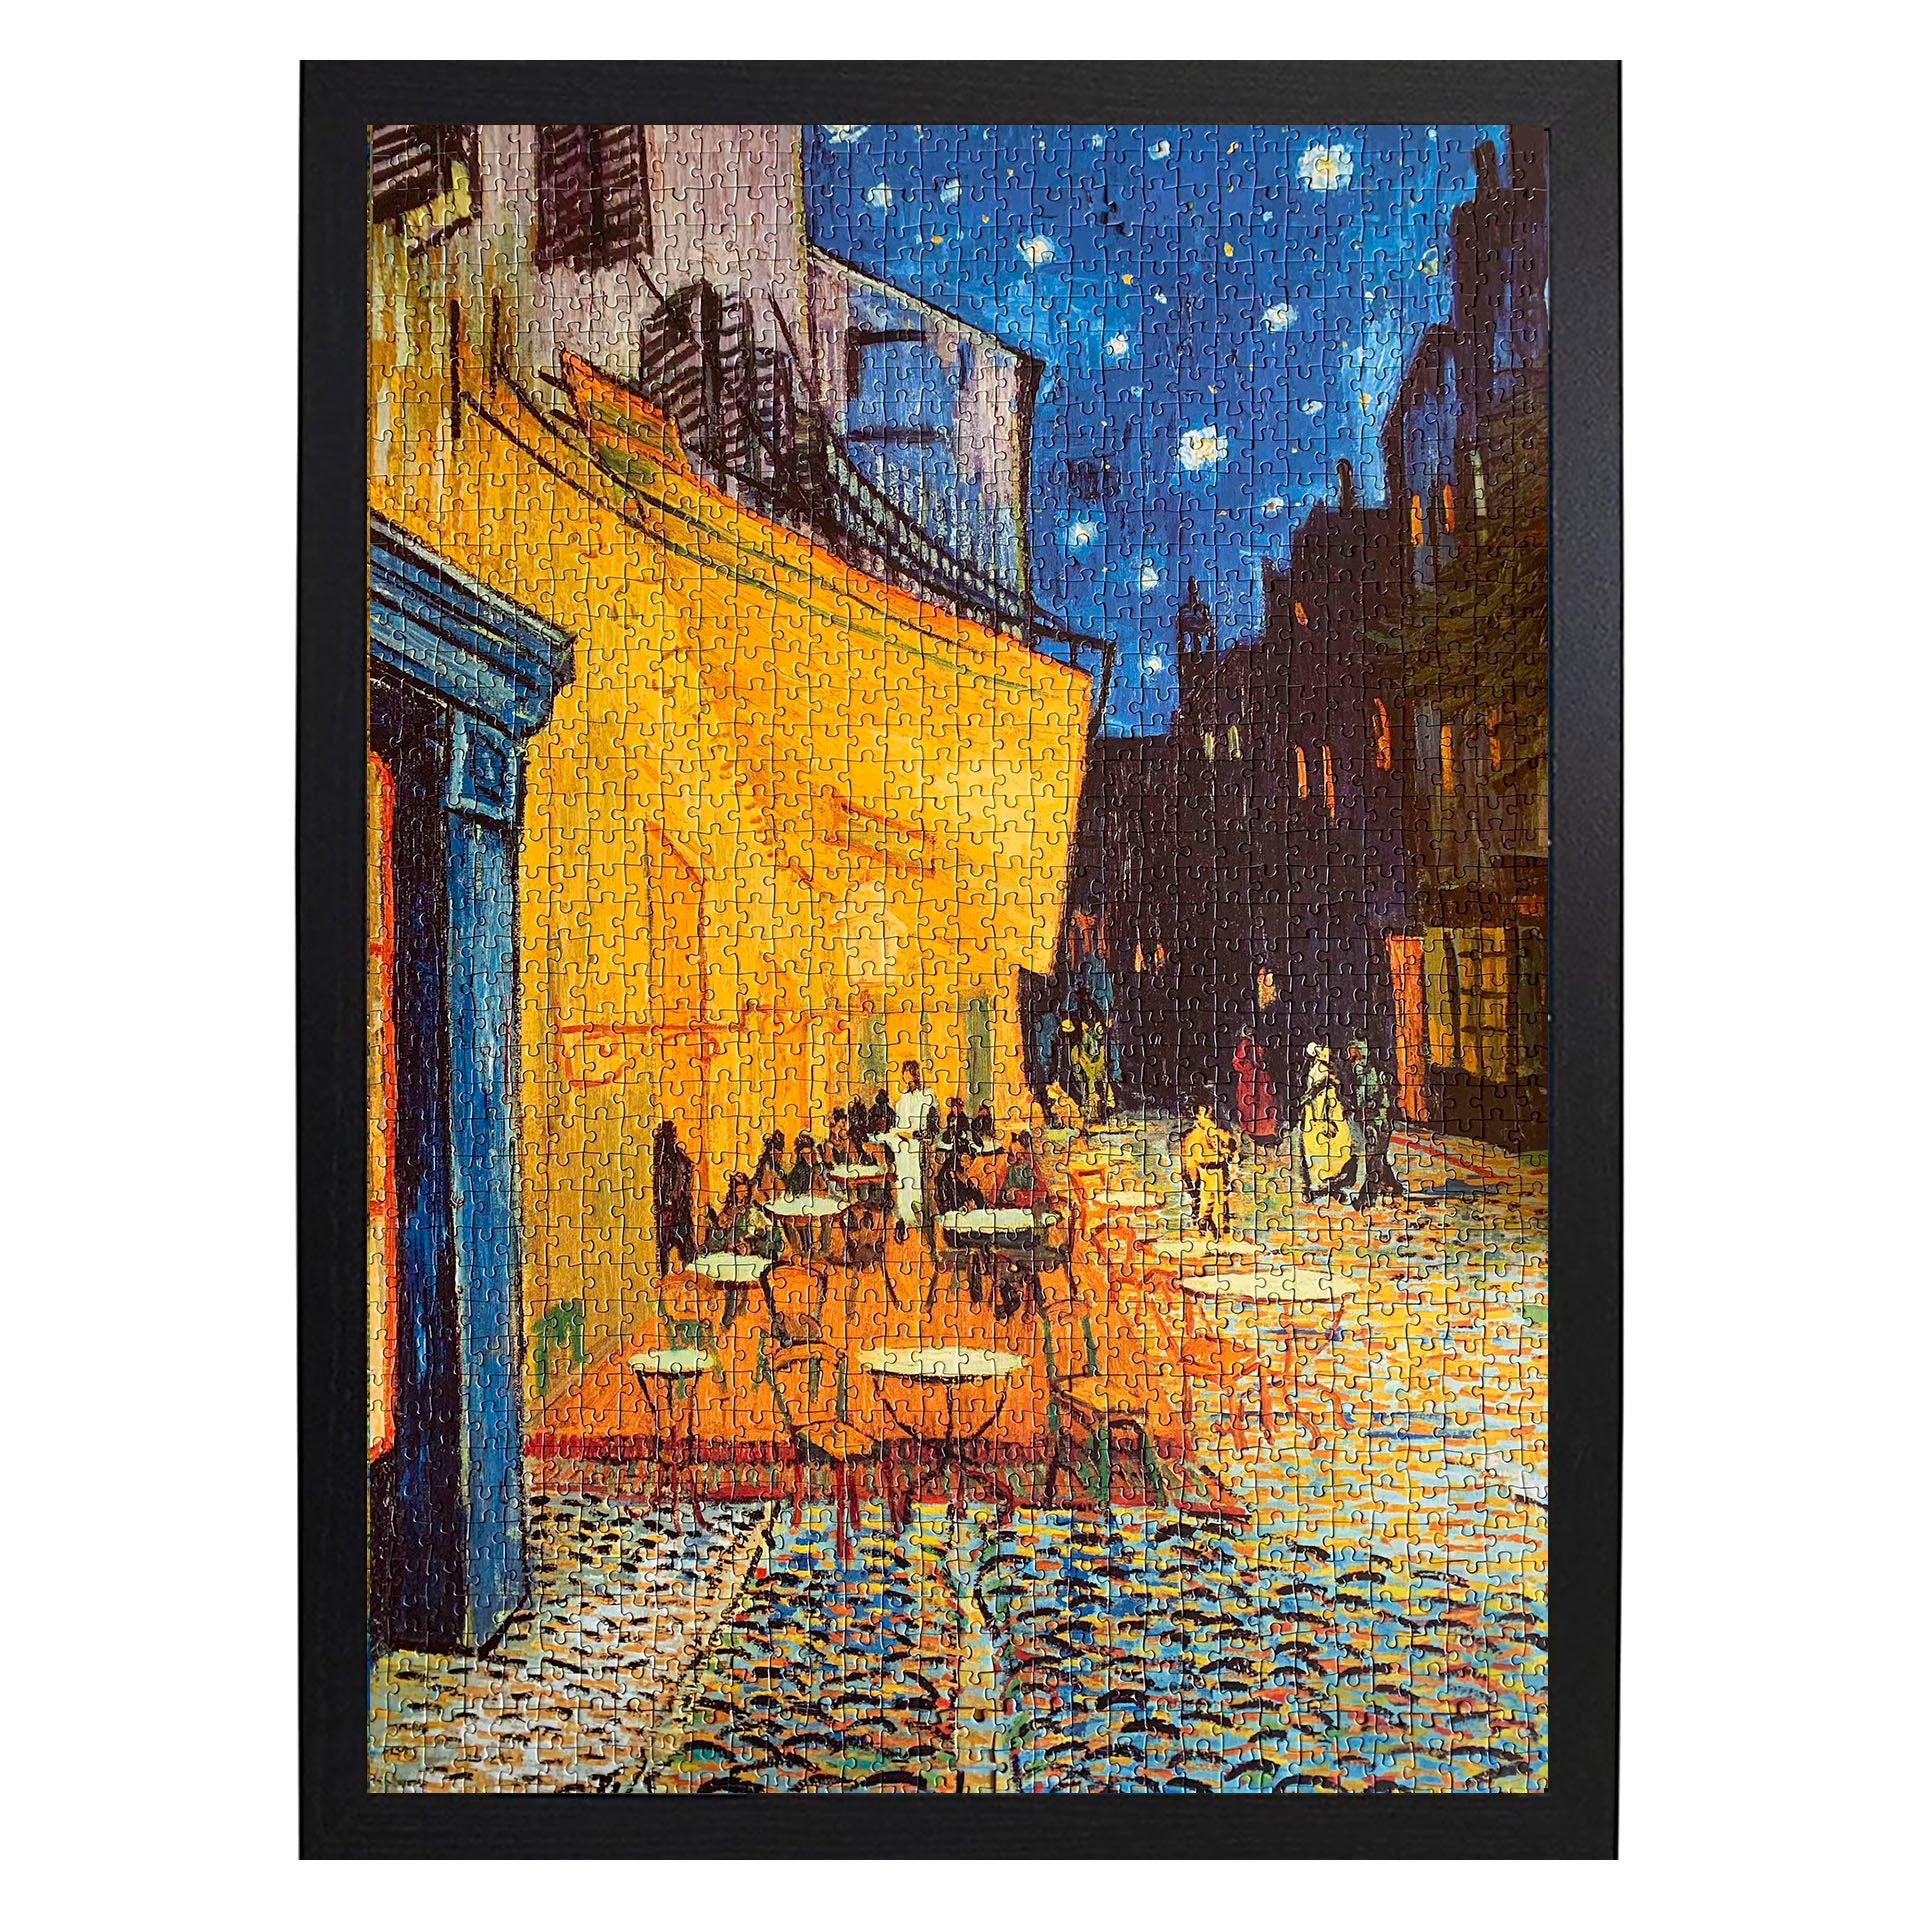
Image Source: www.restinpieces.co.uk
Why Frame Your Jigsaw Puzzle?
Completed jigsaw puzzles are more than just a collection of interlocking pieces; they represent hours of focus, patience, and often, a shared experience. Framing a jigsaw puzzle allows you to:
- Preserve your work: Protect your puzzle from damage, dust, and fading.
- Create custom art: Turn your puzzle into a unique decorative item for your walls.
- Relive memories: Display a puzzle that holds special meaning or represents a favorite image.
- Showcase your skills: Impress friends and family with your puzzling prowess.
There are numerous puzzle framing ideas to suit different styles and budgets. From simple puzzle mounting techniques to elaborate custom puzzle framing, your options are vast.
Preparing Your Puzzle for Framing
Before you even think about a frame, your puzzle needs to be perfectly assembled and prepared.
1. Ensure Your Puzzle is Complete and Flawless
- Check for missing pieces: This might seem obvious, but double-check before you proceed!
- Clean the surface: Gently dust off the puzzle with a soft brush or cloth. If there are any smudges or debris, use a slightly damp cloth, but be very careful not to soak the pieces.
2. Securing Your Puzzle: The Foundation of Framing
This is a crucial step for framing a completed puzzle. You need to make sure the puzzle stays together.
Puzzle Glue and Sealing
The most common method for securing a puzzle is using specialized puzzle glue. These glues are designed to adhere the pieces without damaging the image.
-
Types of Puzzle Glue:
- Liquid Glue: This is the most popular option. It usually comes in a bottle with an applicator or a brush. You apply it evenly over the entire surface of the puzzle.
- Spray Adhesive: Some people prefer spray adhesives for a quick, even coat. Ensure good ventilation when using this.
-
How to Apply Puzzle Glue:
- Work on a Protected Surface: Lay down a plastic sheet, wax paper, or an old newspaper to catch any excess glue.
- Apply Evenly: Start from one corner and work your way across. Use a brush or the applicator to spread a thin, even layer of glue. Don’t apply too much, as it can seep between the pieces and make them stiff.
- Cover the Entire Surface: Make sure to get glue over every single piece, including the edges.
- Allow Drying Time: Let the first coat dry completely. This can take several hours, depending on the glue and humidity.
- Apply a Second Coat (Optional but Recommended): For extra durability, apply a second thin coat, this time brushing in the opposite direction of the first coat. This helps ensure all the nooks and crannies are covered.
- Consider the Back (Optional): Some people also choose to glue the back of the puzzle for maximum strength. If you do this, make sure the puzzle is perfectly flat on a smooth surface before applying glue to the back.
-
Sealing and Varnishing: Once the glue is dry, you can apply a sealant or varnish. This adds an extra layer of protection and can enhance the colors of your puzzle. A clear acrylic spray or a brush-on varnish works well. Test this on a scrap piece of cardboard first to ensure it doesn’t alter the puzzle’s appearance.
Table: Puzzle Glue Application Tips
| Step | Action | Notes |
|---|---|---|
| Preparation | Cover your workspace with protective material. | Use plastic sheeting, wax paper, or newspaper. |
| Application (First) | Apply a thin, even layer of puzzle glue across the entire surface. | Use a brush or applicator. Start from a corner. |
| Drying | Let the glue dry completely. | This can take several hours. |
| Application (Second) | Apply a second thin coat, brushing in the opposite direction. | This adds extra strength and ensures full coverage. |
| Sealing (Optional) | Apply a clear sealant or varnish for added protection and shine. | Test on a scrap piece first. |
| Final Drying | Allow the final coat to dry thoroughly before framing. | This could take 24 hours or more. |
Choosing Your Framing Method
Once your puzzle is secured, you can move on to the actual framing. Several methods exist, each offering a different look and level of protection.
1. Using Puzzle Framing Kits
Many brands offer puzzle framing kits specifically designed for this purpose. These kits typically include:
- A backing board: This is usually thick cardboard or foam board.
- A sealing film or adhesive: This is used to attach the puzzle to the backing board.
- A frame: This might be a pre-cut mat or a ready-made frame.
How to Use a Puzzle Framing Kit:
- Follow Kit Instructions: Each kit will have specific instructions, but generally, you’ll peel and stick the puzzle onto the adhesive backing, then place it into the frame or attach a mat.
- Consider the Mat: A mat can add a professional look and prevent the puzzle from touching the glass in a traditional frame.
- Secure the Puzzle to the Mat: Some kits have adhesive backing for the mat, others might require a light spray adhesive or double-sided tape.
2. Traditional Framing with a Custom Mat
This method involves using a standard frame and a custom-cut mat board. It offers a classic and elegant look for your jigsaw puzzle display.
What You’ll Need:
- A frame: Choose a frame size that accommodates your puzzle dimensions plus any matting you plan to use.
- Mat board: Acid-free mat board is best for preserving jigsaw puzzles.
- Double-sided tape or photo mounting adhesive: To attach the puzzle to the mat.
- Glass or acrylic: To protect the puzzle’s surface.
- Frame hardware: For hanging.
Steps for Traditional Framing:
- Measure Your Puzzle: Accurately measure the width and height of your glued puzzle.
- Order a Custom Mat: Take your measurements to a frame shop or use an online service to order a mat with an opening that is about 1/4 inch smaller than your puzzle on all sides. This ensures the puzzle won’t fall out. You can also opt for a larger opening if you want to see the very edge of the pieces.
- Attach the Puzzle to the Mat:
- Place your glued puzzle face-down on a clean surface.
- Apply double-sided tape or photo mounting adhesive to the back of the mat board, around the opening.
- Carefully align the puzzle with the mat opening and press them together.
- Assemble the Frame:
- Clean the glass or acrylic thoroughly.
- Place the glass/acrylic into the frame.
- Place the mat (with the puzzle attached) on top of the glass/acrylic.
- Secure the backing board of the frame.
- Add your hanging hardware.
3. Shadow Box Puzzle Framing
A shadow box puzzle creates a 3D effect, making your puzzle stand out. This is ideal for puzzles with textured pieces or for adding small mementos.
What You’ll Need:
- A shadow box frame: These frames have a deeper profile to accommodate the puzzle’s thickness.
- Strong adhesive or mounting putty: To secure the puzzle to the backing of the shadow box.
- Optional: Fabric backing: To cover the shadow box backing for a softer look.
Steps for Shadow Box Framing:
- Prepare the Shadow Box: If you’re using a fabric backing, attach it to the shadow box’s interior backing.
- Position the Puzzle: Place your glued puzzle inside the shadow box to determine the best placement.
- Secure the Puzzle: Use strong double-sided tape, mounting putty, or even a specialized adhesive to attach the puzzle to the shadow box backing. Ensure it’s firmly attached so it doesn’t shift.
- Close the Shadow Box: Carefully close and secure the shadow box.
4. Wood Frame Puzzle (DIY or Custom)
A wood frame puzzle offers a warm, classic aesthetic. You can achieve this in a few ways:
- Pre-made Wood Frames: Many standard frames are made of wood and can be used with custom matting or simply to house your glued puzzle directly.
- DIY Wood Framing: For a more hands-on approach, you can build your own wood frame. This allows for complete customization of size, wood type, and finish.
DIY Wood Framing Steps (Simplified):
- Measure and Cut Wood: Cut four pieces of wood molding to create a rectangular frame. The lengths will depend on your puzzle size. Ensure you cut at 45-degree angles at the corners for a neat join.
- Assemble the Frame: Use wood glue and small nails or staples to join the corners of the frame.
- Finish the Frame: Sand and stain or paint the frame to your desired finish.
- Mount the Puzzle: Once the frame is ready and dry, mount your puzzle onto a backing board that fits snugly inside the frame. You can then secure the backing board to the frame.
Advanced Puzzle Framing Techniques and Considerations
Preserving jigsaw puzzles often involves more than just gluing and framing.
Mounting Techniques Beyond Glue
While glue is standard, other puzzle mounting techniques exist:
- Double-Sided Adhesive Sheets: These large, thin sheets of adhesive can be applied to the back of the puzzle. They are less messy than liquid glue but require careful application to avoid wrinkles.
- Adhesive Sprays: As mentioned earlier, these can provide a quick and even coat.
Using Plexiglass or Acrylic Instead of Glass
Acrylic or plexiglass is lighter and less prone to shattering than glass. This can be a safer option, especially for larger puzzles or if you have children or pets.
- Pros of Acrylic: Lighter, shatter-resistant, UV protection (some types).
- Cons of Acrylic: Can scratch more easily than glass, might have a slight glare.
Backing Your Puzzle
The material you use behind your puzzle is important.
- Foam Core Board: Lightweight and easy to cut, it provides a sturdy base.
- Cardboard: A readily available option, but ensure it’s thick enough to support the puzzle.
- Masonite: A very rigid and durable option, often used by professional framers.
Special Considerations for Different Puzzle Types
- Large Puzzles: For puzzles over 1000 pieces, consider a thicker backing and potentially reinforcing the glued surface with additional adhesive on the back. You might also need to frame them in sections if they are too large for standard frames.
- Textured Puzzles: If your puzzle has thick, textured pieces, a shadow box frame is often the best choice to accommodate the depth.
- Faded Puzzles: If your puzzle has faded, consider using a UV-protective glass or acrylic to prevent further fading.
Putting It All Together: The Final Steps
Once your puzzle is glued, mounted, and in its frame, there are a few final touches.
Cleaning and Final Inspection
- Clean the Glass/Acrylic: Use a glass cleaner and a microfiber cloth to ensure a crystal-clear view.
- Check for Gaps: Make sure there are no gaps between the puzzle and the frame or mat.
- Secure Hanging Hardware: Ensure the hanging hardware is securely attached to the frame and is appropriate for the weight of the framed puzzle.
Displaying Your Framed Puzzle
Consider the best location for your jigsaw puzzle display:
- Avoid Direct Sunlight: Sunlight can fade the colors over time.
- Consider Humidity: Avoid areas with high humidity, like bathrooms, as this can affect the puzzle and frame.
- Choose a Spot that Complements Your Decor: Your framed puzzle is now a piece of art, so place it where it will be appreciated!
Frequently Asked Questions (FAQ)
Here are some common questions about framing a completed puzzle:
Q1: Do I need special glue for jigsaw puzzles?
A1: Yes, it’s highly recommended to use specialized puzzle glue. Regular white glue might be too thick or might not adhere the pieces smoothly. Puzzle glue is formulated to be thin enough to seep slightly between pieces for a strong bond without damaging the image.
Q2: Can I frame a puzzle without glue?
A2: While some very sturdy, thick puzzles might hold together in a very tightly fitted frame, it’s generally not recommended. Glue provides the necessary structural integrity to keep the puzzle intact, especially for display and moving. You can also use adhesive sheets or spray adhesives as alternatives to liquid glue.
Q3: How do I measure my puzzle for framing?
A3: After gluing and drying, measure the puzzle’s width and height precisely from edge to edge. If you plan to use a mat, you’ll need to factor in the mat’s opening size, which is typically a quarter-inch smaller than the puzzle on all sides to hold it securely.
Q4: What’s the difference between using glass and acrylic for framing?
A4: Glass is more scratch-resistant but heavier and can break. Acrylic (plexiglass) is much lighter, shatterproof, and safer, but it can scratch more easily and may have a slight glare or distortion depending on the quality. Many prefer acrylic for larger puzzles or for safety reasons.
Q5: How much does it cost to frame a jigsaw puzzle?
A5: Costs vary widely. A basic puzzle framing kit might cost $20-$50. Using a custom mat and a standard frame can range from $50-$150 or more, depending on the frame choice and mat material. Professional custom puzzle framing can be significantly more expensive, often $100-$300+, but offers the highest quality and bespoke options. DIY framing can be the most economical.
Q6: Can I reuse a puzzle after framing it?
A6: No, once a puzzle is glued and framed, it’s generally not possible to disassemble it without damaging the pieces or the image. Framing is meant for permanent display.
Q7: How do I frame a puzzle that doesn’t fit a standard frame size?
A7: For non-standard sizes, custom puzzle framing is your best option. This can involve ordering a custom-sized frame and mat, or building a frame yourself. Many online framing services offer custom sizing for both frames and mats.
By following these steps and considering your options for puzzle framing ideas, you can successfully frame your jigsaw puzzles, turning your passion into lasting art. Enjoy your beautifully displayed creations!