
A coping saw is a versatile hand tool perfect for making curved cuts and intricate shapes in wood. Can you use a coping saw for detailed cuts? Yes, absolutely, it excels at them!
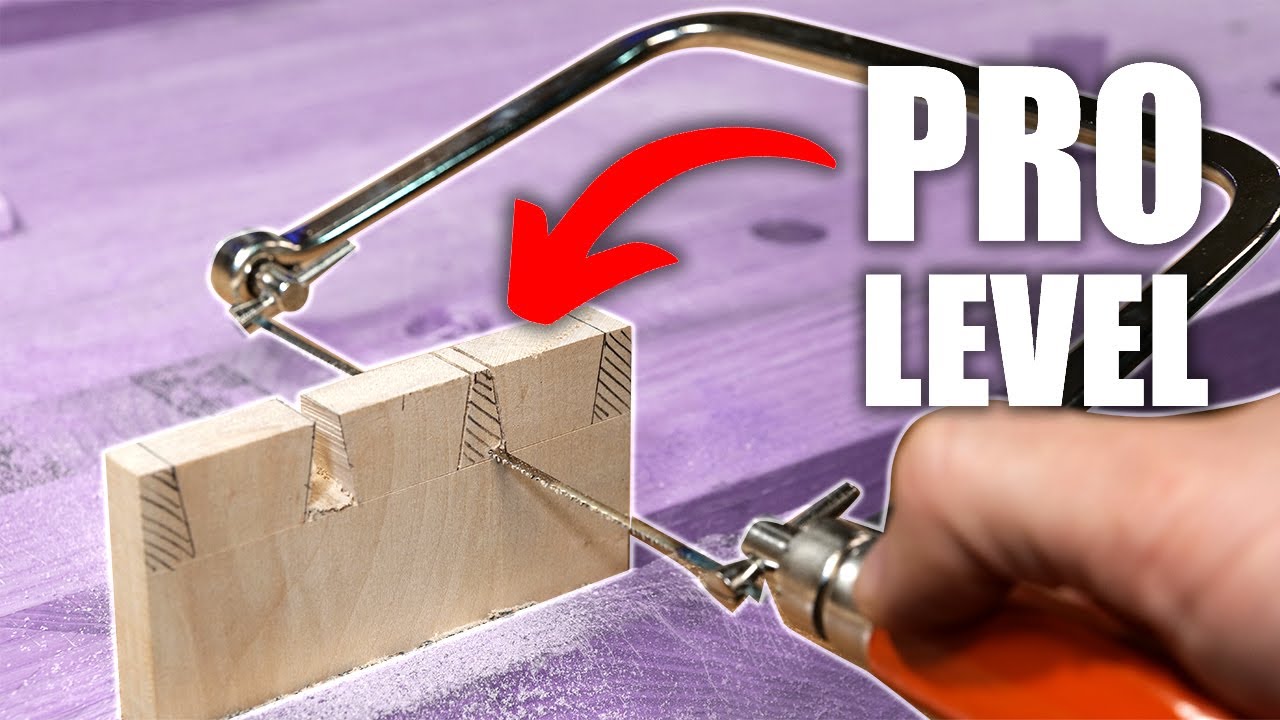
Image Source: i.ytimg.com
What is a Coping Saw?
A coping saw is a specialized type of saw used for cutting curves and intricate shapes in wood. It features a thin, narrow blade held under tension by a U-shaped frame. This design allows for exceptional maneuverability, making it ideal for detailed woodworking projects, marquetry, and creating decorative elements. Unlike a backsaw or crosscut saw, the coping saw’s blade can be rotated, enabling cuts in multiple directions without repositioning the workpiece.
Choosing the Right Coping Saw
When starting out, selecting the right coping saw as a beginner coping saw is crucial for a positive experience. The frame of a coping saw typically comes in two main types: fixed-length and adjustable.
Frame Types
- Fixed-Length Frame: These frames have a set depth and throat. They are often less expensive and simpler to use for basic tasks. However, they limit the size of the workpiece you can cut into.
- Adjustable Frame: These frames allow you to change the length of the frame, offering more versatility in cutting larger pieces. They are generally more robust and preferred by experienced woodworkers.
Blade Selection
The heart of the coping saw is its blade. The correct coping saw blades are vital for clean and efficient wood cutting. Coping saw blades come in various tooth counts (TPI – teeth per inch) and blade widths.
- High TPI Blades (e.g., 10-20 TPI): These blades are best for fine cuts and harder woods. They produce a smoother finish but cut slower. They are excellent for detailed cuts and fine woodworking.
- Low TPI Blades (e.g., 6-10 TPI): These blades are good for faster cutting and softer woods. They will leave a rougher finish but are more aggressive.
Table 1: Coping Saw Blade Selection Guide
| Project Type | Recommended TPI | Wood Type | Cut Quality |
|---|---|---|---|
| Intricate Curves, Detail Work | 14-20 | Hardwoods | Smooth |
| General Purpose Curved Cuts | 10-14 | Softwoods/Hardwoods | Medium |
| Faster Cutting, Rougher Finish | 6-10 | Softwoods | Rough |
Assembling and Adjusting Your Coping Saw
Before you can start cutting, you need to properly assemble and adjust your coping saw.
Saw Frame Adjustment
Most modern coping saws have adjustable frames. This adjustment allows you to select the ideal length for your workpiece and the desired blade tension.
- How to Adjust: Typically, there’s a sliding mechanism or a wingnut that loosens and tightens to extend or shorten the frame. Extend the frame to accommodate the width of the piece you want to cut.
Tensioning Coping Saw Blades
Proper tension is critical for effective and safe use of a coping saw. A blade that is too loose will buckle and break easily. A blade that is too tight might snap under pressure.
- Insert the Blade: Place the coping saw blade into the frame so that the teeth point away from you and towards the handle. The pins on the blade should seat into the holes on the front and back of the frame.
- Apply Tension: Use the adjustable frame to increase tension. You’ll know it’s adequately tensioned when the blade is taut and makes a “ping” sound when plucked. It should feel firm, not floppy.
How to Insert Coping Saw Blades
Inserting coping saw blades is straightforward.
1. Blade Orientation: Ensure the teeth are facing forward, away from the handle of the saw.
2. Pin Placement: The small pins at each end of the blade fit into corresponding holes on the front and back of the saw frame.
3. Tensioning: Once the blade is seated, use the adjustable frame to tighten it until the blade is taut.
Changing Coping Saw Blades
Changing coping saw blades is a necessary skill for any woodworker using this tool.
- Release Tension: The first step when changing coping saw blades is to release the tension on the current blade. Loosen the adjustable frame until the blade is slack.
- Remove Old Blade: Carefully remove the old blade from the frame, ensuring the pins are dislodged from the holes.
- Insert New Blade: Select your new coping saw blade (consider the type of wood cutting you’ll be doing). Insert the pins into the corresponding holes, making sure the teeth are facing the correct direction (away from the handle).
- Re-tension: Re-apply tension using the adjustable frame until the new blade is taut.
Mastering Coping Saw Techniques
The beauty of the coping saw lies in its ability to perform complex cuts. Here are key coping saw techniques to master.
Making Curved Cuts
Curved cuts are the primary function of a coping saw.
- Mark Your Line: Clearly mark the desired cut line on your workpiece.
- Position the Saw: Hold the workpiece securely. Position the blade on the waste side of your line.
- Smooth Strokes: Use long, smooth strokes. Let the saw do the work; don’t force it.
- Navigate Curves: For tight curves, you might need to turn the saw frame itself, or even pivot the blade by slightly altering its angle. Keep your strokes consistent and controlled.
Tips for Clean Curved Cuts
- Blade Angle: Keep the blade perpendicular to the wood surface as much as possible. This prevents the blade from twisting and binding.
- Support: Ensure the workpiece is well-supported. Use clamps or a workbench vise.
- Slow and Steady: Rushing will lead to jagged cuts and potential blade breakage. Patience is key for detailed cuts.
Making Straight Cuts
While not its primary strength, a coping saw can make straight cuts, especially for joinery.
- Use a Guide: For very straight cuts, consider using a guide, though specialized saws are better suited for long straight cuts.
- Blade Rotation: If you need to make a longer straight cut and the frame gets in the way, you can rotate the blade within the frame to get around obstructions.
Making Inside Cuts (Fretwork)
This is where the coping saw truly shines. To make a cut entirely within a piece of wood (like cutting out a star from a solid piece), you need to:
- Drill a Starting Hole: Drill a small hole within the area you want to remove. The hole must be large enough for the coping saw blade to pass through.
- Disassemble the Saw: Loosen and remove the blade from the rear of the frame.
- Thread the Blade: Thread the blade through the drilled hole in your workpiece.
- Reassemble and Tension: Re-attach the blade to the front of the frame and re-tension it.
- Cut: Now you can make your inside cut.
Tips for Inside Cuts
- Blade Direction: For inside cuts, ensure the blade teeth point in the direction of the cut you want to make.
- Pivot Carefully: When turning corners on inside cuts, you may need to carefully pivot the blade or even slightly adjust the saw’s angle to avoid tearing the wood.
Advanced Coping Saw Techniques
Once you’re comfortable with the basics, you can explore more advanced coping saw techniques for exceptional results in fine woodworking.
Kerf Control
The “kerf” is the width of the cut made by the saw blade. Controlling the kerf is important for precision.
- Blade Choice: Thinner blades create a narrower kerf, ideal for very intricate work.
- Blade Angle: Keeping the blade perpendicular to the wood surface ensures a consistent kerf width.
Cutting Thin Stock
Working with very thin wood requires a delicate touch and the right blade.
- Blade Selection: Use a high TPI blade.
- Support: Ensure the thin stock is perfectly flat and supported to prevent it from flexing or breaking during the cut.
Mitre Cuts
While not its primary use, with careful practice, you can achieve mitre cuts.
- Blade Angle: You can slightly angle the blade within the frame to create a mitre. However, achieving a perfectly precise mitre often requires jigs or other tools.
Jigs and Aids for Coping Saw Use
For repetitive or highly precise work, jigs can be invaluable.
- Mitre Jigs: Simple wooden blocks can be fashioned to guide the saw at specific angles for mitre cuts.
- Hold-downs: Custom hold-downs can provide extra support for delicate pieces.
Maintenance and Care
Proper maintenance ensures your coping saw remains a reliable tool.
Cleaning
- After each use, brush away sawdust from the frame and blade.
- A light application of oil can prevent rust on the frame and blade.
Blade Storage
- Store blades in their original packaging or a dedicated blade holder to prevent damage and keep them sharp.
Sharpening
- Coping saw blades are generally inexpensive and designed to be disposable. Sharpening them is usually not cost-effective or practical. It’s generally better to replace a dull or damaged blade.
Projects Suitable for a Coping Saw
The coping saw is a staple for many woodworking projects, particularly those requiring precision and detail.
- Scroll Saw Work: Many projects traditionally done on a powered scroll saw can be achieved with a hand coping saw, albeit with more effort.
- Marquetry and Inlay: Creating delicate patterns with different wood veneers is a perfect application.
- Toy Making: Crafting wooden toys often involves numerous curves and shapes.
- Jewelry Boxes: Intricate decorative elements on boxes are easily made.
- Dovetails (for fine detail): While not the primary tool for cutting dovetails, a coping saw can be used for the fine detail work at the very end of the cut.
- Repair Work: Making precise patches or small replacement parts.
Frequently Asked Questions (FAQ)
Q: Can I use a coping saw for straight cuts?
A: Yes, you can use a coping saw for straight cuts, but it’s not its ideal purpose. For very precise straight cuts, other saws like a handsaw or backsaw are generally better suited. However, for shorter straight sections or when the frame needs to navigate around an obstruction, it can be used.
Q: How do I prevent the coping saw blade from breaking?
A: Ensure the blade is properly tensioned. A blade that’s too loose will buckle and break easily. Avoid forcing the saw; let the teeth do the cutting. Make smooth, consistent strokes. Also, try to keep the blade at a right angle to the wood surface. Twisting the blade can cause it to snap.
Q: What is the best TPI for general wood cutting with a coping saw?
A: For general wood cutting with a coping saw, a blade with 10-14 TPI is usually a good balance. This range provides a decent cutting speed for most common woods and a reasonably smooth finish.
Q: Can I cut metal with a coping saw?
A: While specialized blades exist for cutting metal with a coping saw frame, standard coping saw blades are designed for wood. Attempting to cut metal with wood-cutting blades will quickly dull and break them. If you need to cut metal, use appropriate metal-cutting blades and techniques.
Q: How tight should a coping saw blade be?
A: A coping saw blade should be taut, like a guitar string. When plucked, it should make a clear “ping” sound. It shouldn’t sag or feel loose. Too much tension can snap the blade, while too little will cause it to buckle.
Q: What is the difference between a coping saw and a fret saw?
A: The terms are often used interchangeably, but a fret saw is typically a saw with a narrower frame and a thinner blade, designed for even finer and more intricate work, often in fine woodworking or for cutting very thin materials. A coping saw is generally more robust and versatile for a wider range of curves. However, the distinction can be blurry, with many tools marketed under both names.
Q: How do I make a sharp corner with a coping saw?
A: To make a sharp corner, you’ll need to stop sawing just before the corner, back the saw out slightly, and then reposition the saw at an angle to continue the cut along the next line. For very tight inside corners, you might need to drill a small hole at the corner and then saw from there.